My Favorite Challah Bread Recipe! {Easy + Delicious}
Welcome back Homemakers-in-the-making,
I’ve always been a “carb-lover,” but it wasn’t until recently that I stepped out of my shell, and baked my very first homemade bread. I chose a Challah bread, as was my husband’s preference, and I can now say, with full confidence, that I’m a “bread-liever!” (Cheesy, I know, but it’s true.) I love making homemade bread weekly for our Sabbath dinners, and it’s become one of my favorite things to look forward to!
If you haven’t tried making bread from scratch before, then I assure you that this is the perfect recipe to start! I‘ve tried several Challah bread recipes prior, but was in awe of the level of deliciousness and ease of this one which blew the rest of the competition out of the water! This recipe requires less flour and less work than most, so as a mom of three, it really was a no-brainer!
*As with most breads, be sure to give yourself ample time to bake this Challah bread, which will need time to prove (rise). {I’d say this recipe takes about 4 hours from beginning to end, but it’s so worth it!}* There really is nothing more delicious, or rewarding than a warm piece of freshly baked bread at home! I hope you enjoy, and don’t forget to tag me on Instagram if you decide to make it!
Ingredients
3 cups of all-purpose flour
2 1/4 teaspoons of instant yeast
1/4 cup of sugar
1 1/4 teaspoons of salt
3 large eggs (The white of one of the eggs will be set aside for later use)
4 tablespoons of melted unsalted butter
1/2 cup of room temperature water
1 tablespoon of Avocado oil
Sesame seeds/Poppy seeds (Whichever you desire)
Directions
1. First, mix together your dry ingredients (flour, yeast, sugar, and salt) in a medium sized bowl.
2. Then, in a separate bowl, mix together 2 eggs, and 1 egg yolk, melted butter, and 1/2 cup of water until combined. (Refrigerate the remaining egg white until ready to use.) Little by little, add it to the flour mixture, and stir together. Once it becomes harder to stir, sprinkle flour on your work surface, and knead the dough until it’s smooth and stretchy. Sprinkle flour as needed to the dough during kneading until no longer sticky.
3. Rub a bit of avocado oil around the inside of the bowl that you initially used to mix the dough. Shape the dough into a ball and put it in the bowl. Cover the bowl with a towel, or saran wrap for about 1.5 to 2 hours, until it doubles in size. Then, punch the dough to deflate it, and turn it over. Sprinkle flour when necessary so the dough is never sticky, shape it into a ball again, place it in the bowl, cover with a towel, and let it rise again for another 40 to 60 minutes.
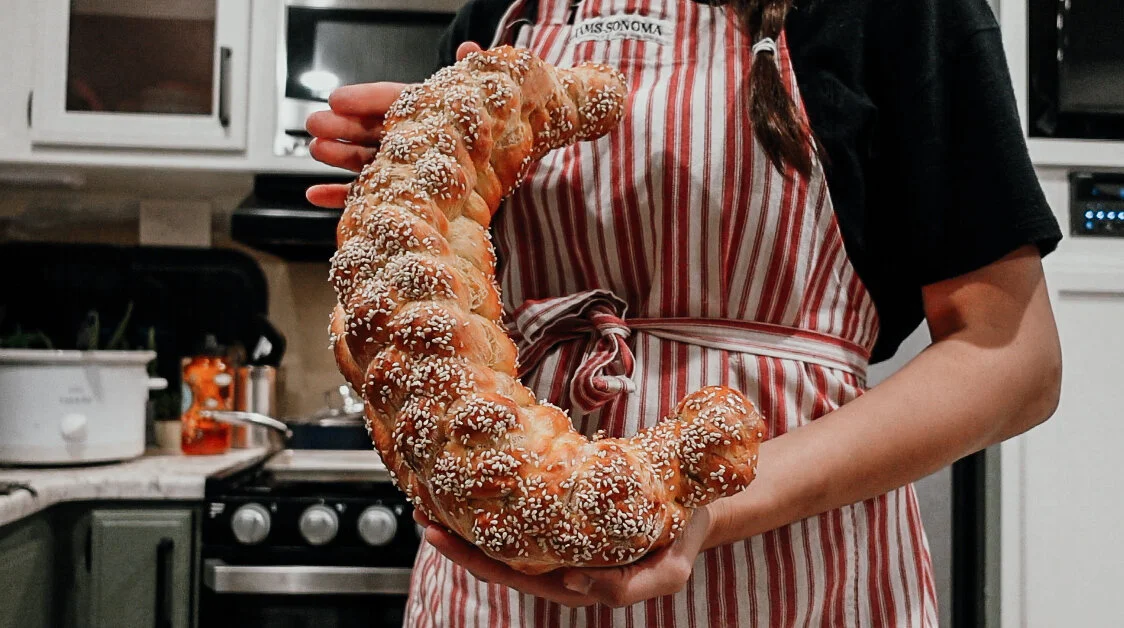
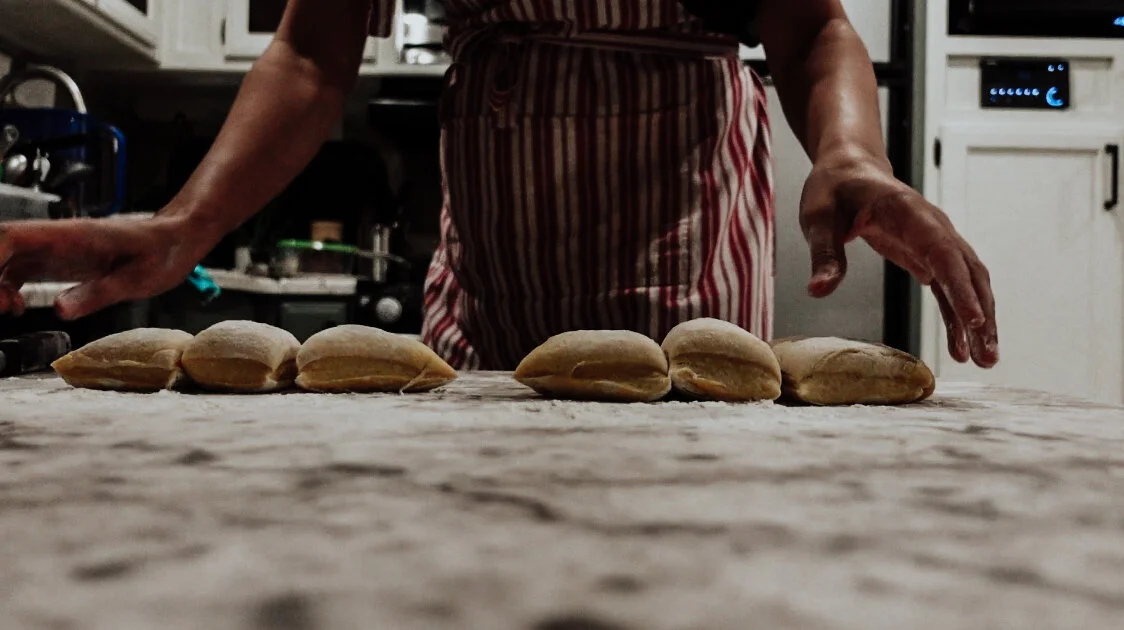
4. Sprinkle your work surface with flour, and cut the ball of dough into two pieces, making one half the size of the other. Divide the larger piece into 3 equal pieces. Roll each piece into a long rope about 16 inches each. Pinch them together at one end, and start to braid the pieces all the way down, and pinch again to seal them together. (As seen in the picture below, I like to do a tight braid!) Place the braided rope on a baking sheet lined with parchment paper.
Do the same cutting (into 3 pieces), and braiding with the smaller piece of dough that you cut. (See photos above and below for reference if needed.) Using a silicone brush, brush the refrigerated egg white onto the the bigger braid, and then put the smaller braid on top. Brush the smaller braid with the egg white as well. Place plastic wrap loosely over the braided dough, and let rise again for about 30 to 45 minutes.
5. Preheat the oven to 375°F. Brush the dough again with egg whites, and sprinkle with your choice of poppy, or sesame seeds before putting it into the oven. Bake for 40 minutes, or until the loaf is golden brown. {If you tap on the belly of the bread, and it makes a hollow sound, that means it’s ready!} Wait for the bread to cool down before you slice it! Then, grab some butter to slap on, and enjoy!
Thank you all for following along my favorite Challah bread recipe! Be sure to watch my Youtube video above if you’d like to see some of the baking process in action with a twist! Please tag me on Instagram if you try it! I’m going to make a “bread-liever” out of you, haha! ;-) HAPPY BREAD BAKING!!!
Cool, Mom, and Collectedly Yours,


