Five "Pinterest-Worthy" Fall Crafts for Toddlers!
Hello friends and welcome back to my little piece of the internet! So, we’ve already established that we ALL love Fall, right?! I’ve enjoyed being outdoors with my kids in the crisp air, leaving the windows wide open, and drinking yummy pumpkin spice lattes! One thing I was especially excited about doing this Fall was making crafts with my 2 1/2 year old son! If I'm honest, it doesn't feel like we’ve done hardly any crafts together…so, I thought making some "Pinterest-worthy" Fall crafts would be the perfect blog post for today! I looked through Pinterest for my top five Fall crafts, bought the supplies, and we got to crafting! We had a blast, and it’s safe to say this is just the beginning of a more crafty future for us both! I hope you enjoy!
BUTTON FALL LEAVES
What you'll need:
●1 red felt peel off, 1 yellow felt peel off (Then you can peel, and stick it directly wherever!)
●Scissors
●Glitter glue
●Buttons
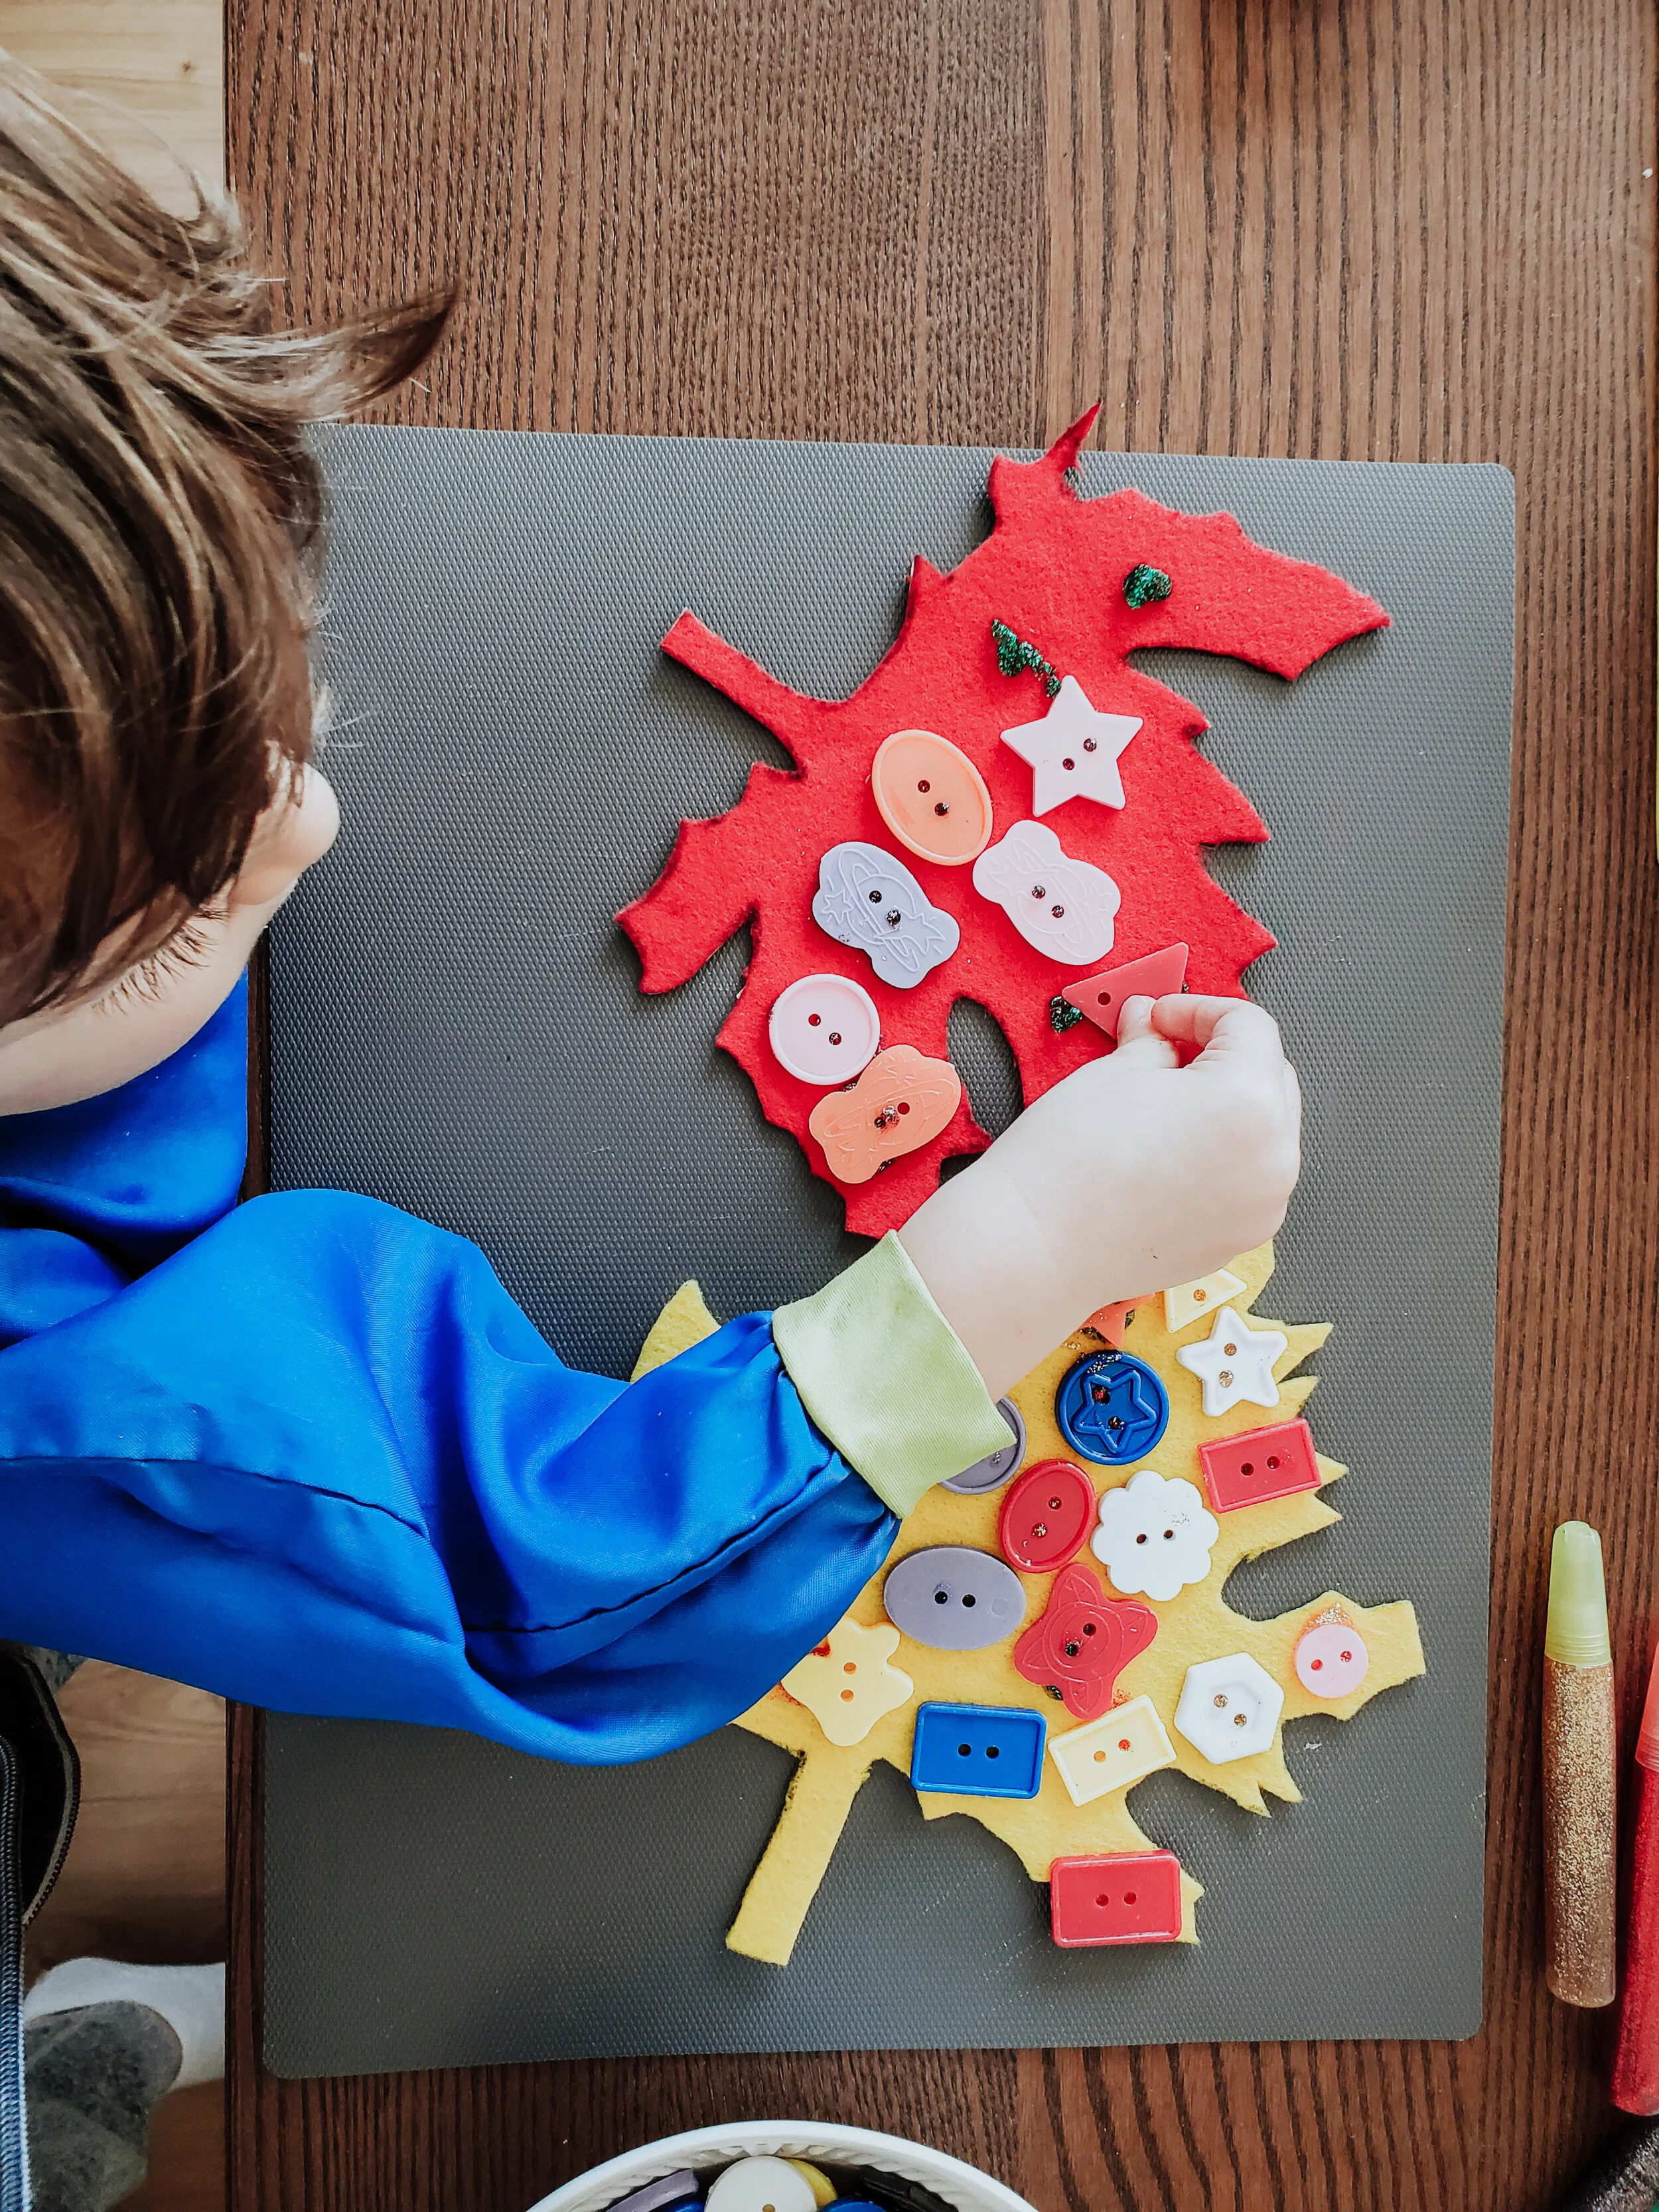
This was the perfect craft for my toddler! It was great for practicing fine motor skills, talking about shapes/colors and for fostering creativity as he independently selected different buttons to decorate the felt leaves with! He is not yet skilled with scissors, so I stenciled and cut out these bad boys myself…not bad huh?! We purchased glitter glue that he excitedly squeezed out, (a little too much at times, haha) and placed the buttons on! The decorated leaves turned out so sweet because he did it all by himself! These are headed straight for our window, or his memory book for future reminiscing!
FINGERPRINT TREE
What you'll need:
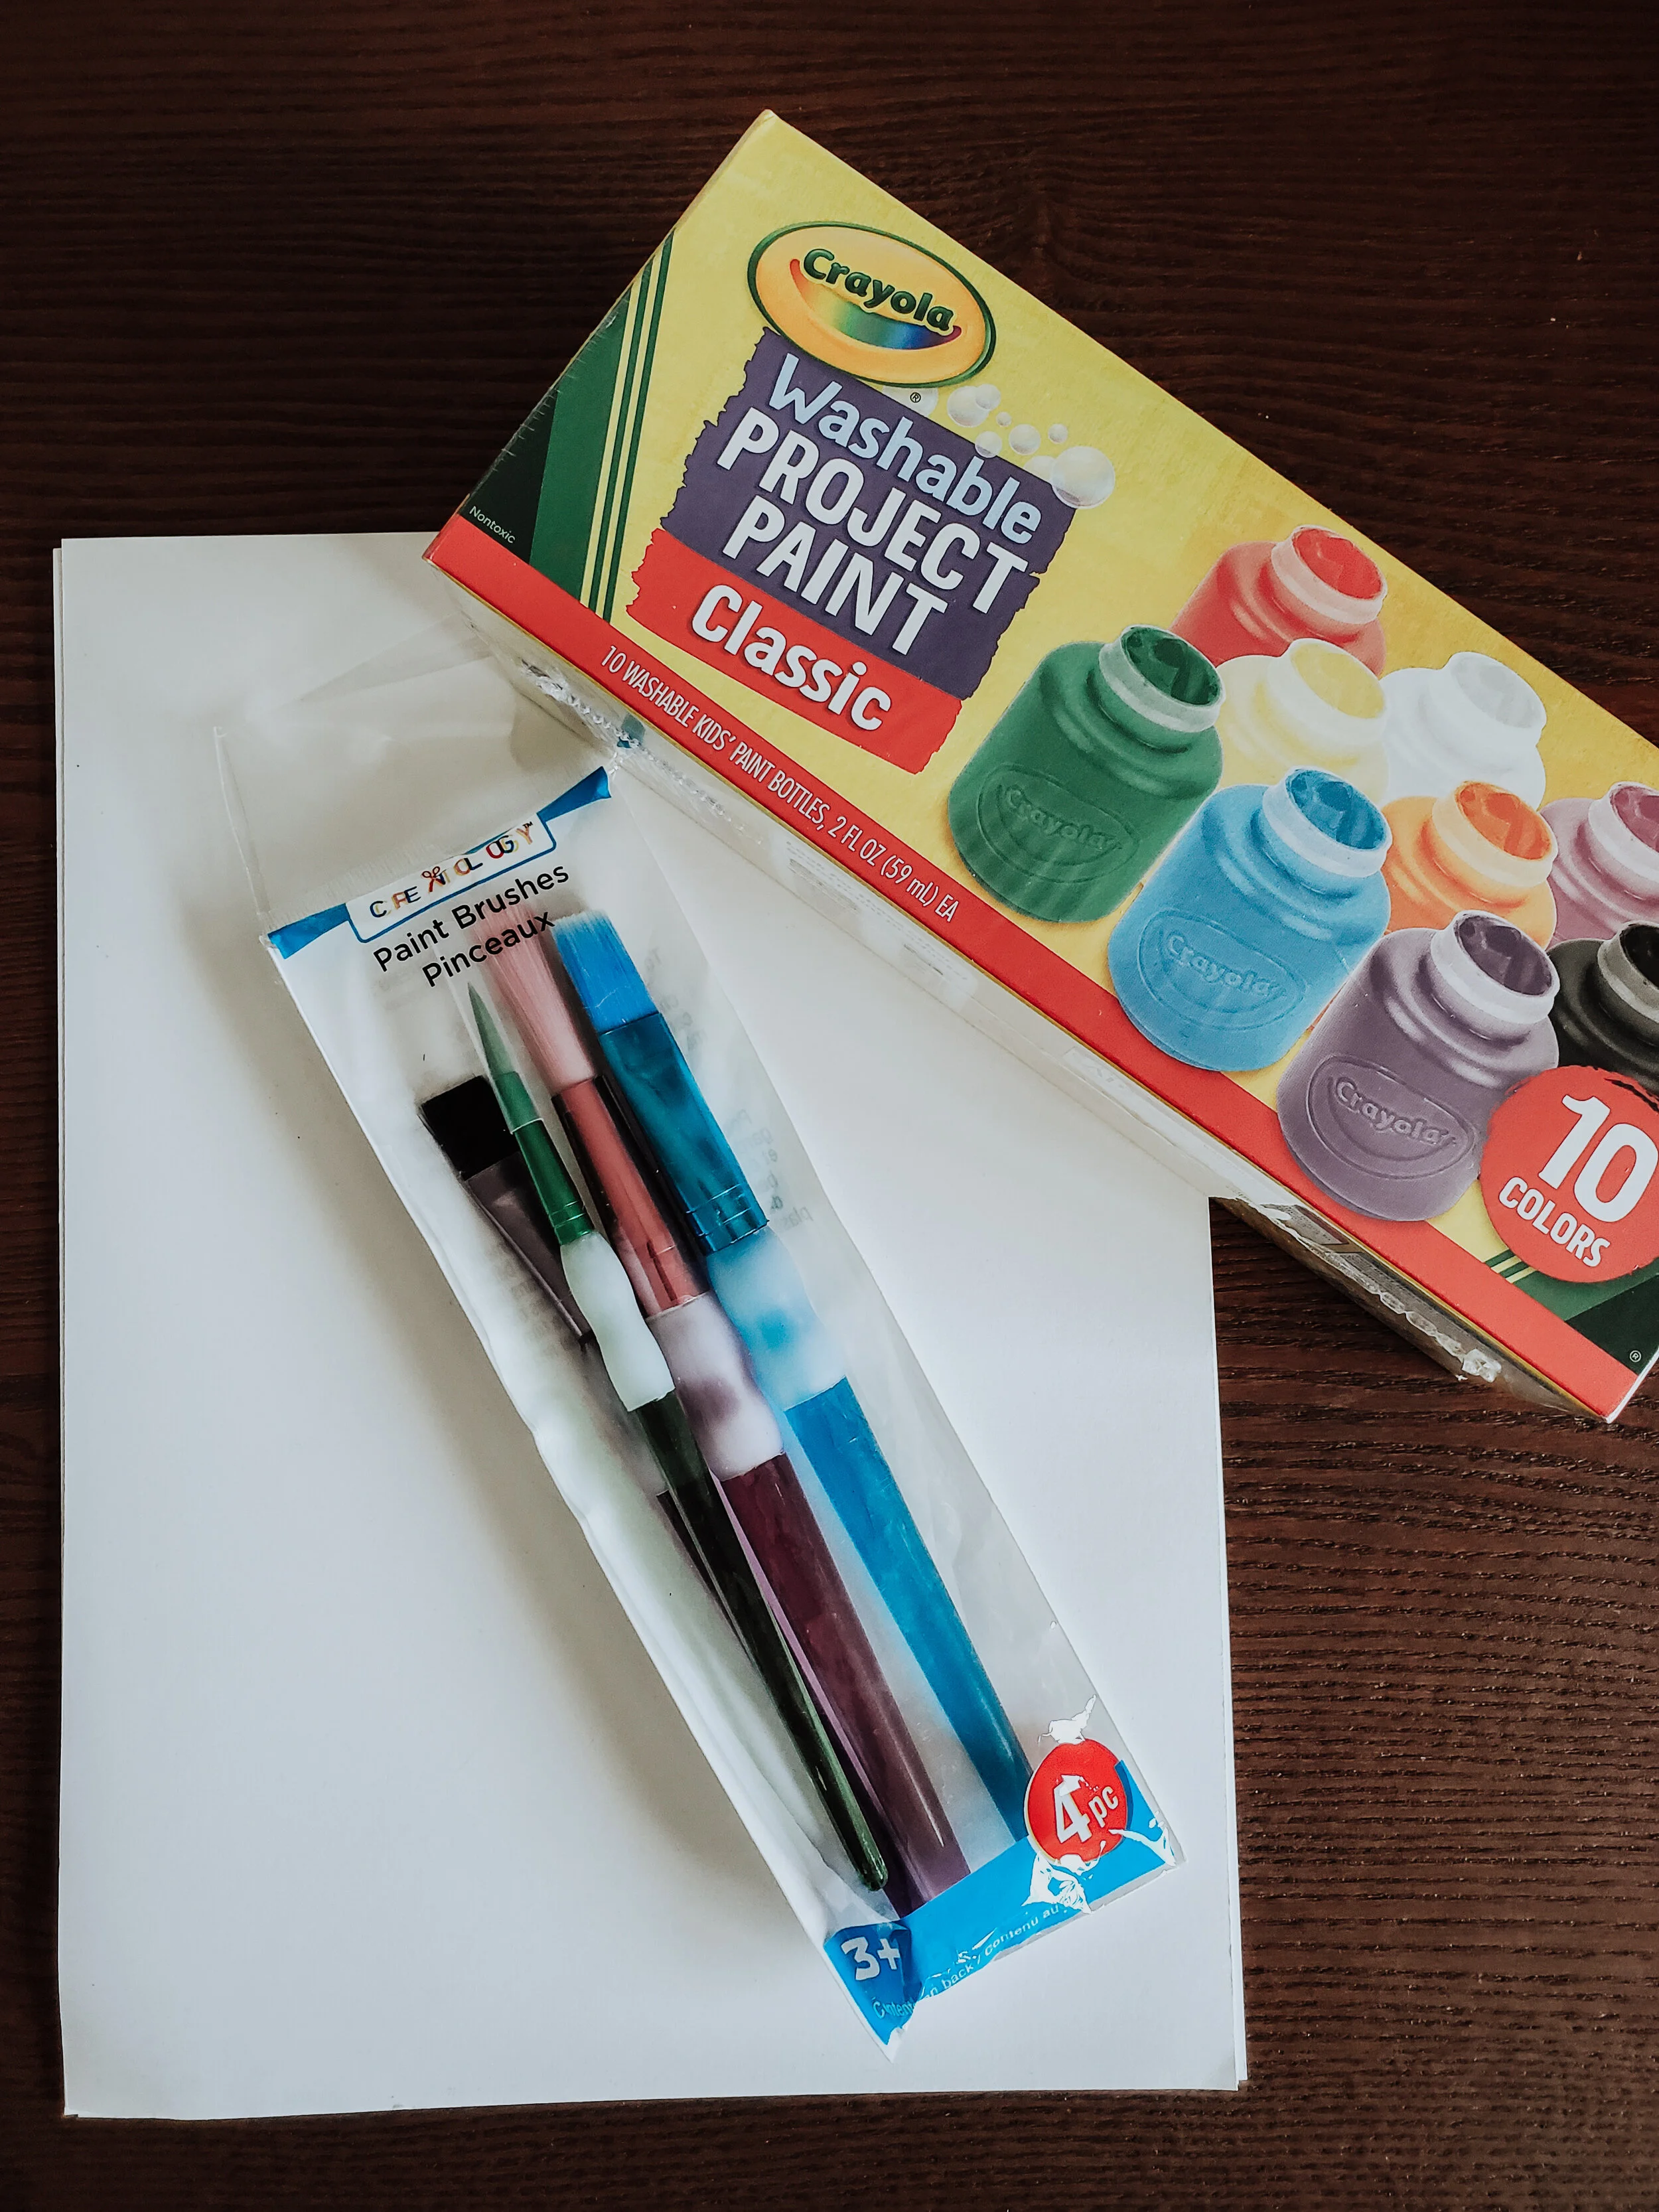
●Non toxic finger paint (brown, yellow, orange, red, green)
●Card stock, size of your choice
●Paint brush
●Your toddler’s hand and fingers!
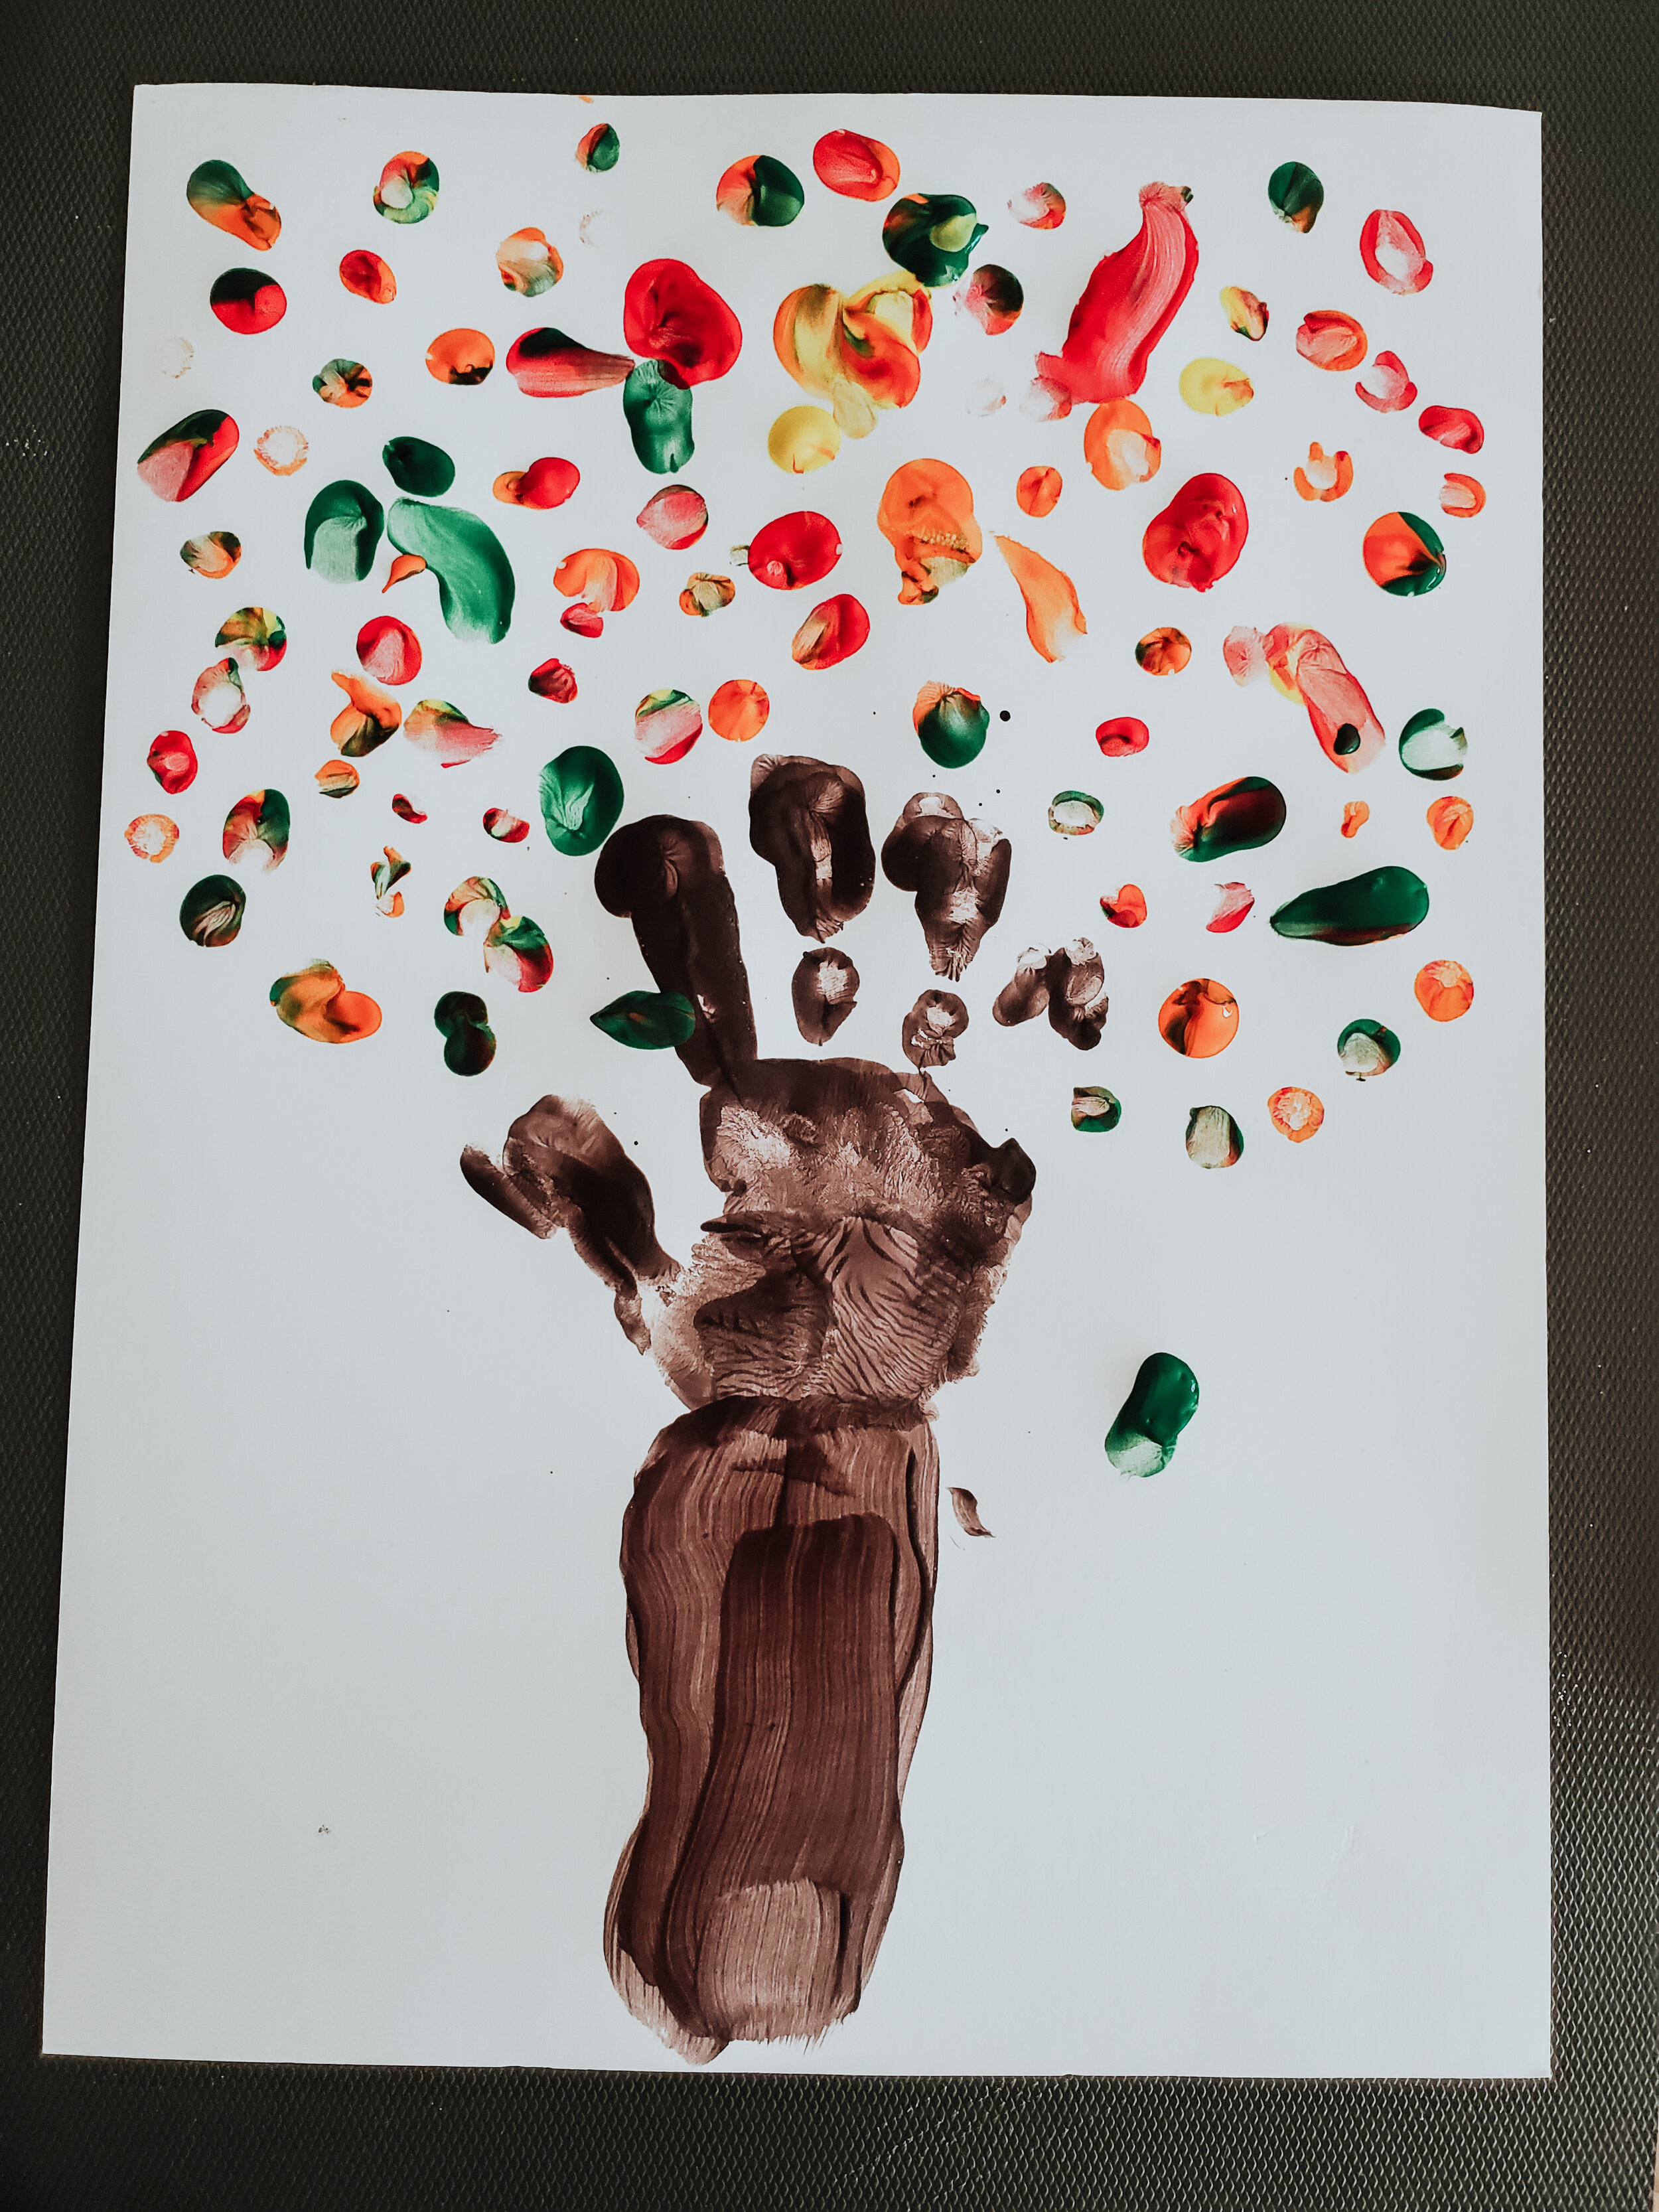
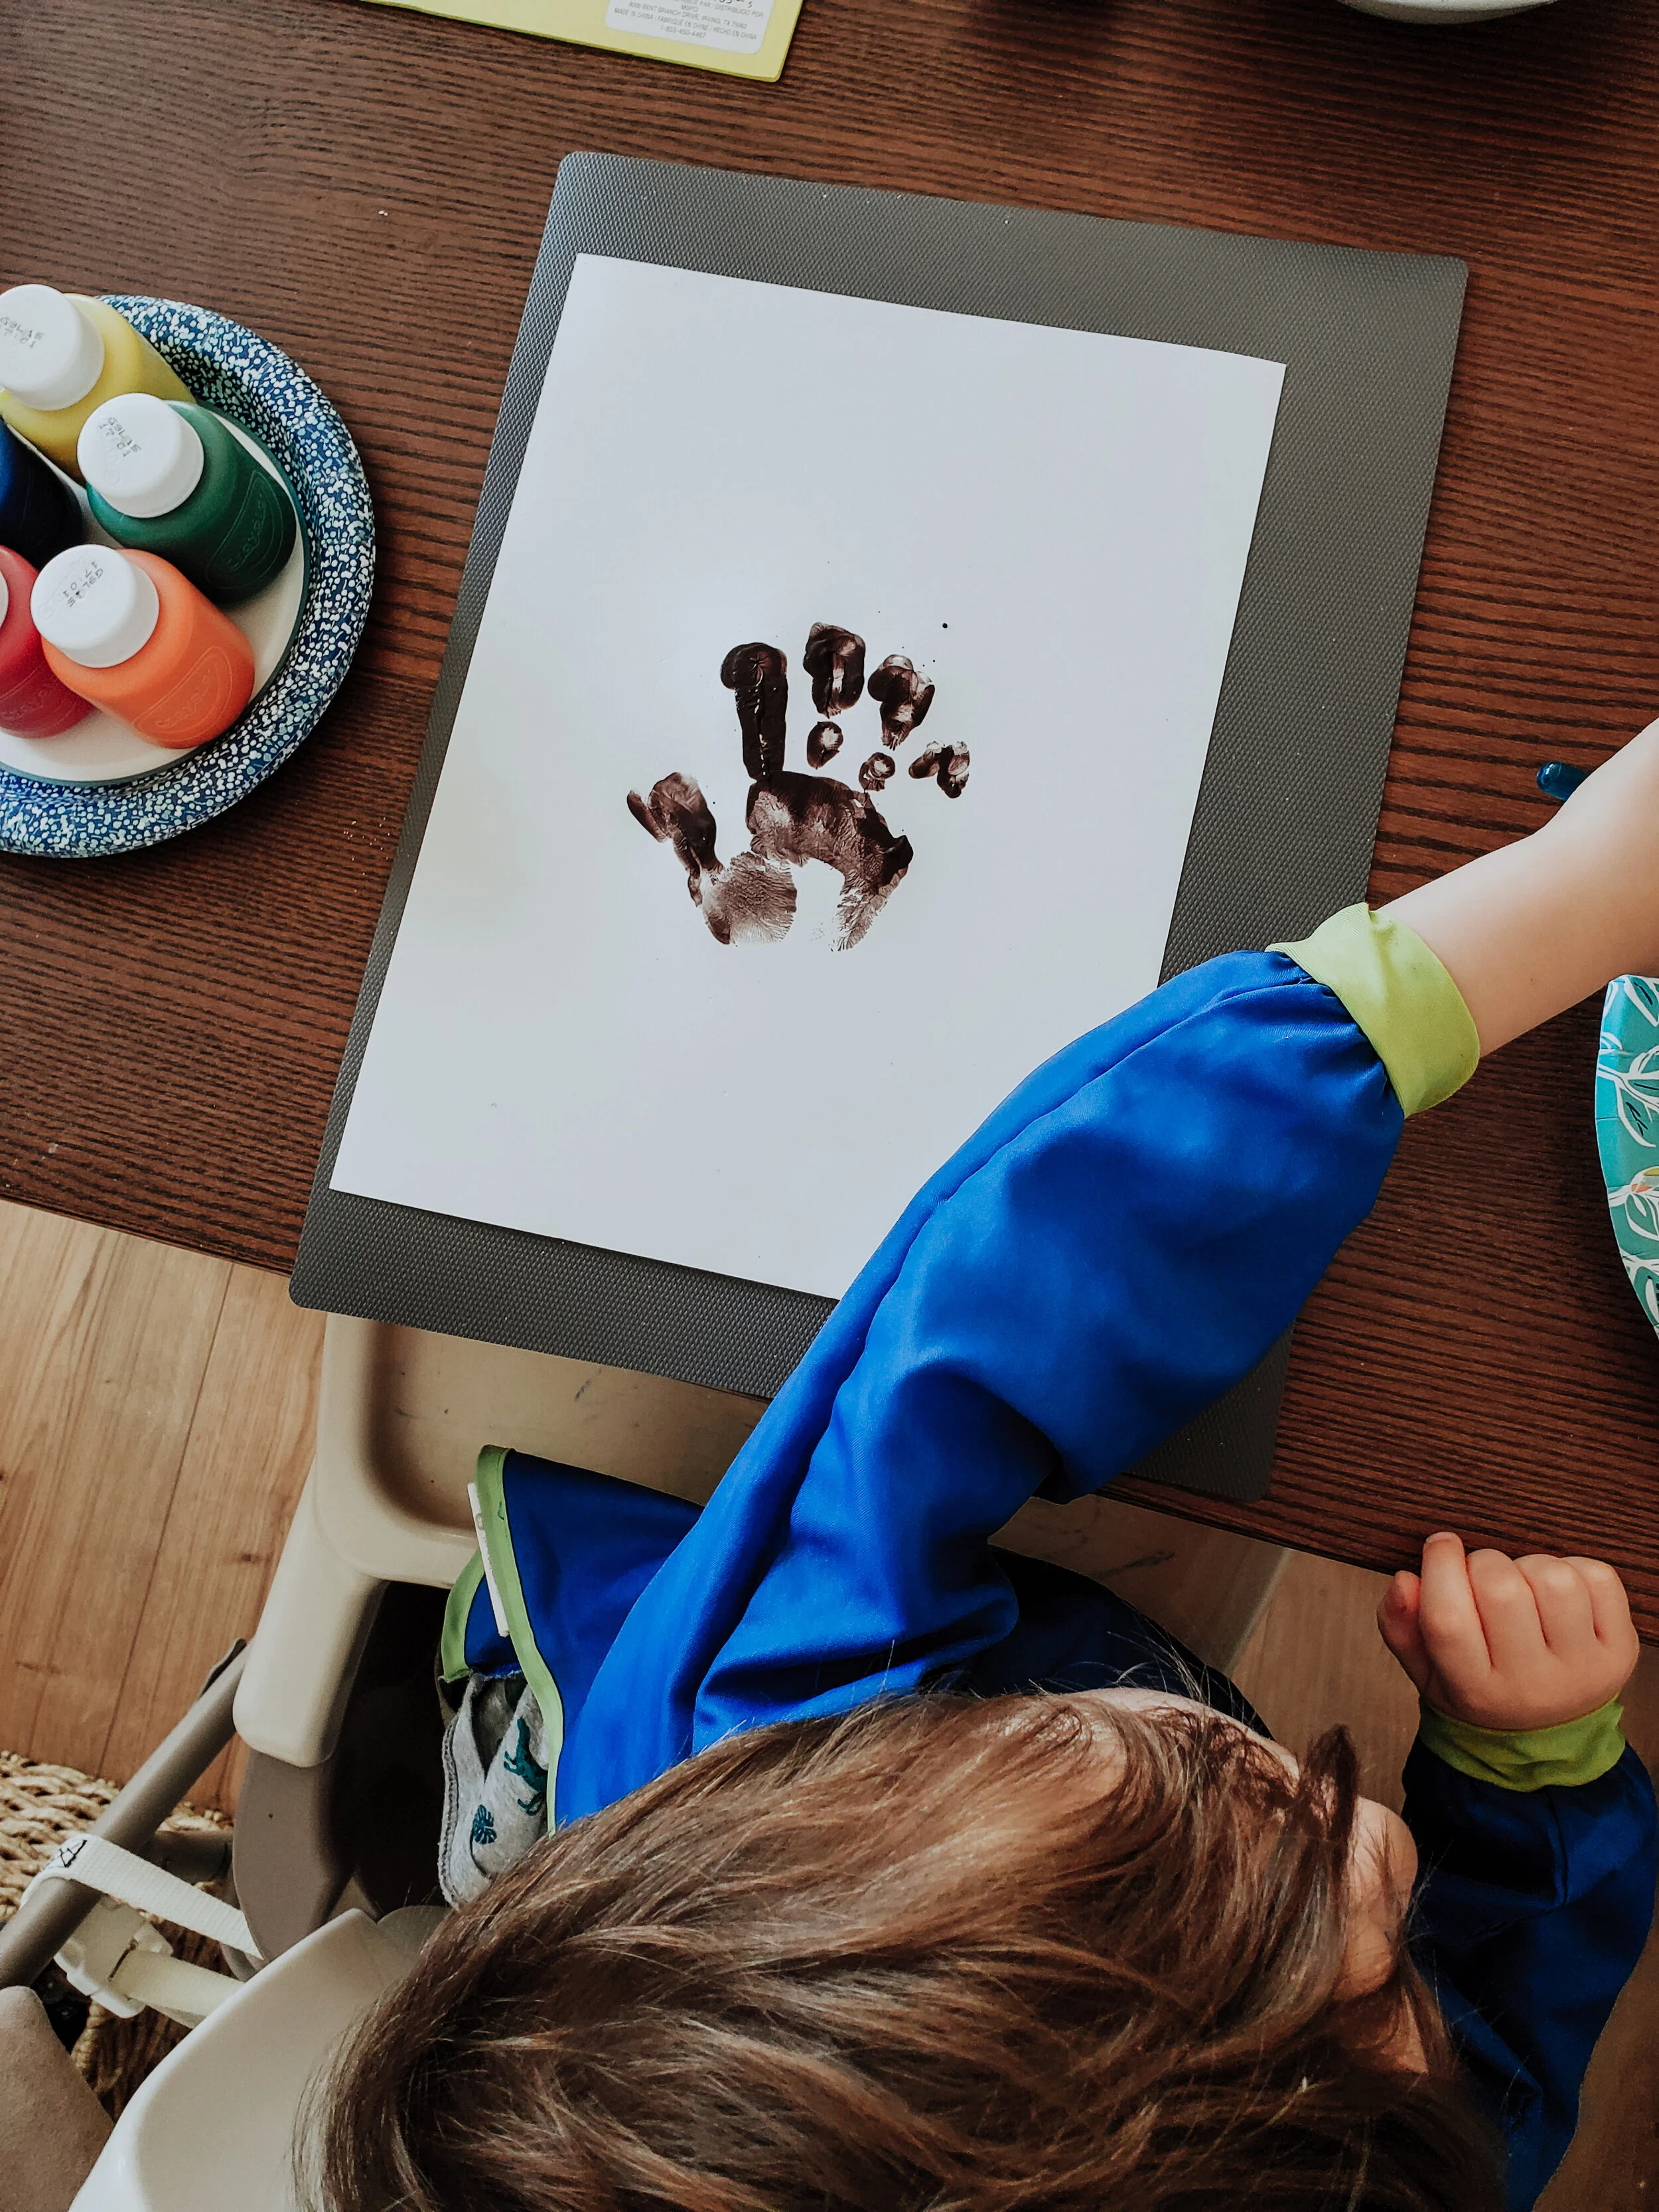
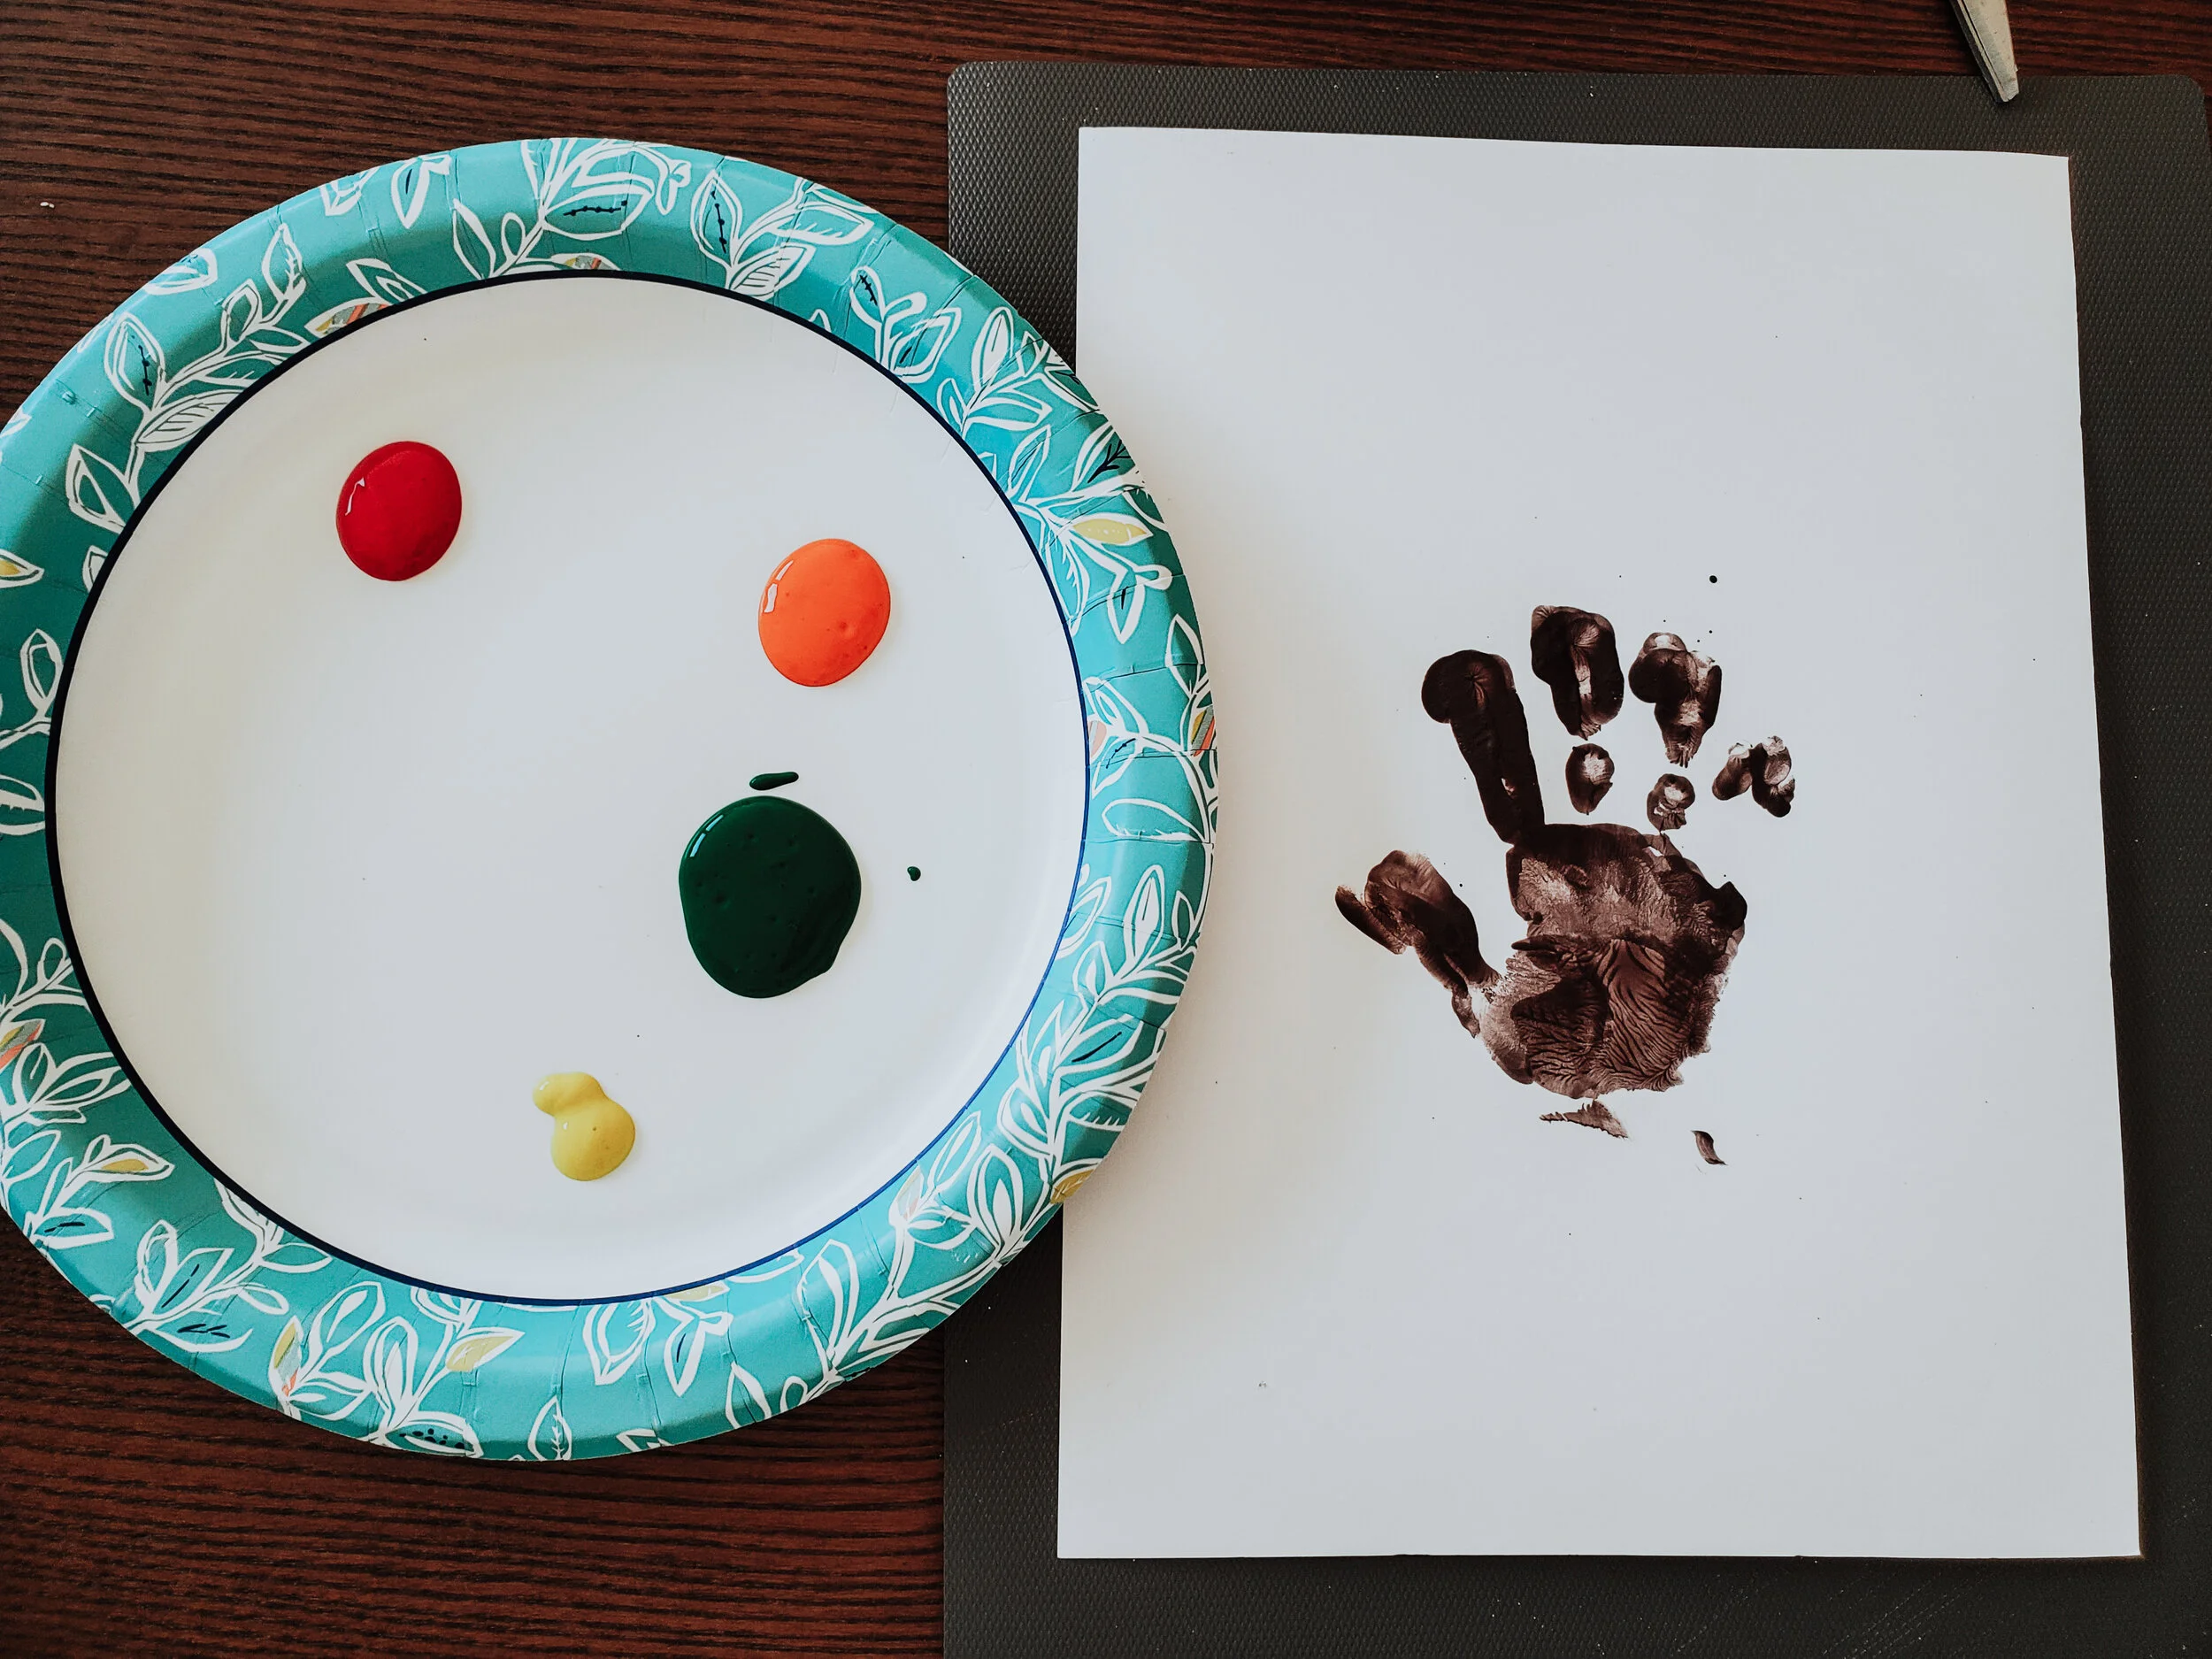
Hands down, my favorite craft, pun intended! I’m so pleased with how this painting turned out! First, I dipped ONLY my son's hands in brown paint...we then placed it center on the page. Pro tip: Be sure to put pressure on his palm and fingers to get a nice full hand print! We washed his hands, used a paintbrush together to paint the trunk of the tree, and then used his index finger to tap the other colors on to make leaves! We made the sound effect "boop!" as we tapped the page to encourage “quick tapping” instead of "spreading." I held his hand to direct his fingers at times, but he enjoyed doing a lot himself, and I’m obsessed with it! We signed his name and dated it on a leaf at the very bottom, and ended up framing it! LOVE!
Pumpkin Guts
What you'll need:
●1 Orange and 1 green foam sheet
●Pumpkin seeds
●Contact paper
●Scissors
●Yarn of your choice
●Marker
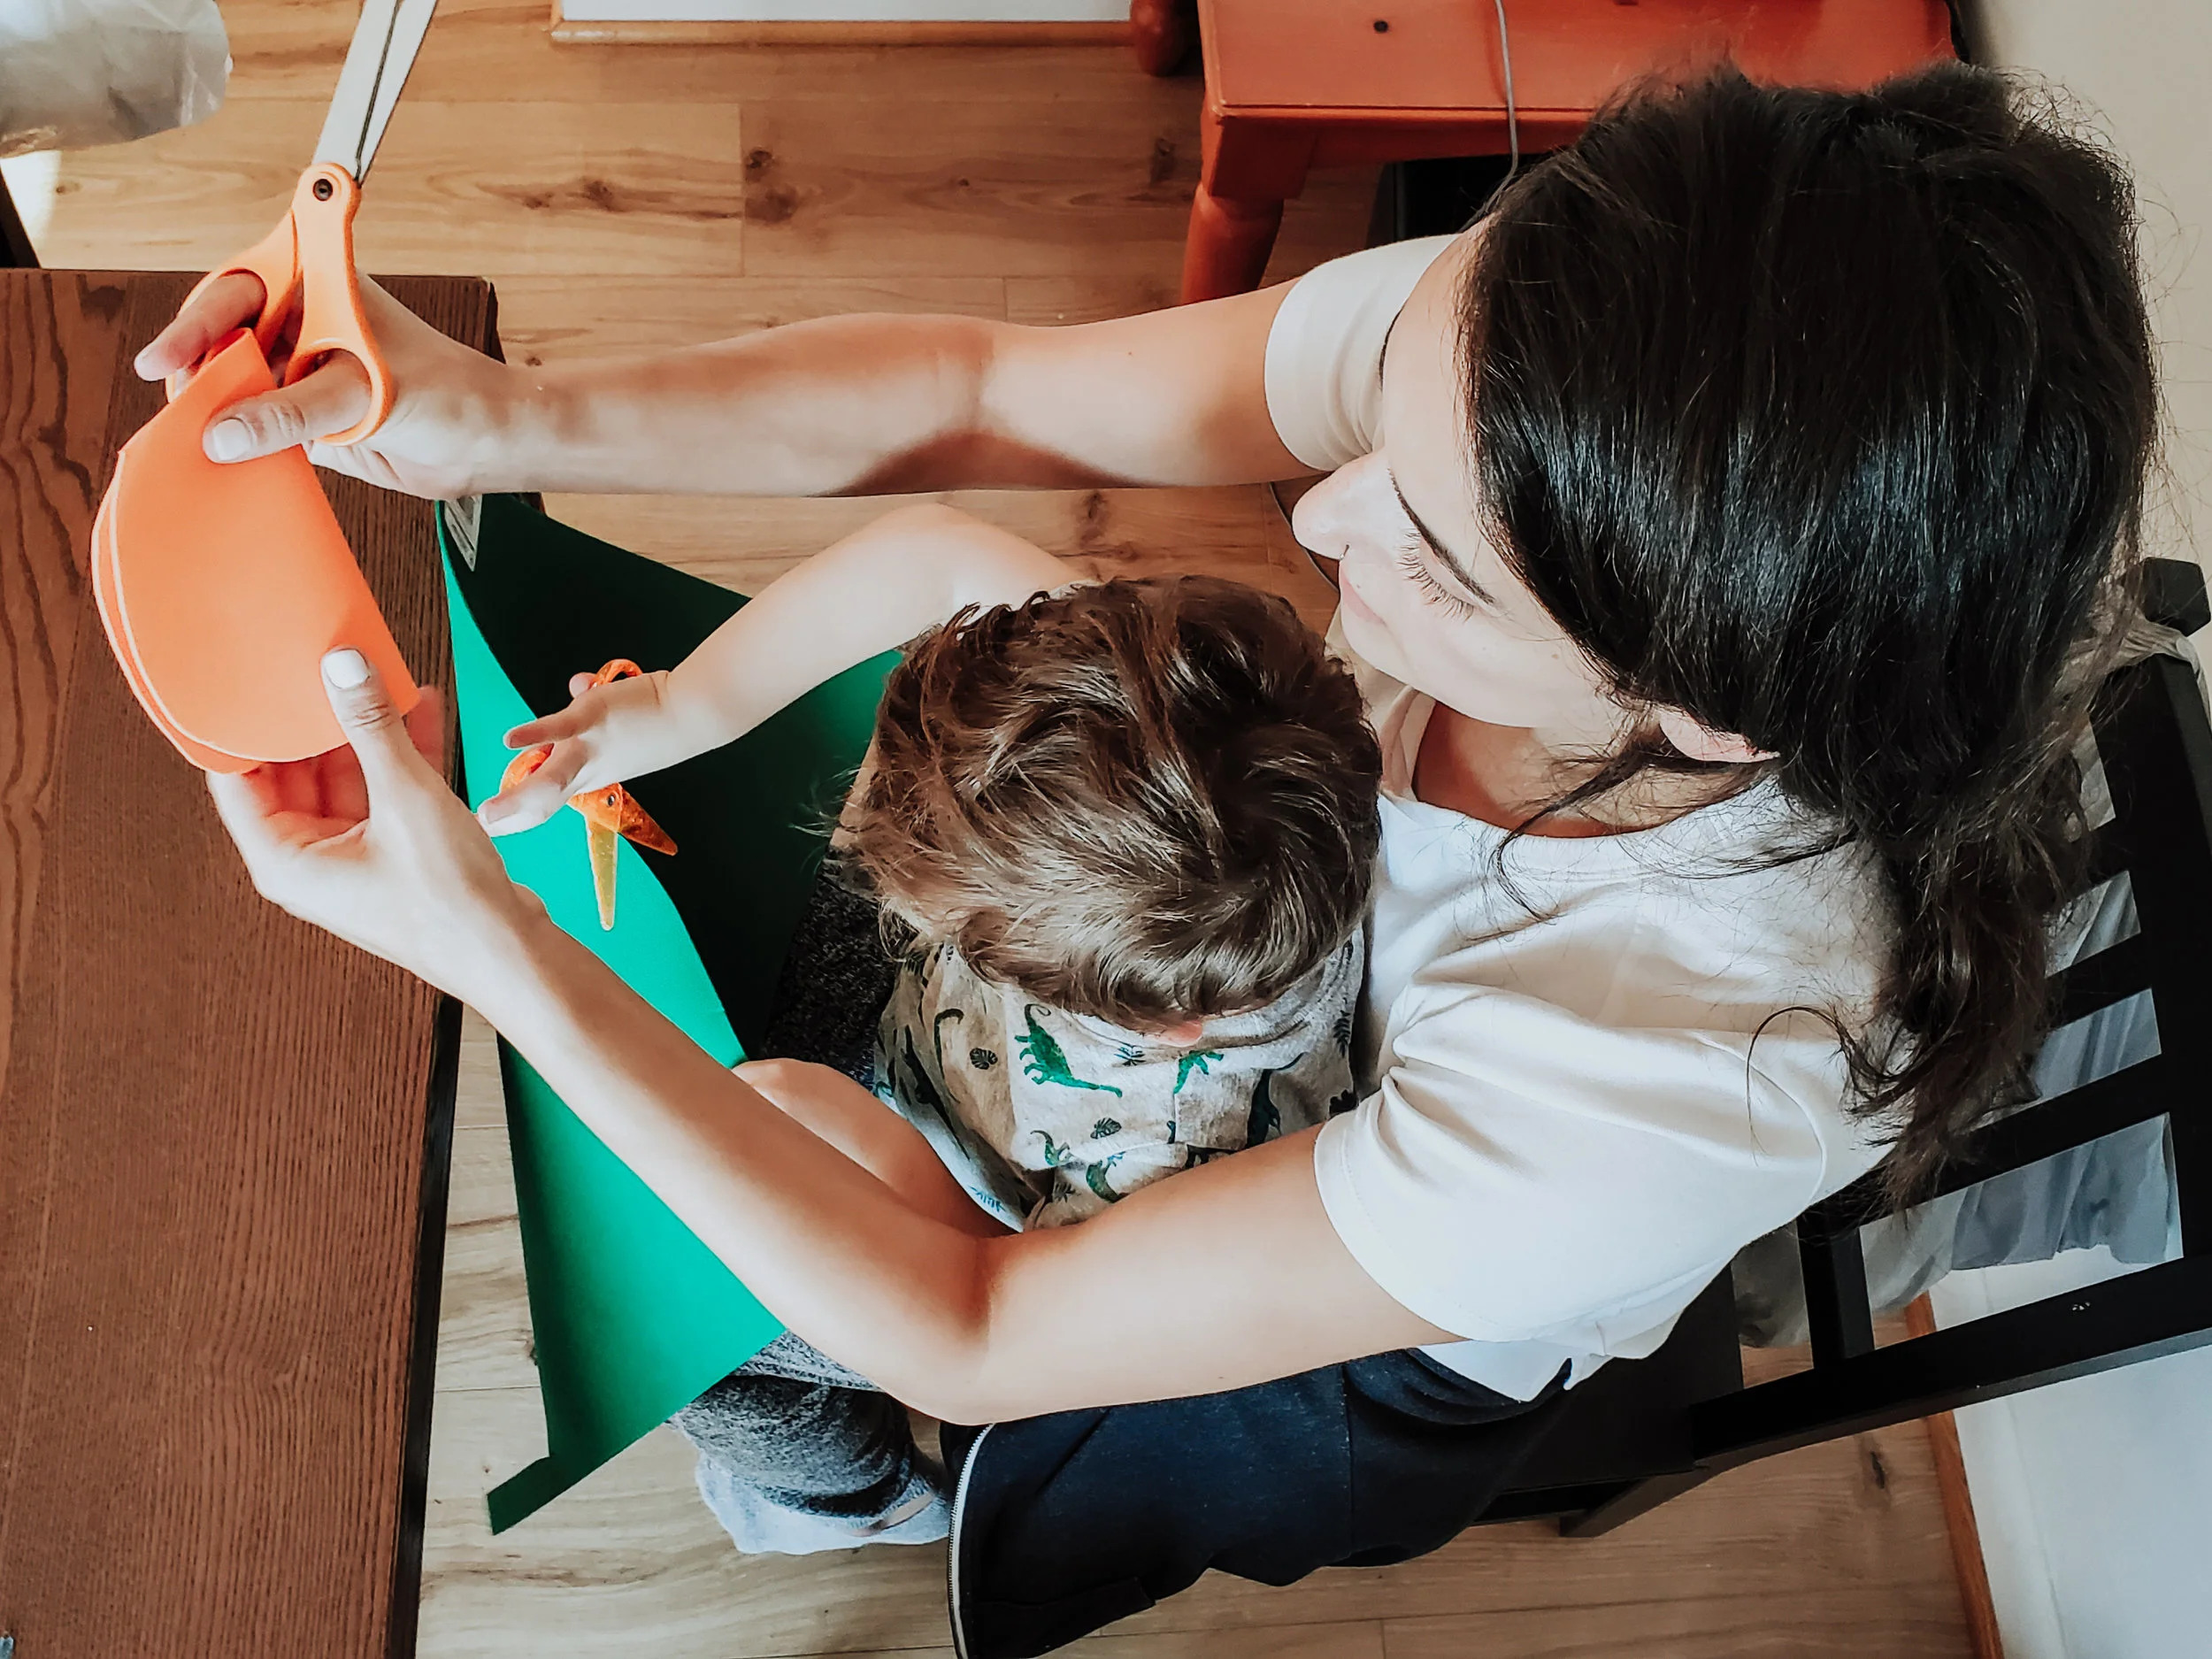
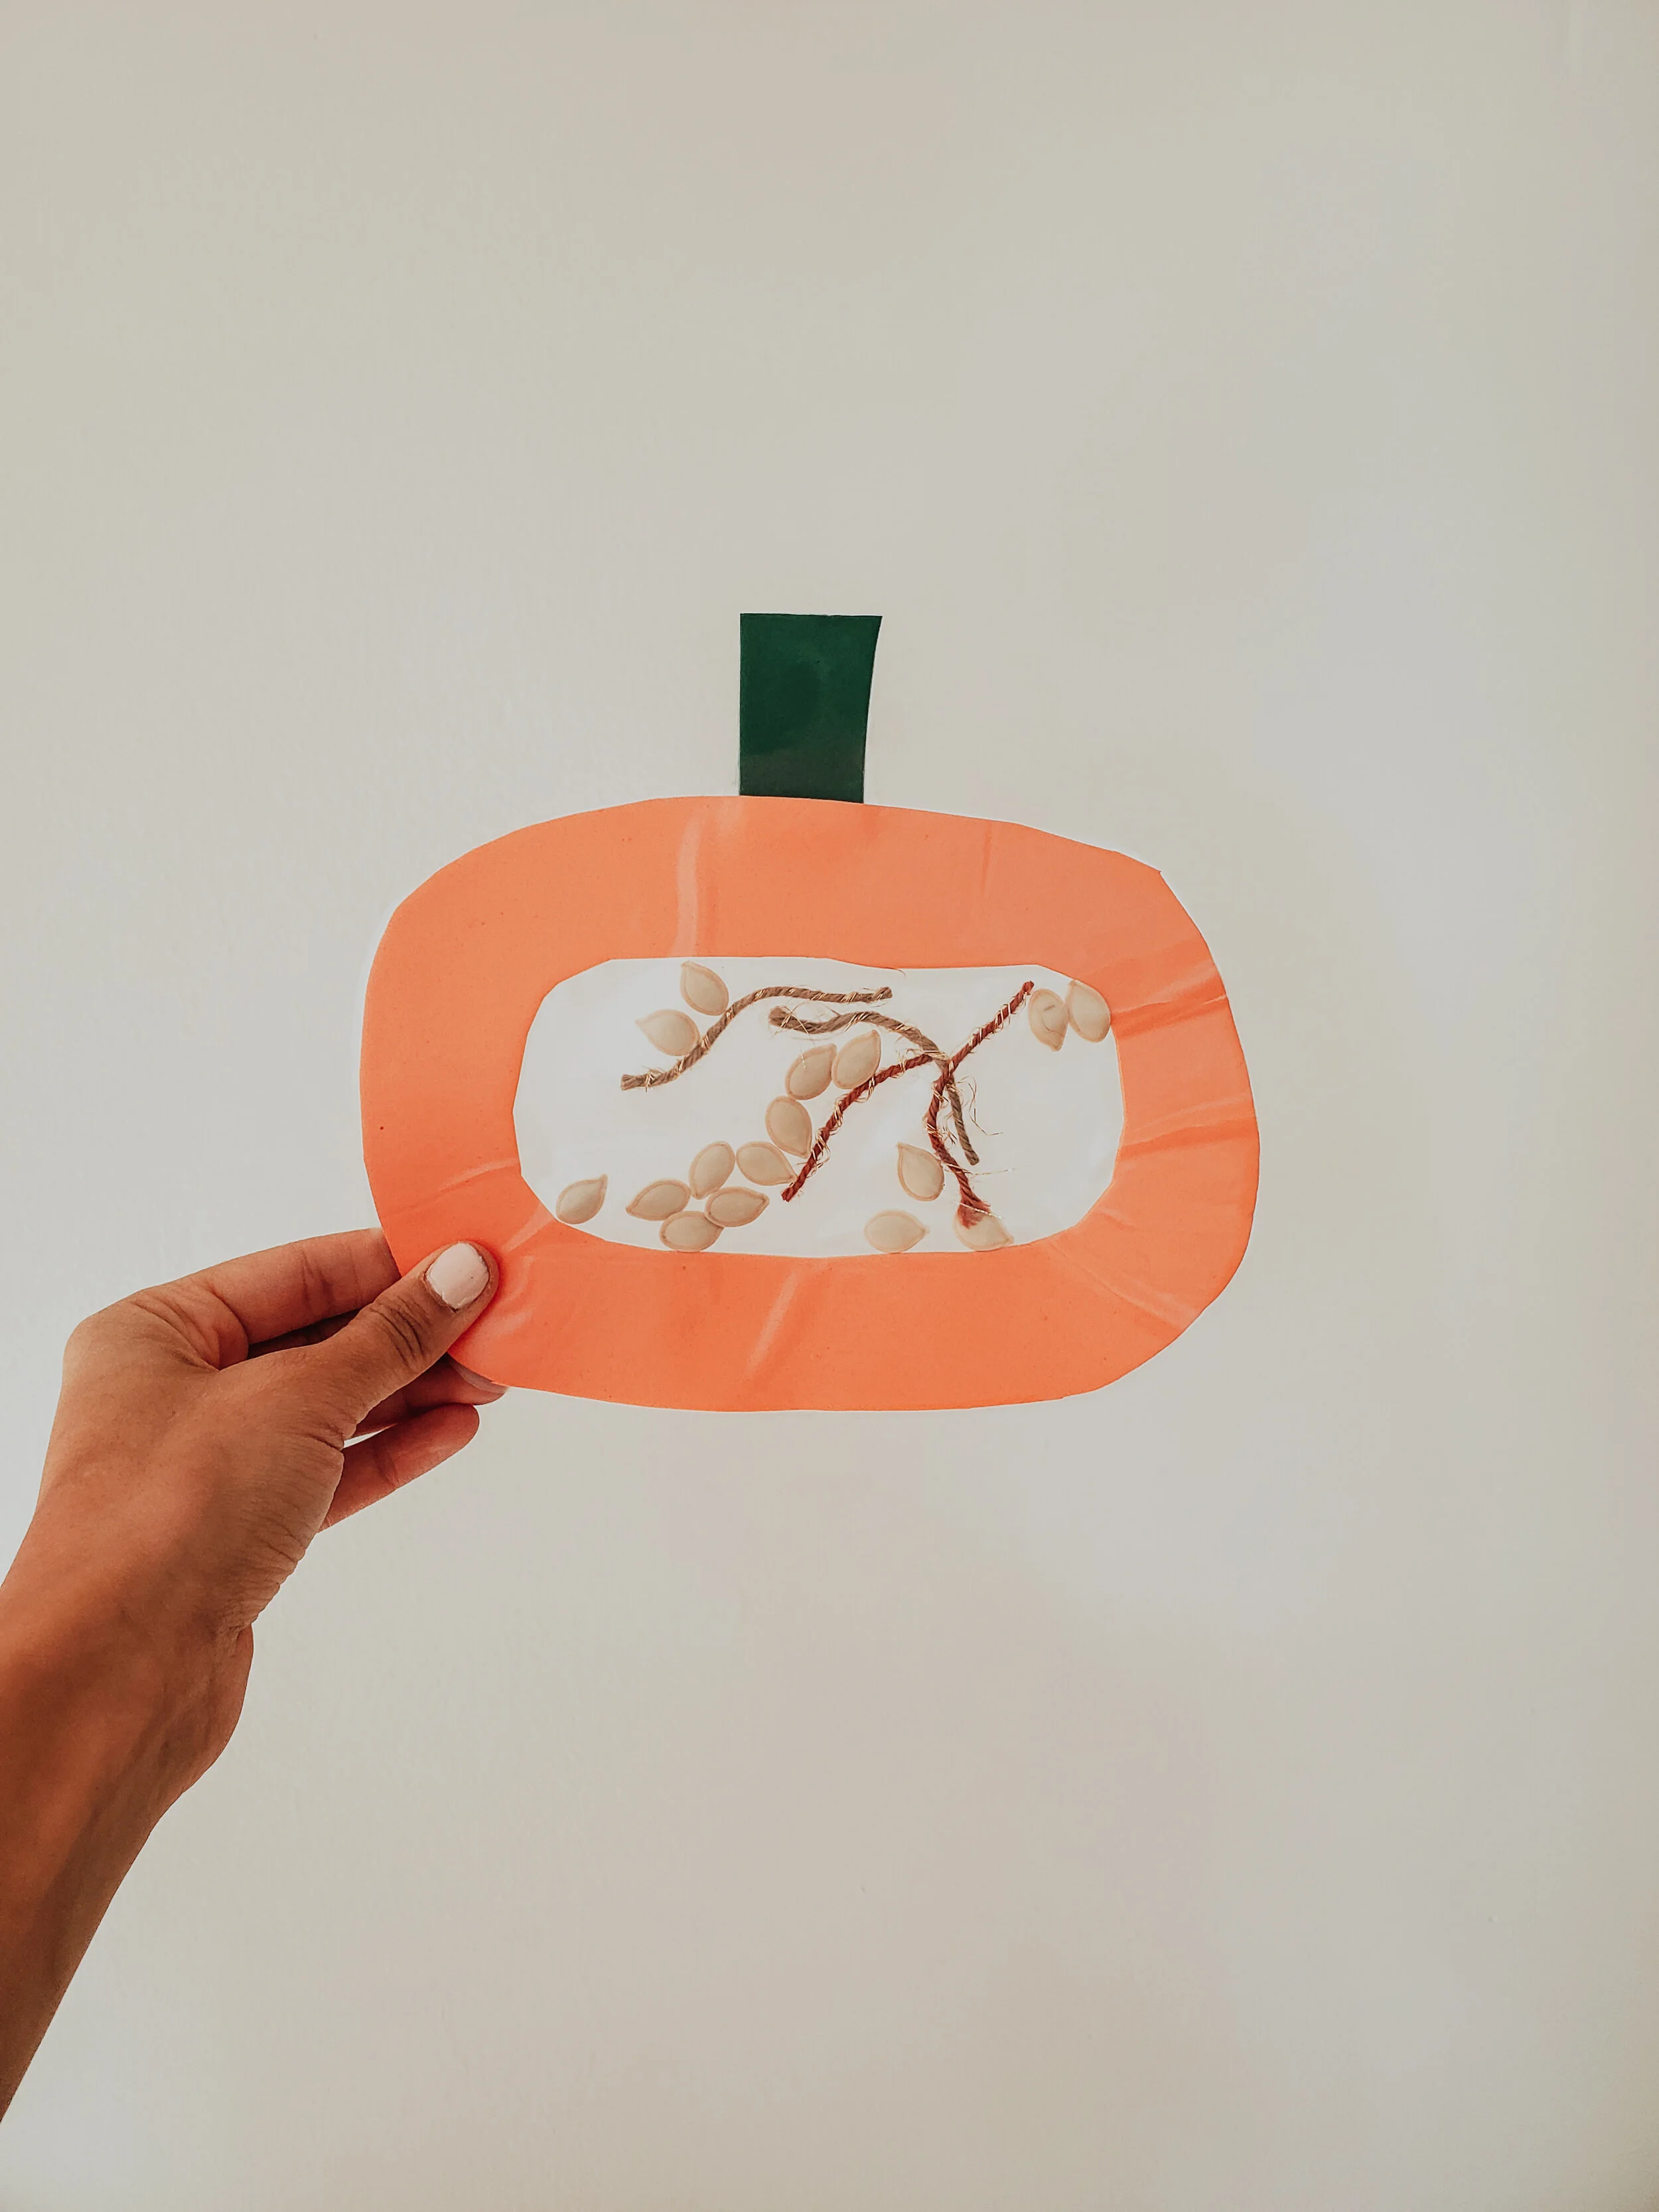
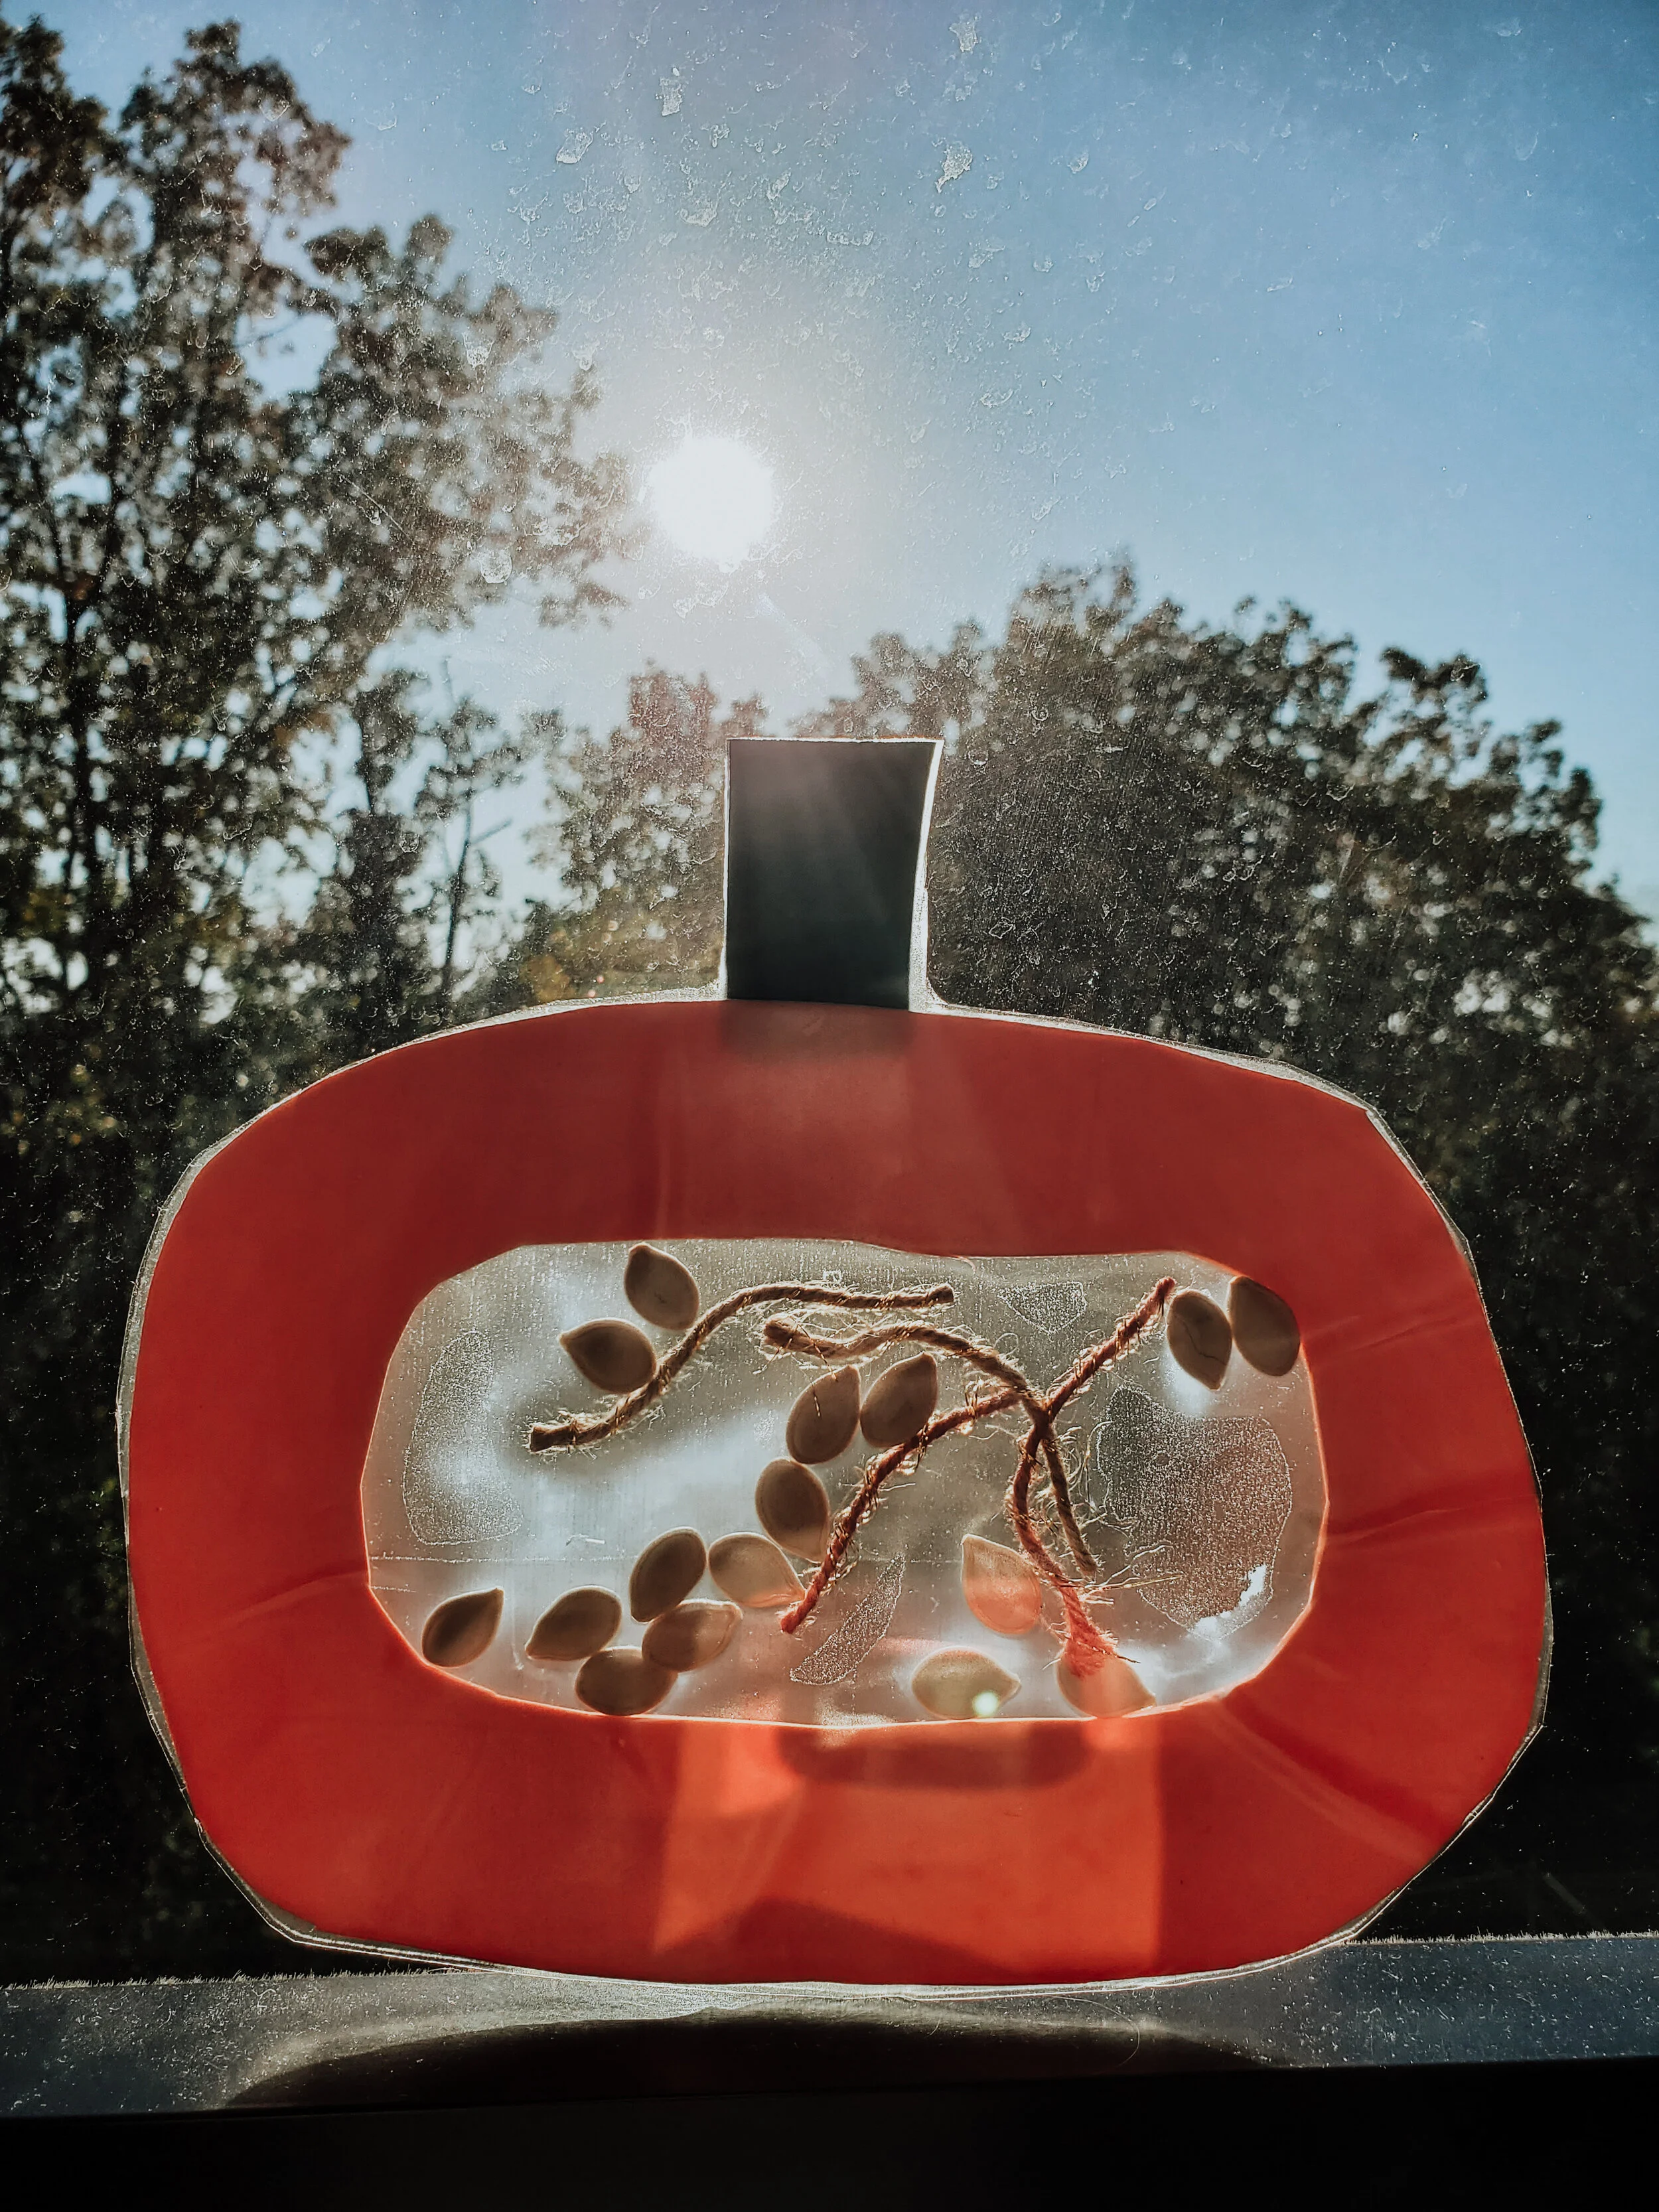
This project was a super cute way of giving a 2 1/2 year old an “inside look" of a pumpkin, guts and all!
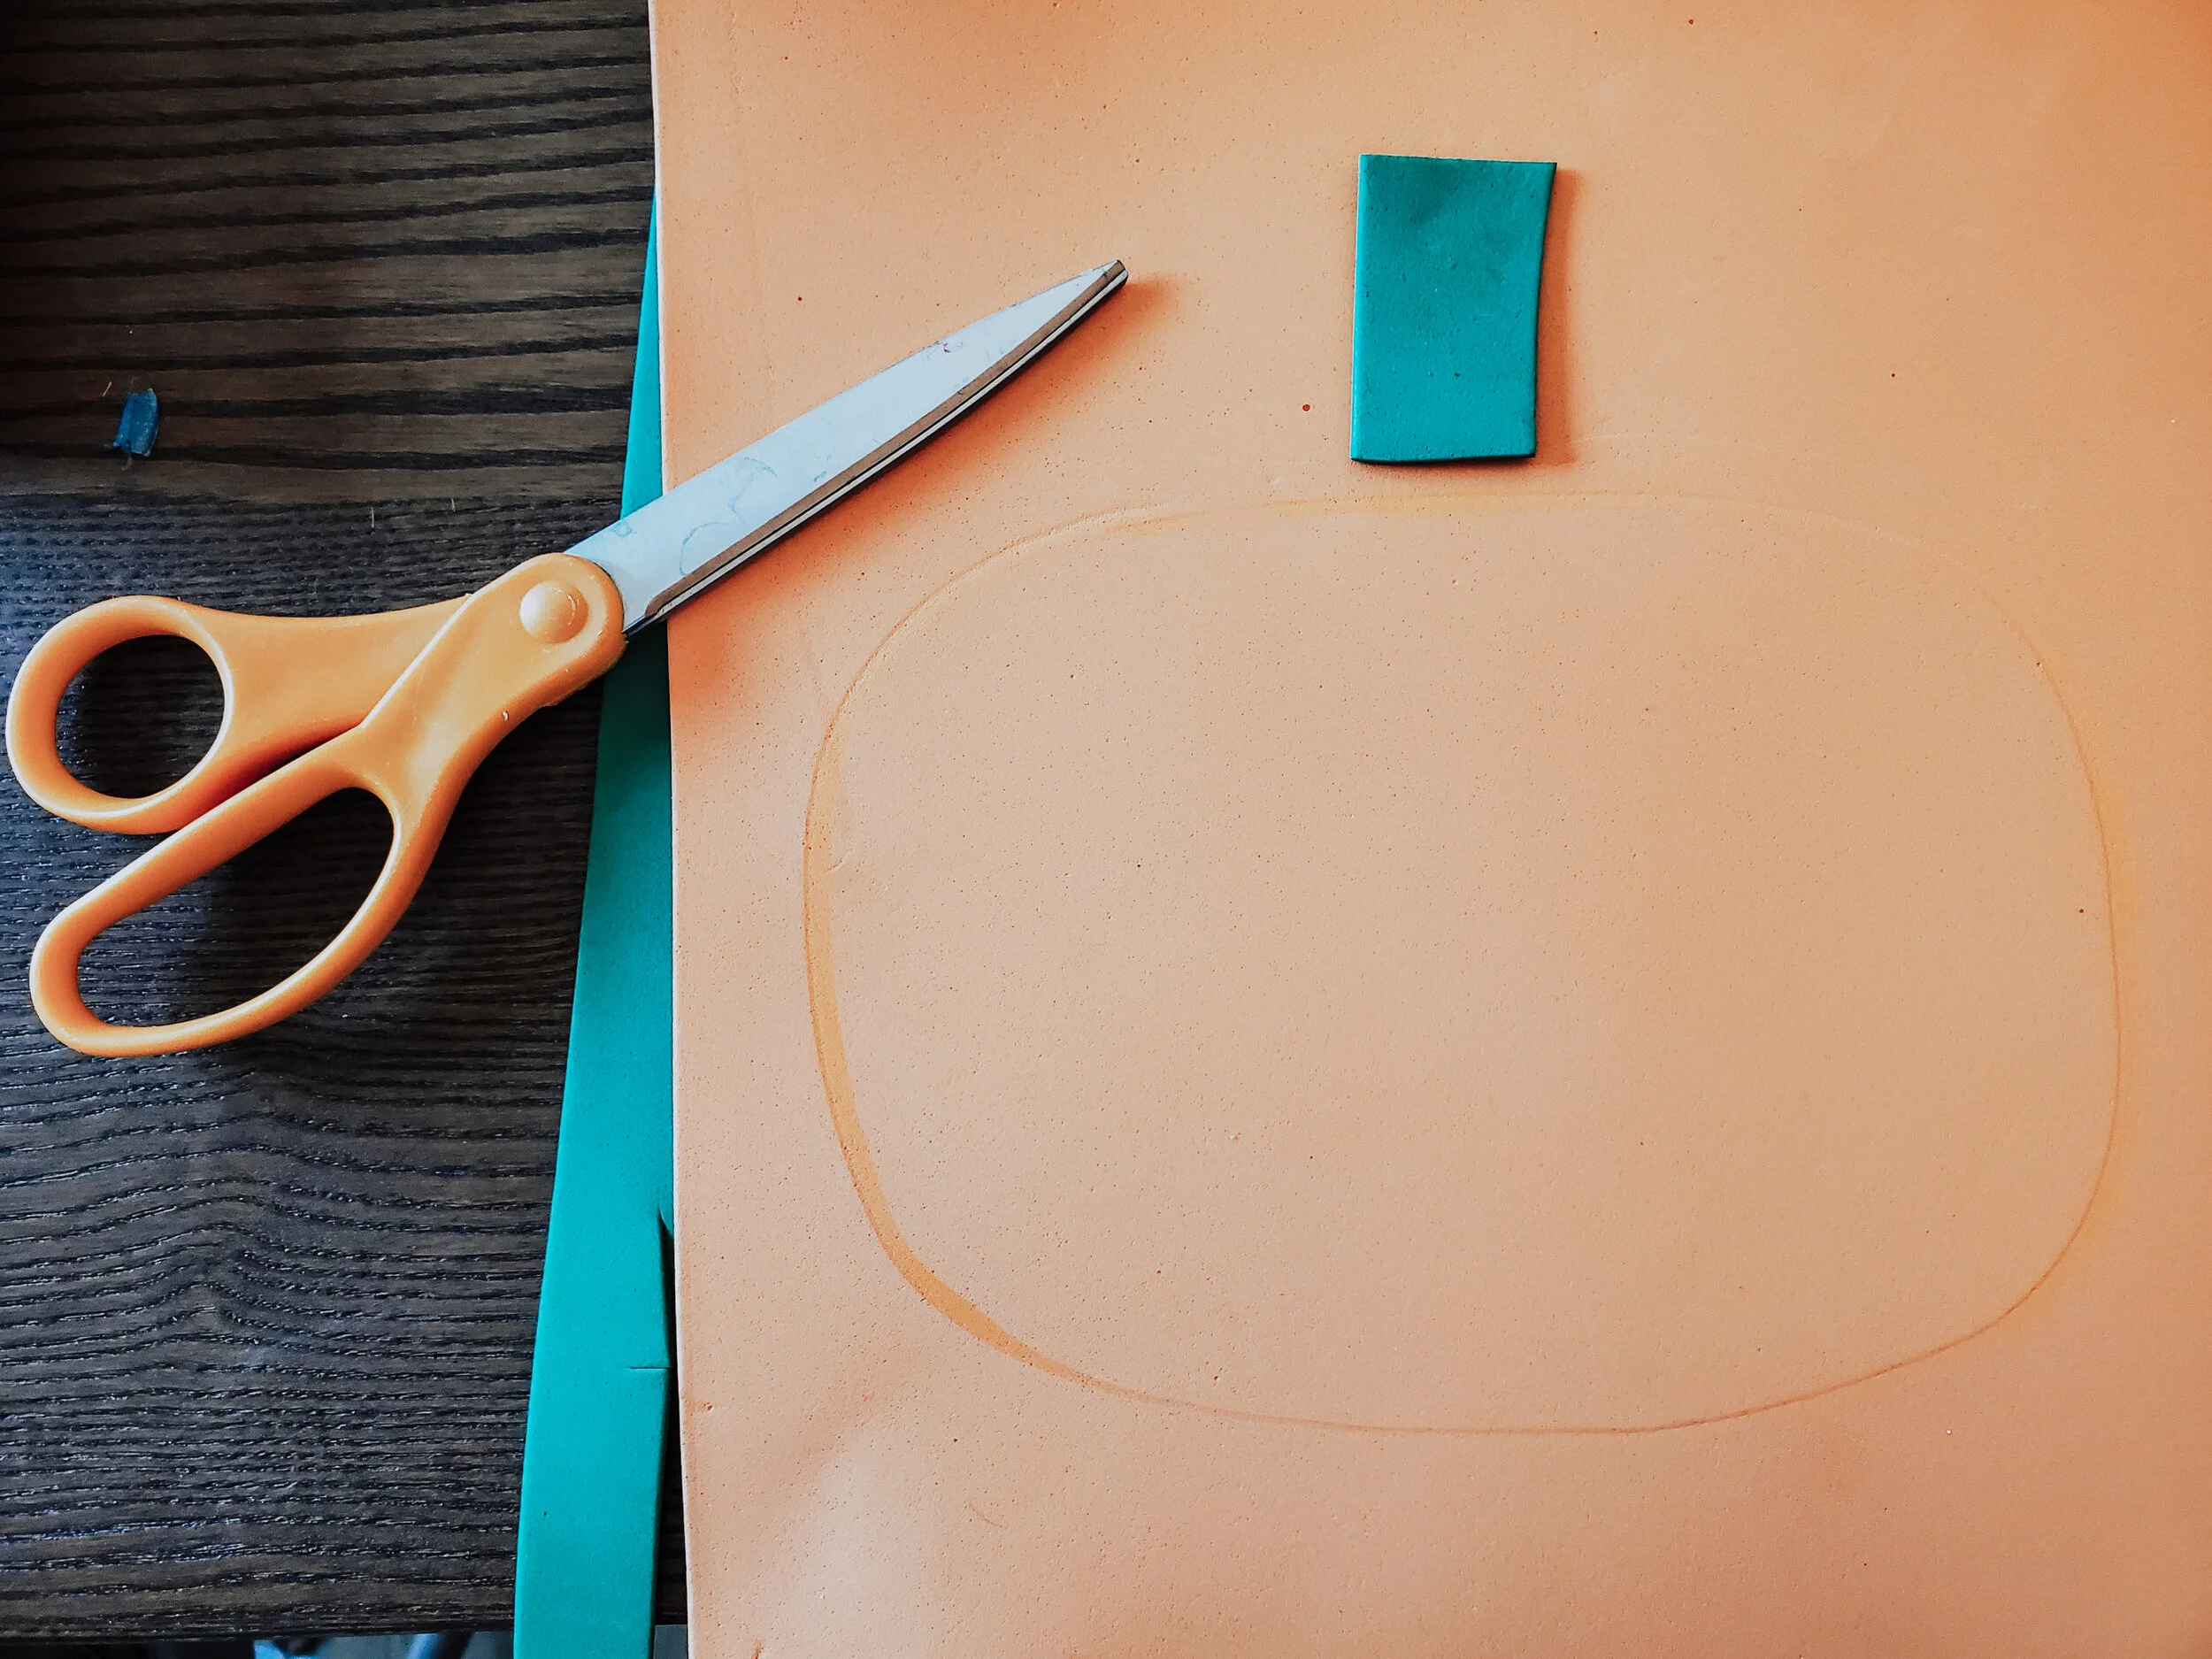
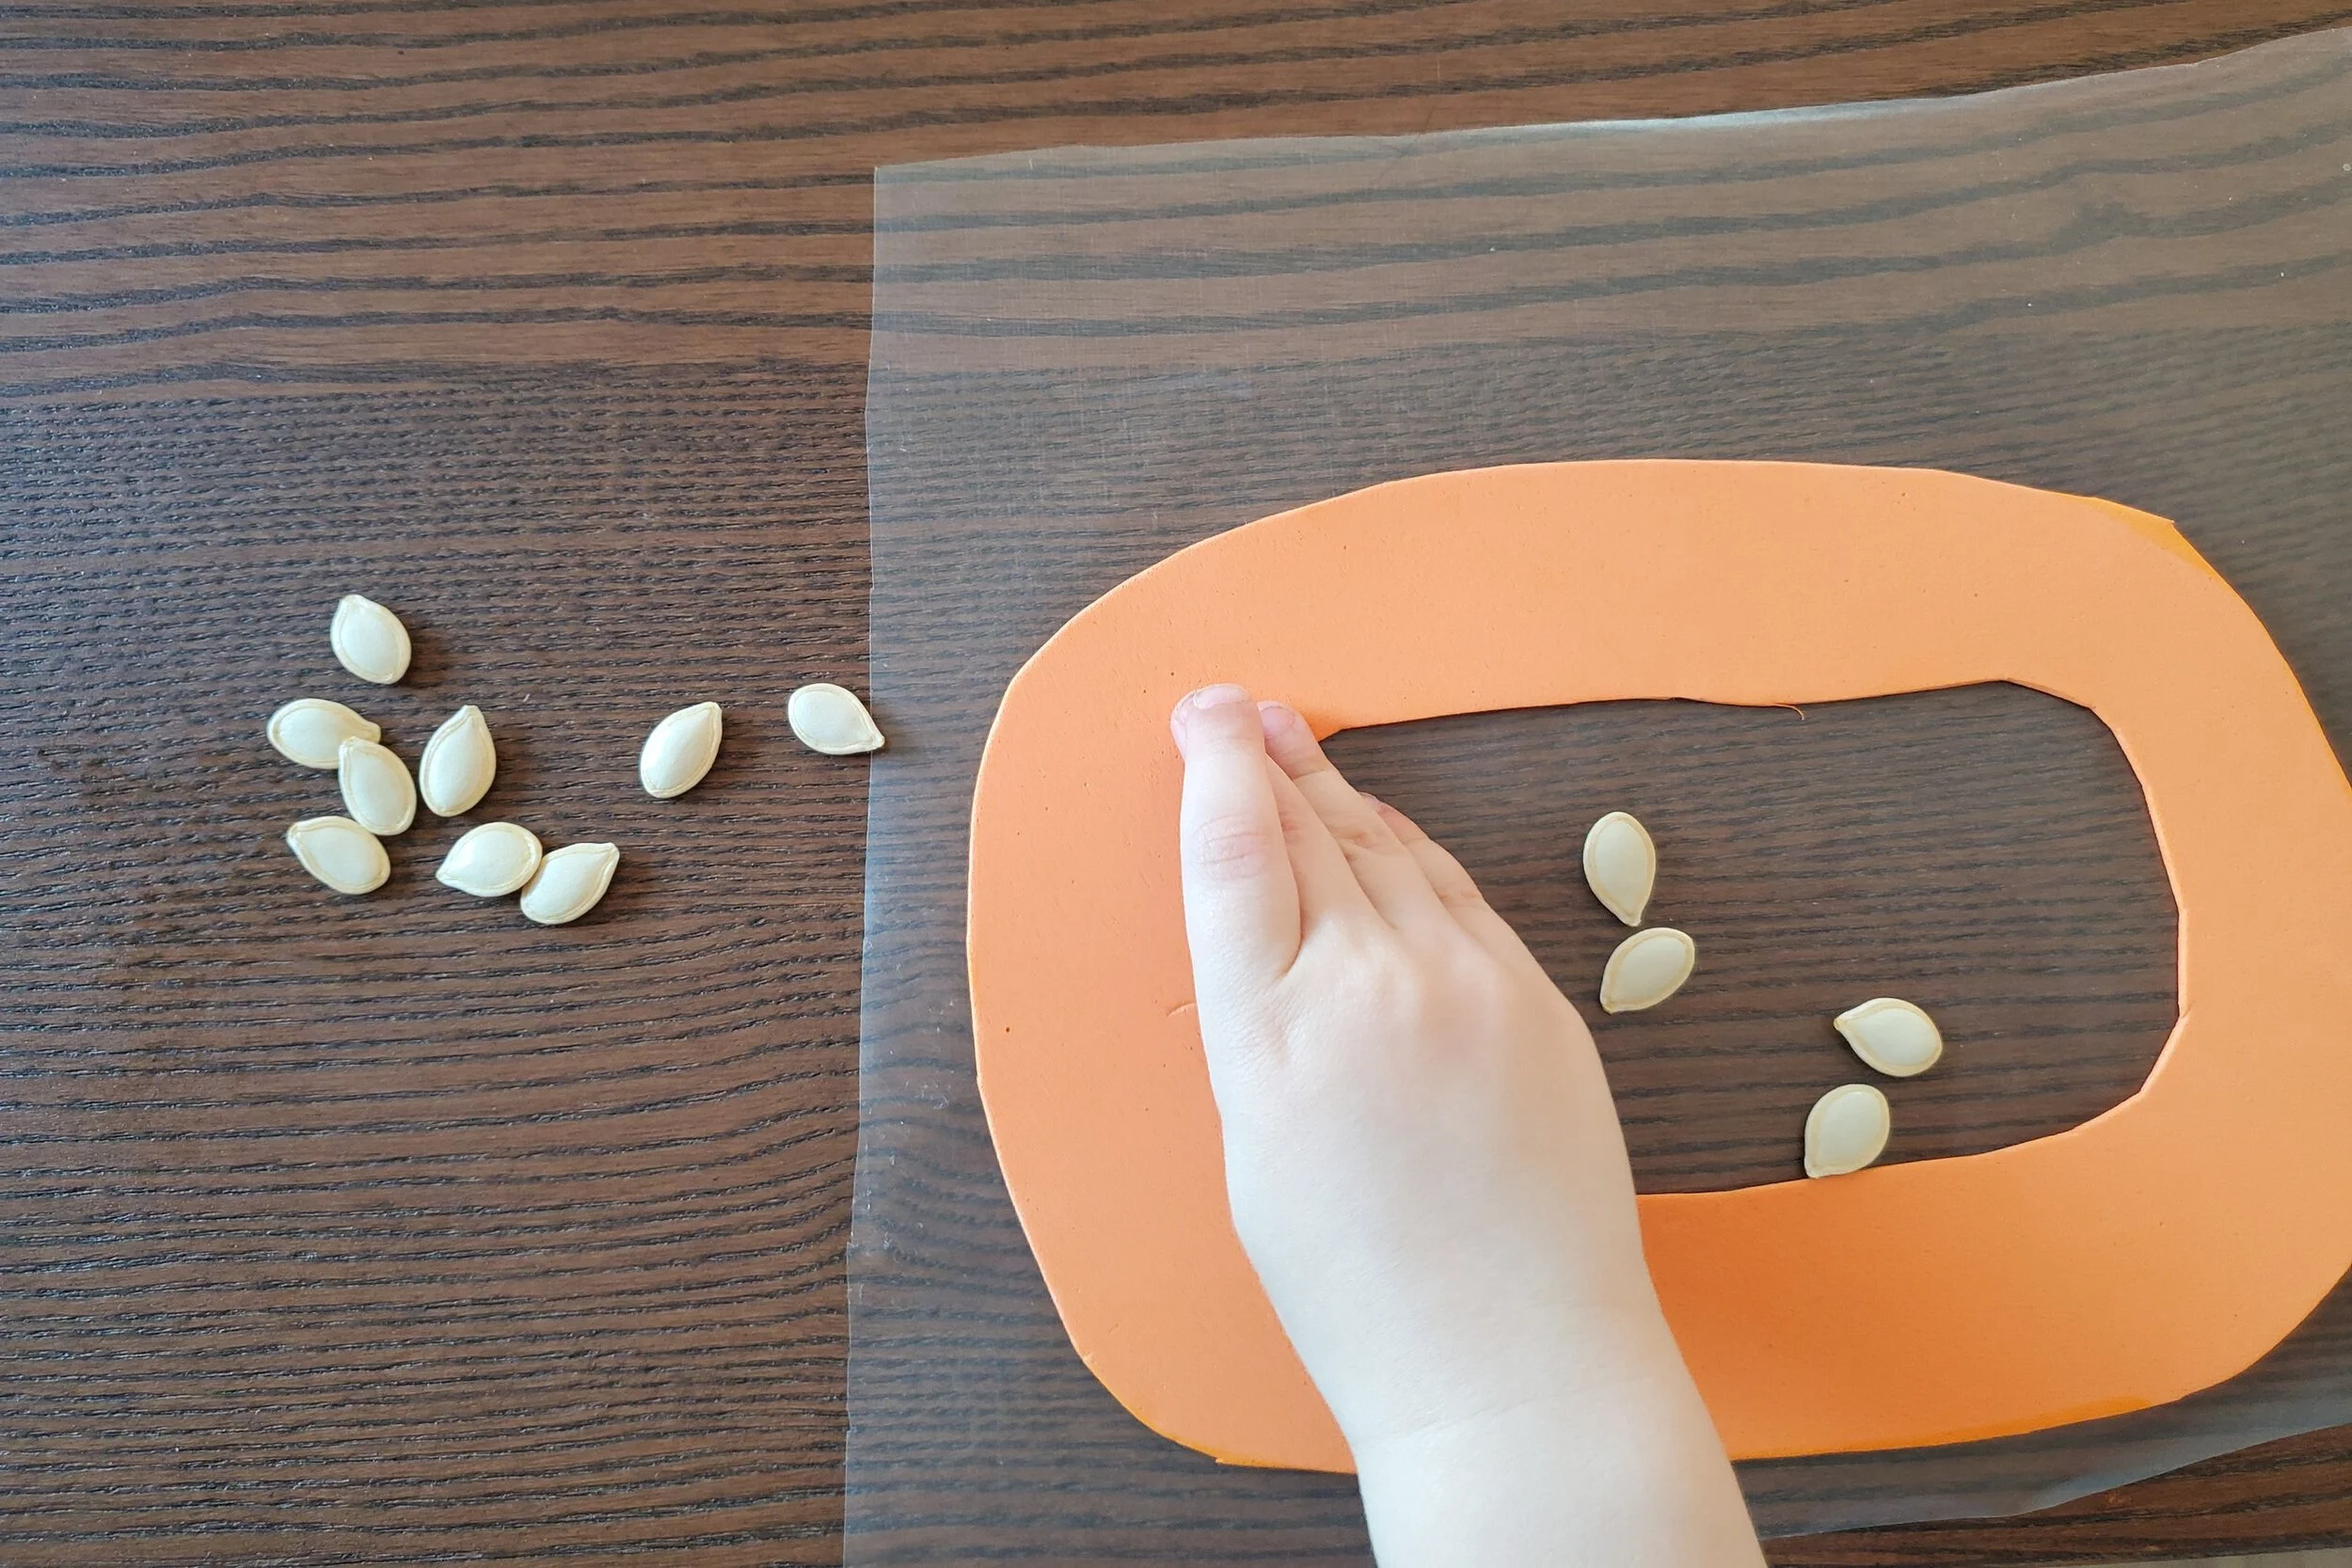
I first outlined the shape of a pumpkin on an orange foam sheet and cut it out. I folded it in half and cut an oval out of the center. Then, I placed it on the sticky part of the contact paper, and had my son pick and place the pumpkin seeds and yarn on it! I cut out and added a green stem on top, and sealed the whole thing with contact paper! I then cut out the pumpkin and it’s the absolute sweetest!
Leaf Suncatchers
What you'll need:
●2 Bamboo hoops
●Ribbon
●Twine
●Contact paper
●Fall Leaves, handpicked by your toddler!
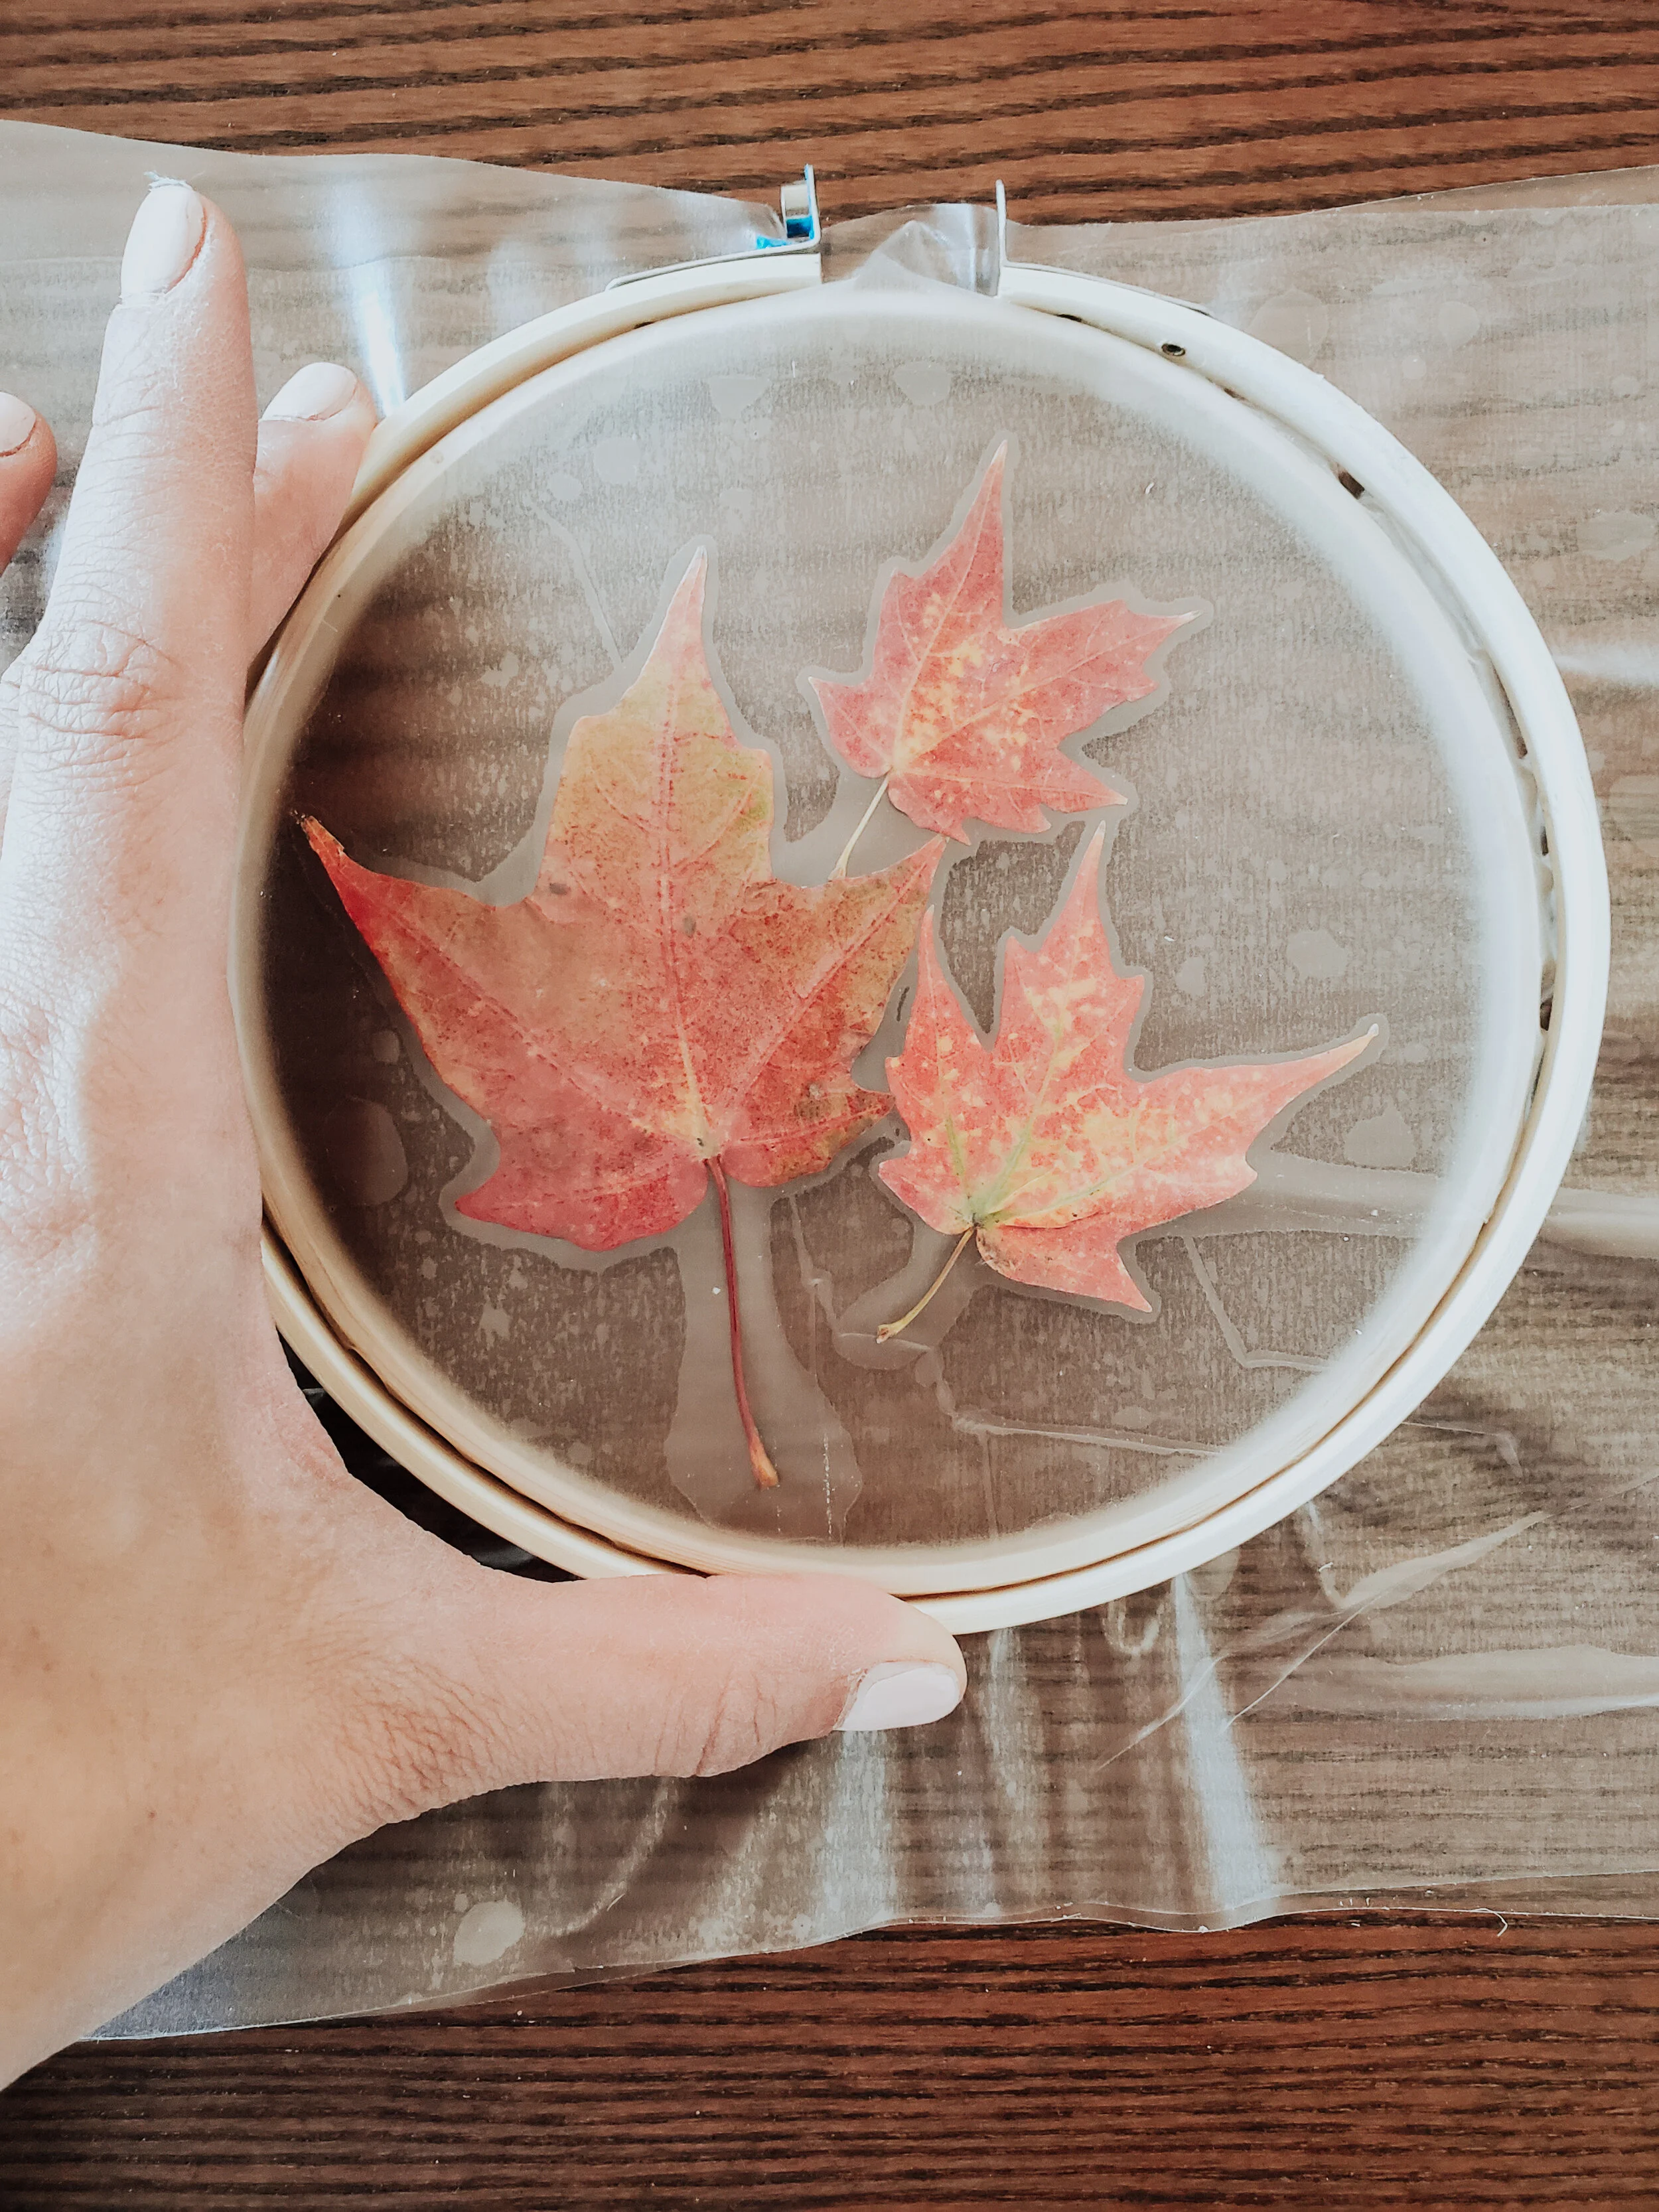
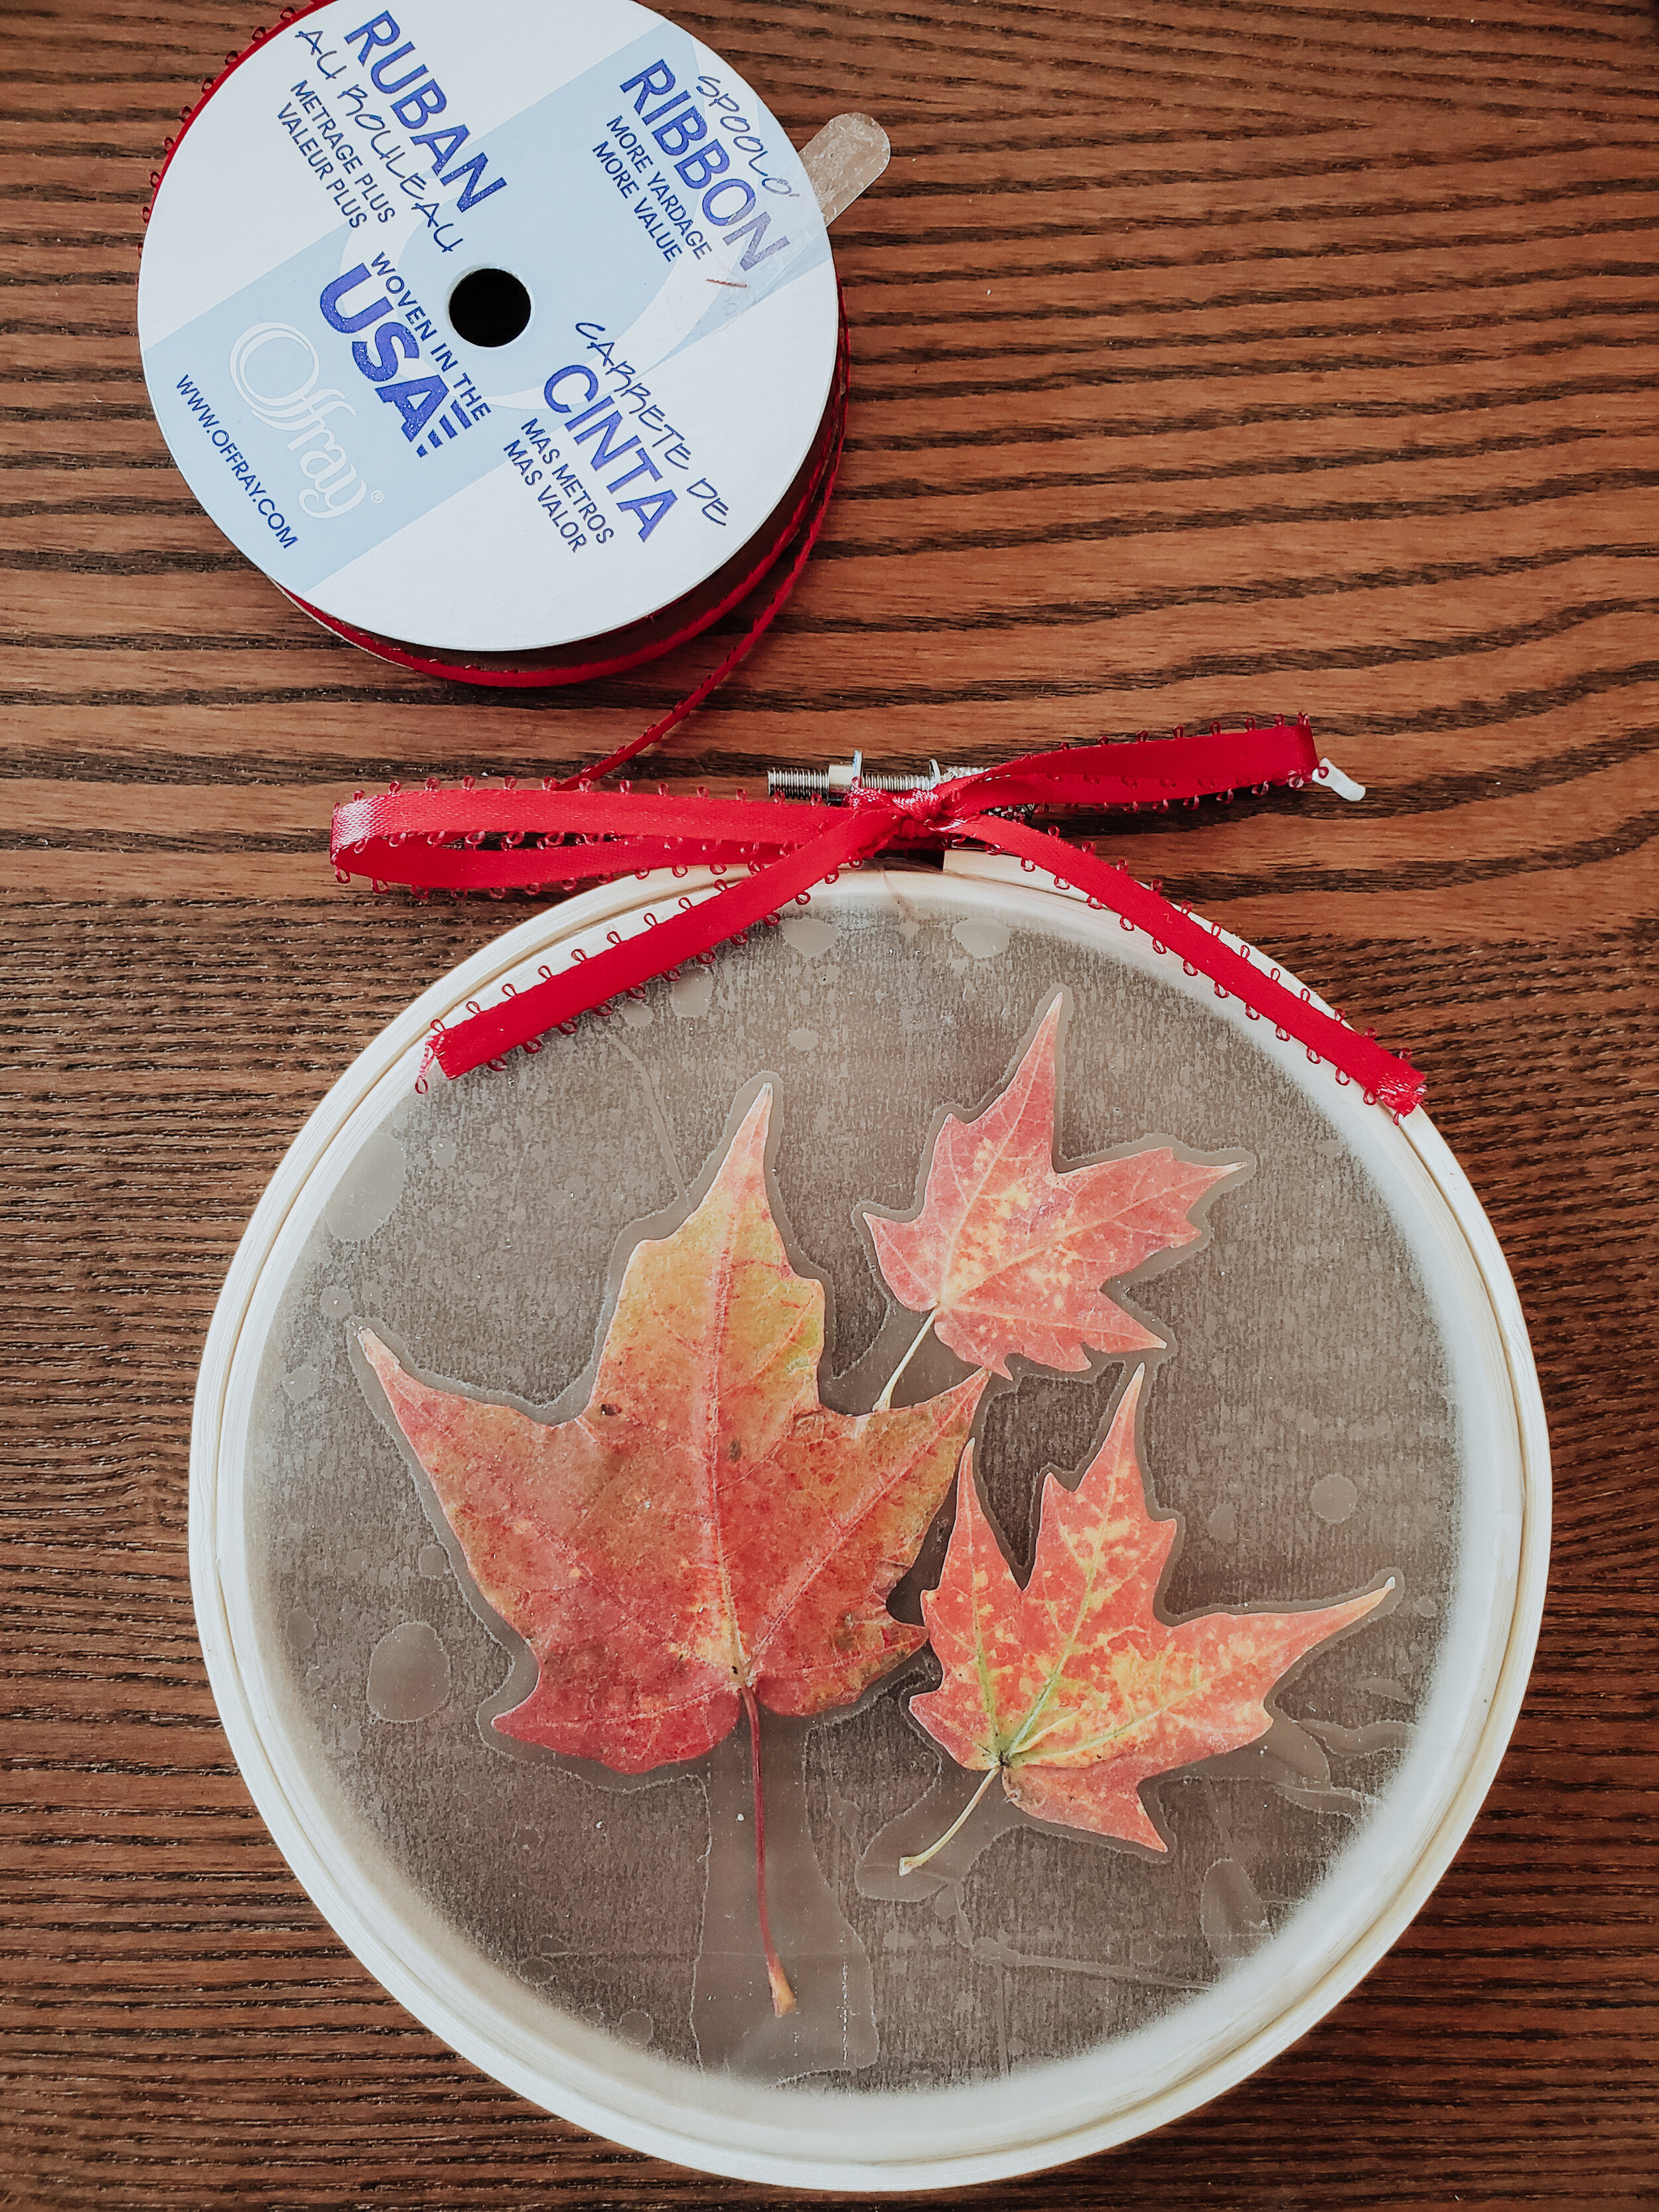
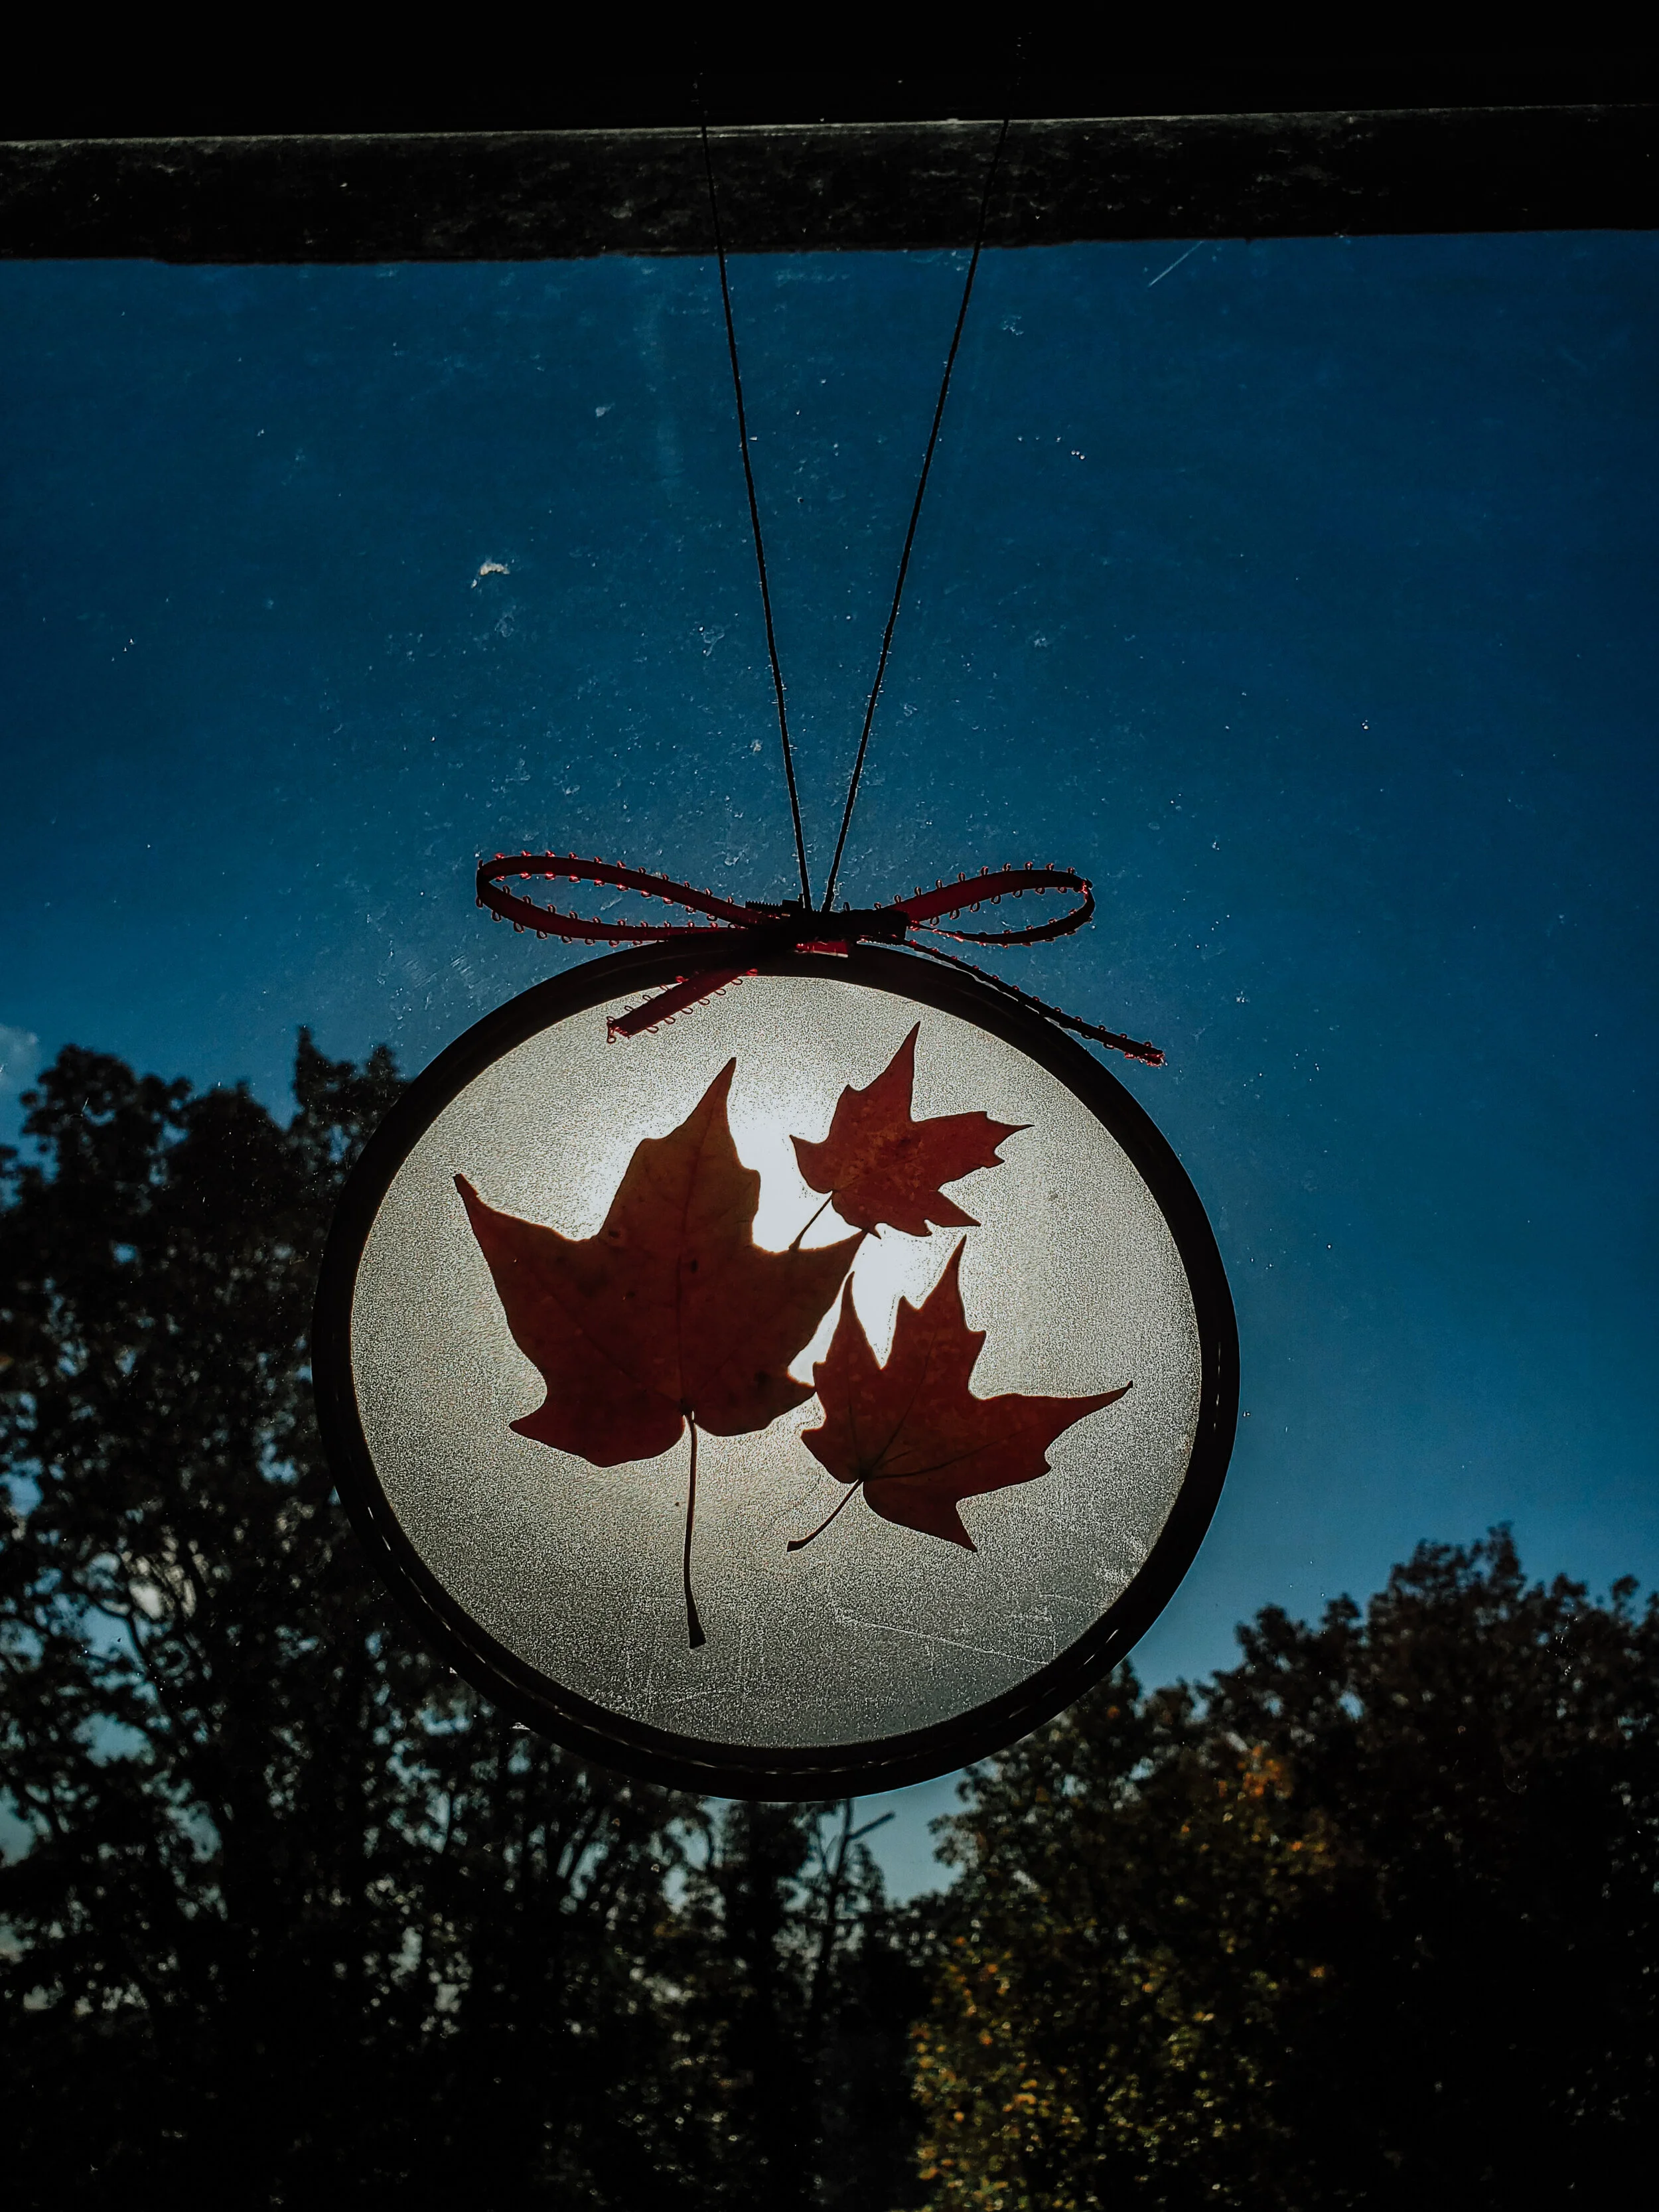
Second favorite craft, BE-LEAF me!...Okay, enough puns haha! But, seriously, If you’re a "nature lover" like I am, then this is the perfect craft for you and your toddler! I love how the main contribution from the child for this craft is gathering and choosing the leaves! Of course, I did most of the work putting it together...but since my kids and I are always outdoors, getting handpicked leaves to look back on made for the perfect memory! The easiest way to do this is to disassemble the bamboo hoop by taking the screw out. Then cut out some contact paper and place the leaves on it. Cover it with another contact paper and seal it closed. Place that on top of the bamboo hoop that is solely bamboo (no screw), and then place the hoop with a screw over it and screw it back in to seal it shut. Use your scissors to cut the remainder of contact paper off of the back. Tie a ribbon to hide the metal screw, and pull your twine through the screw to tie a knot at the top. Voila! You have your beautiful sun catcher and boy, does it look gorgeous in a window! The leaves I used were all the same type, but different colors. In the future, I want to incorporate different types of leaves together. I seriously want one on EVERY window!
FALL WALL TREE
What you'll need:
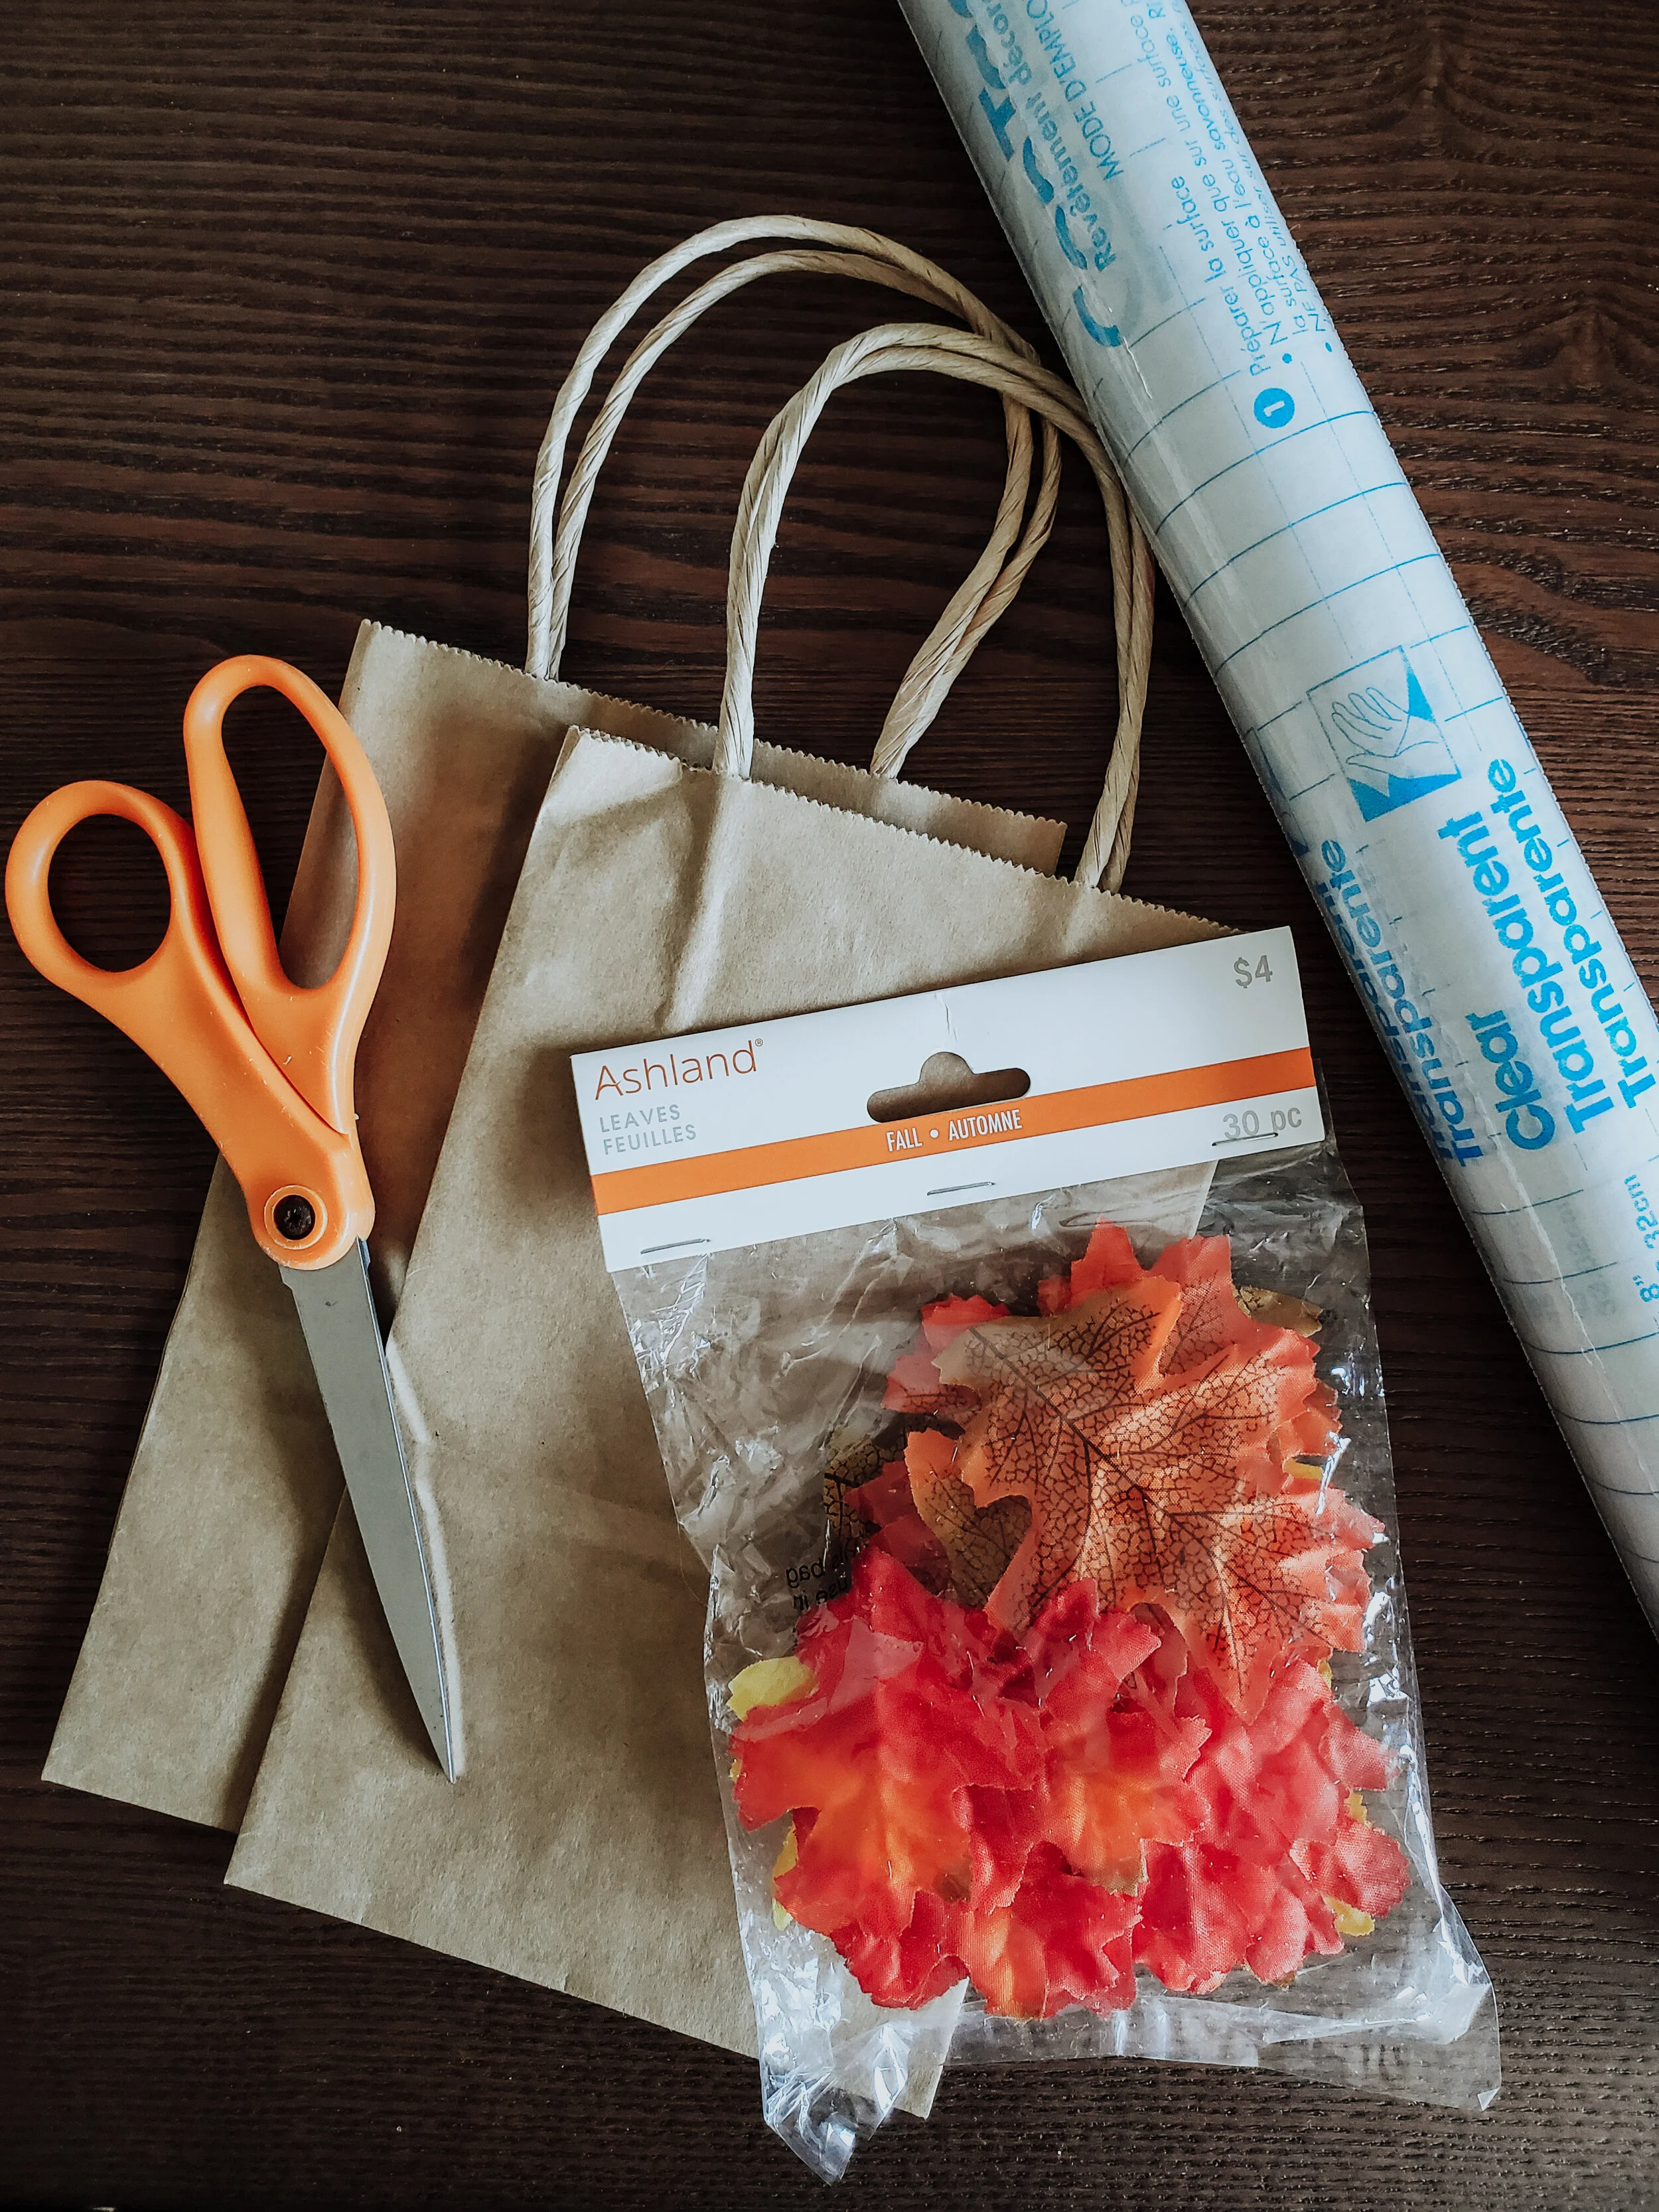
●Contact paper
●Scissors
●Fabric leaves
●Two gift bags
●Painter’s tape
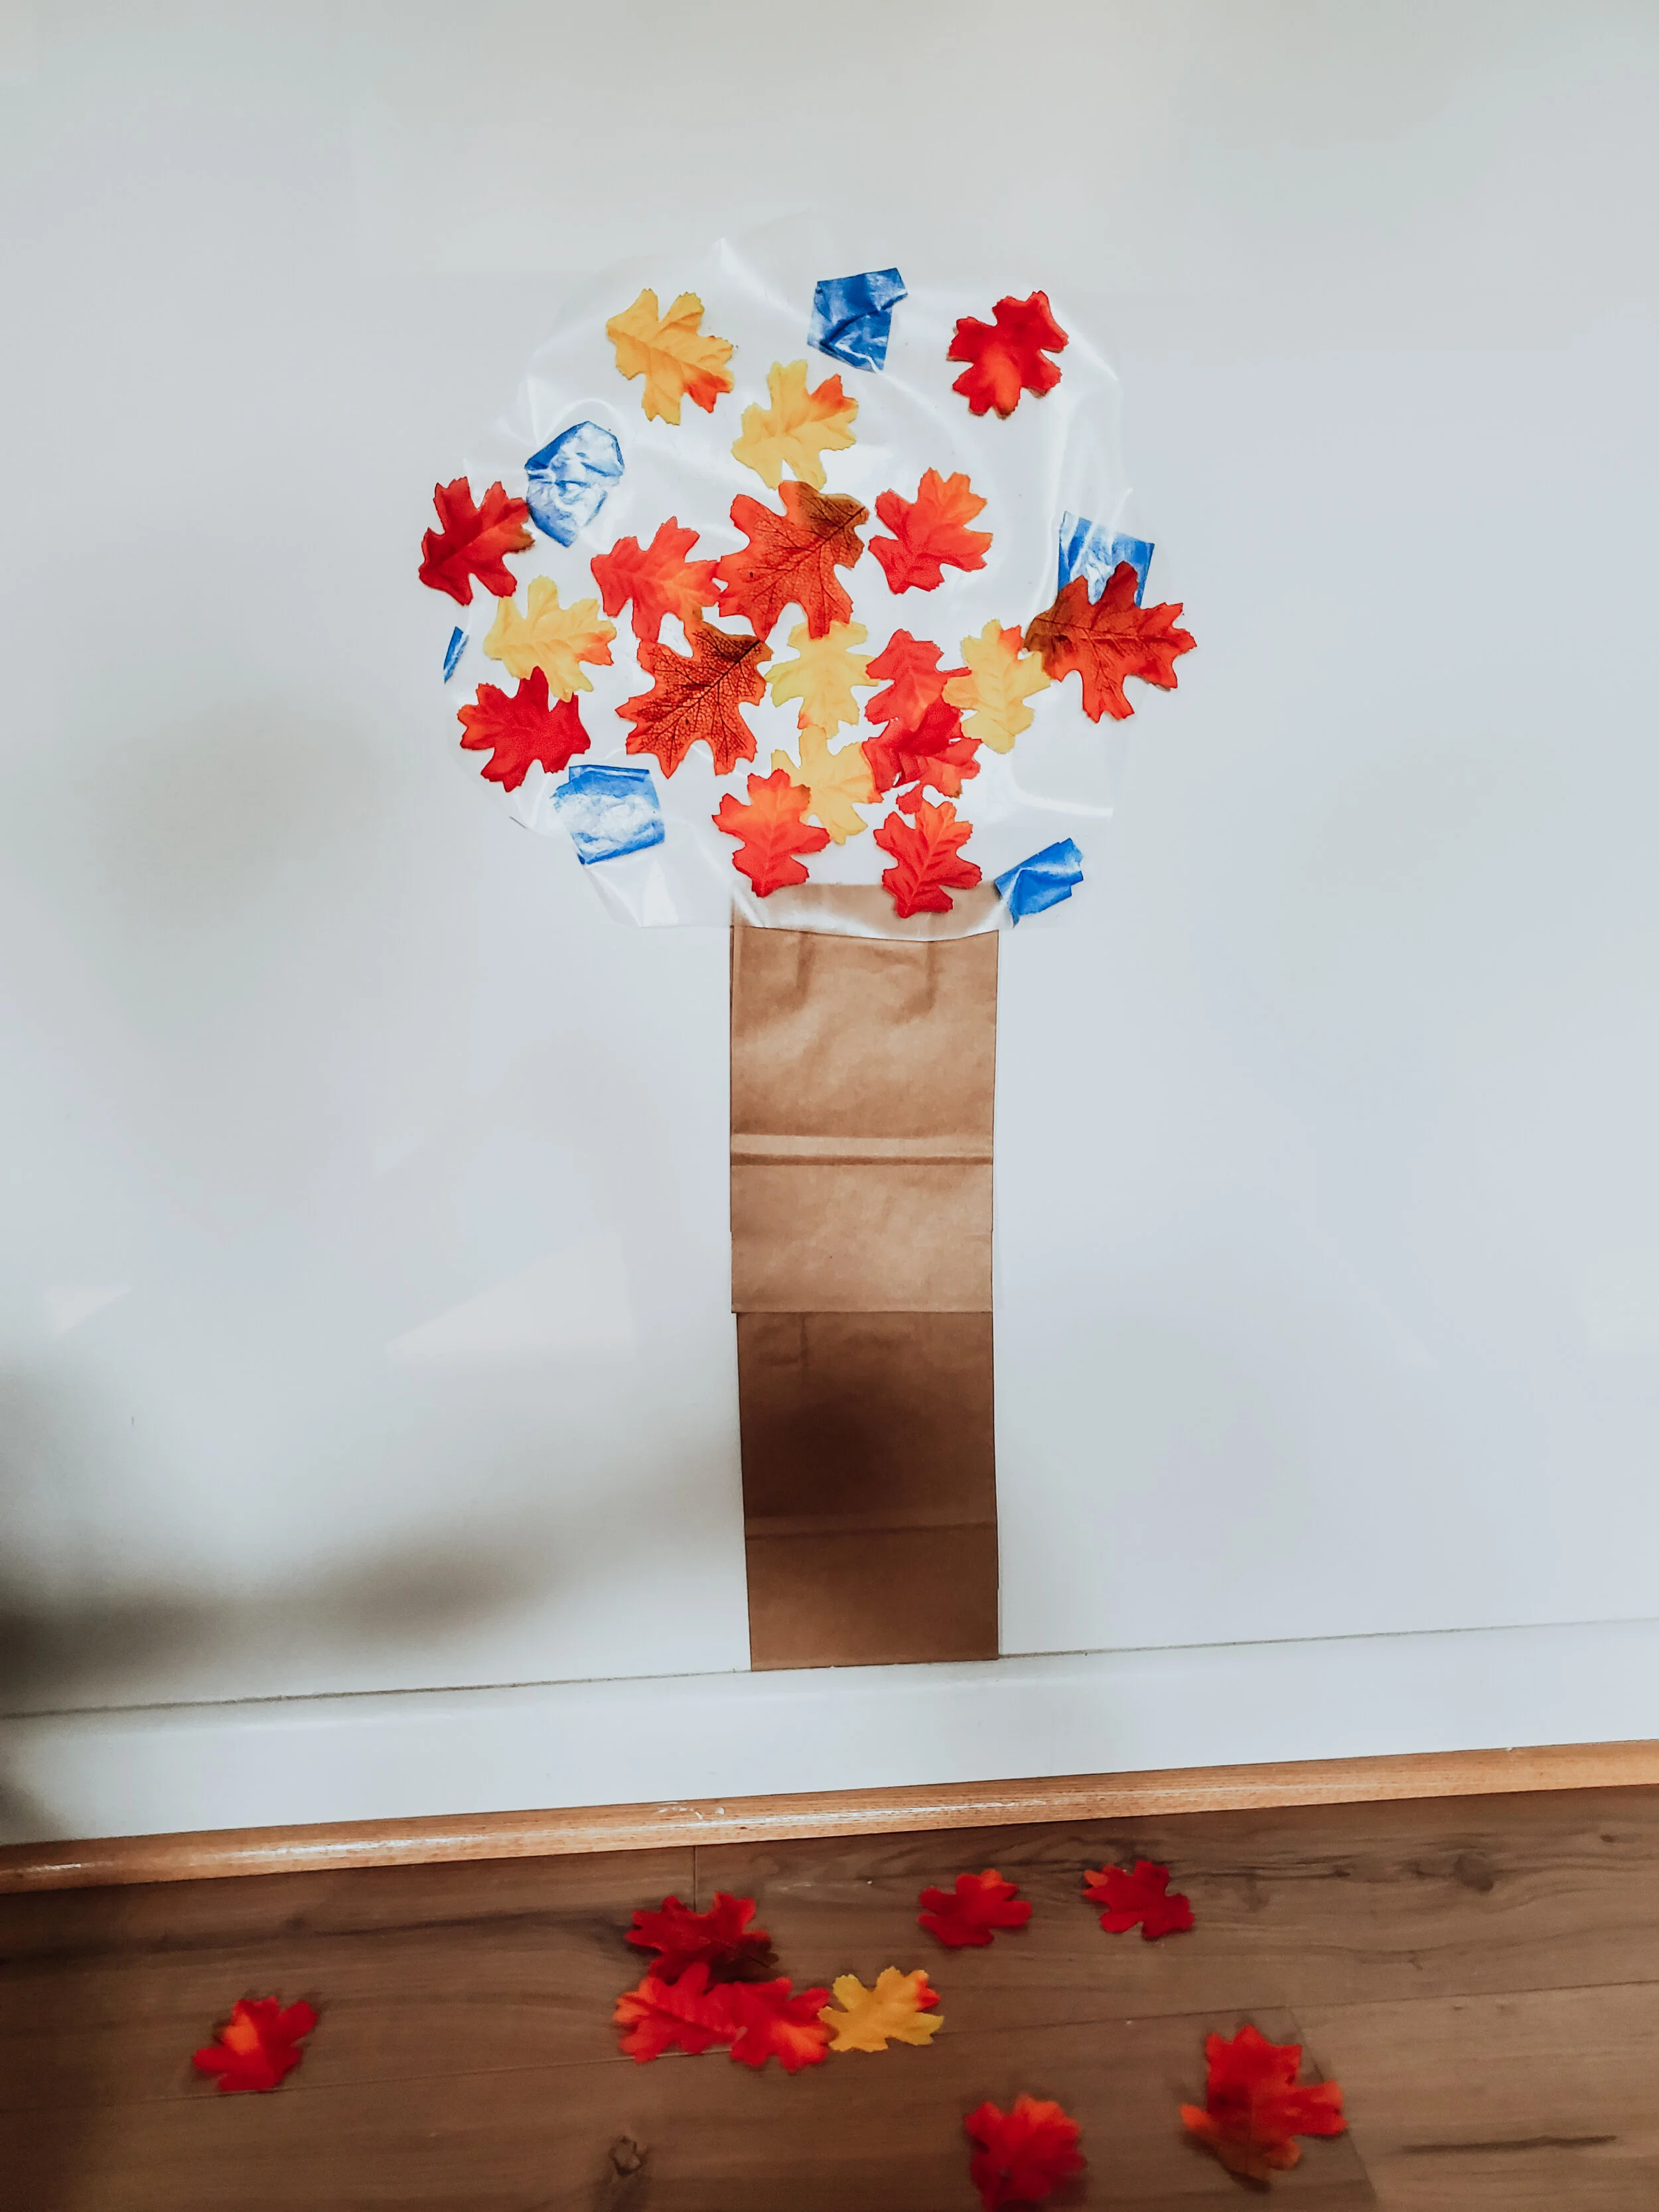
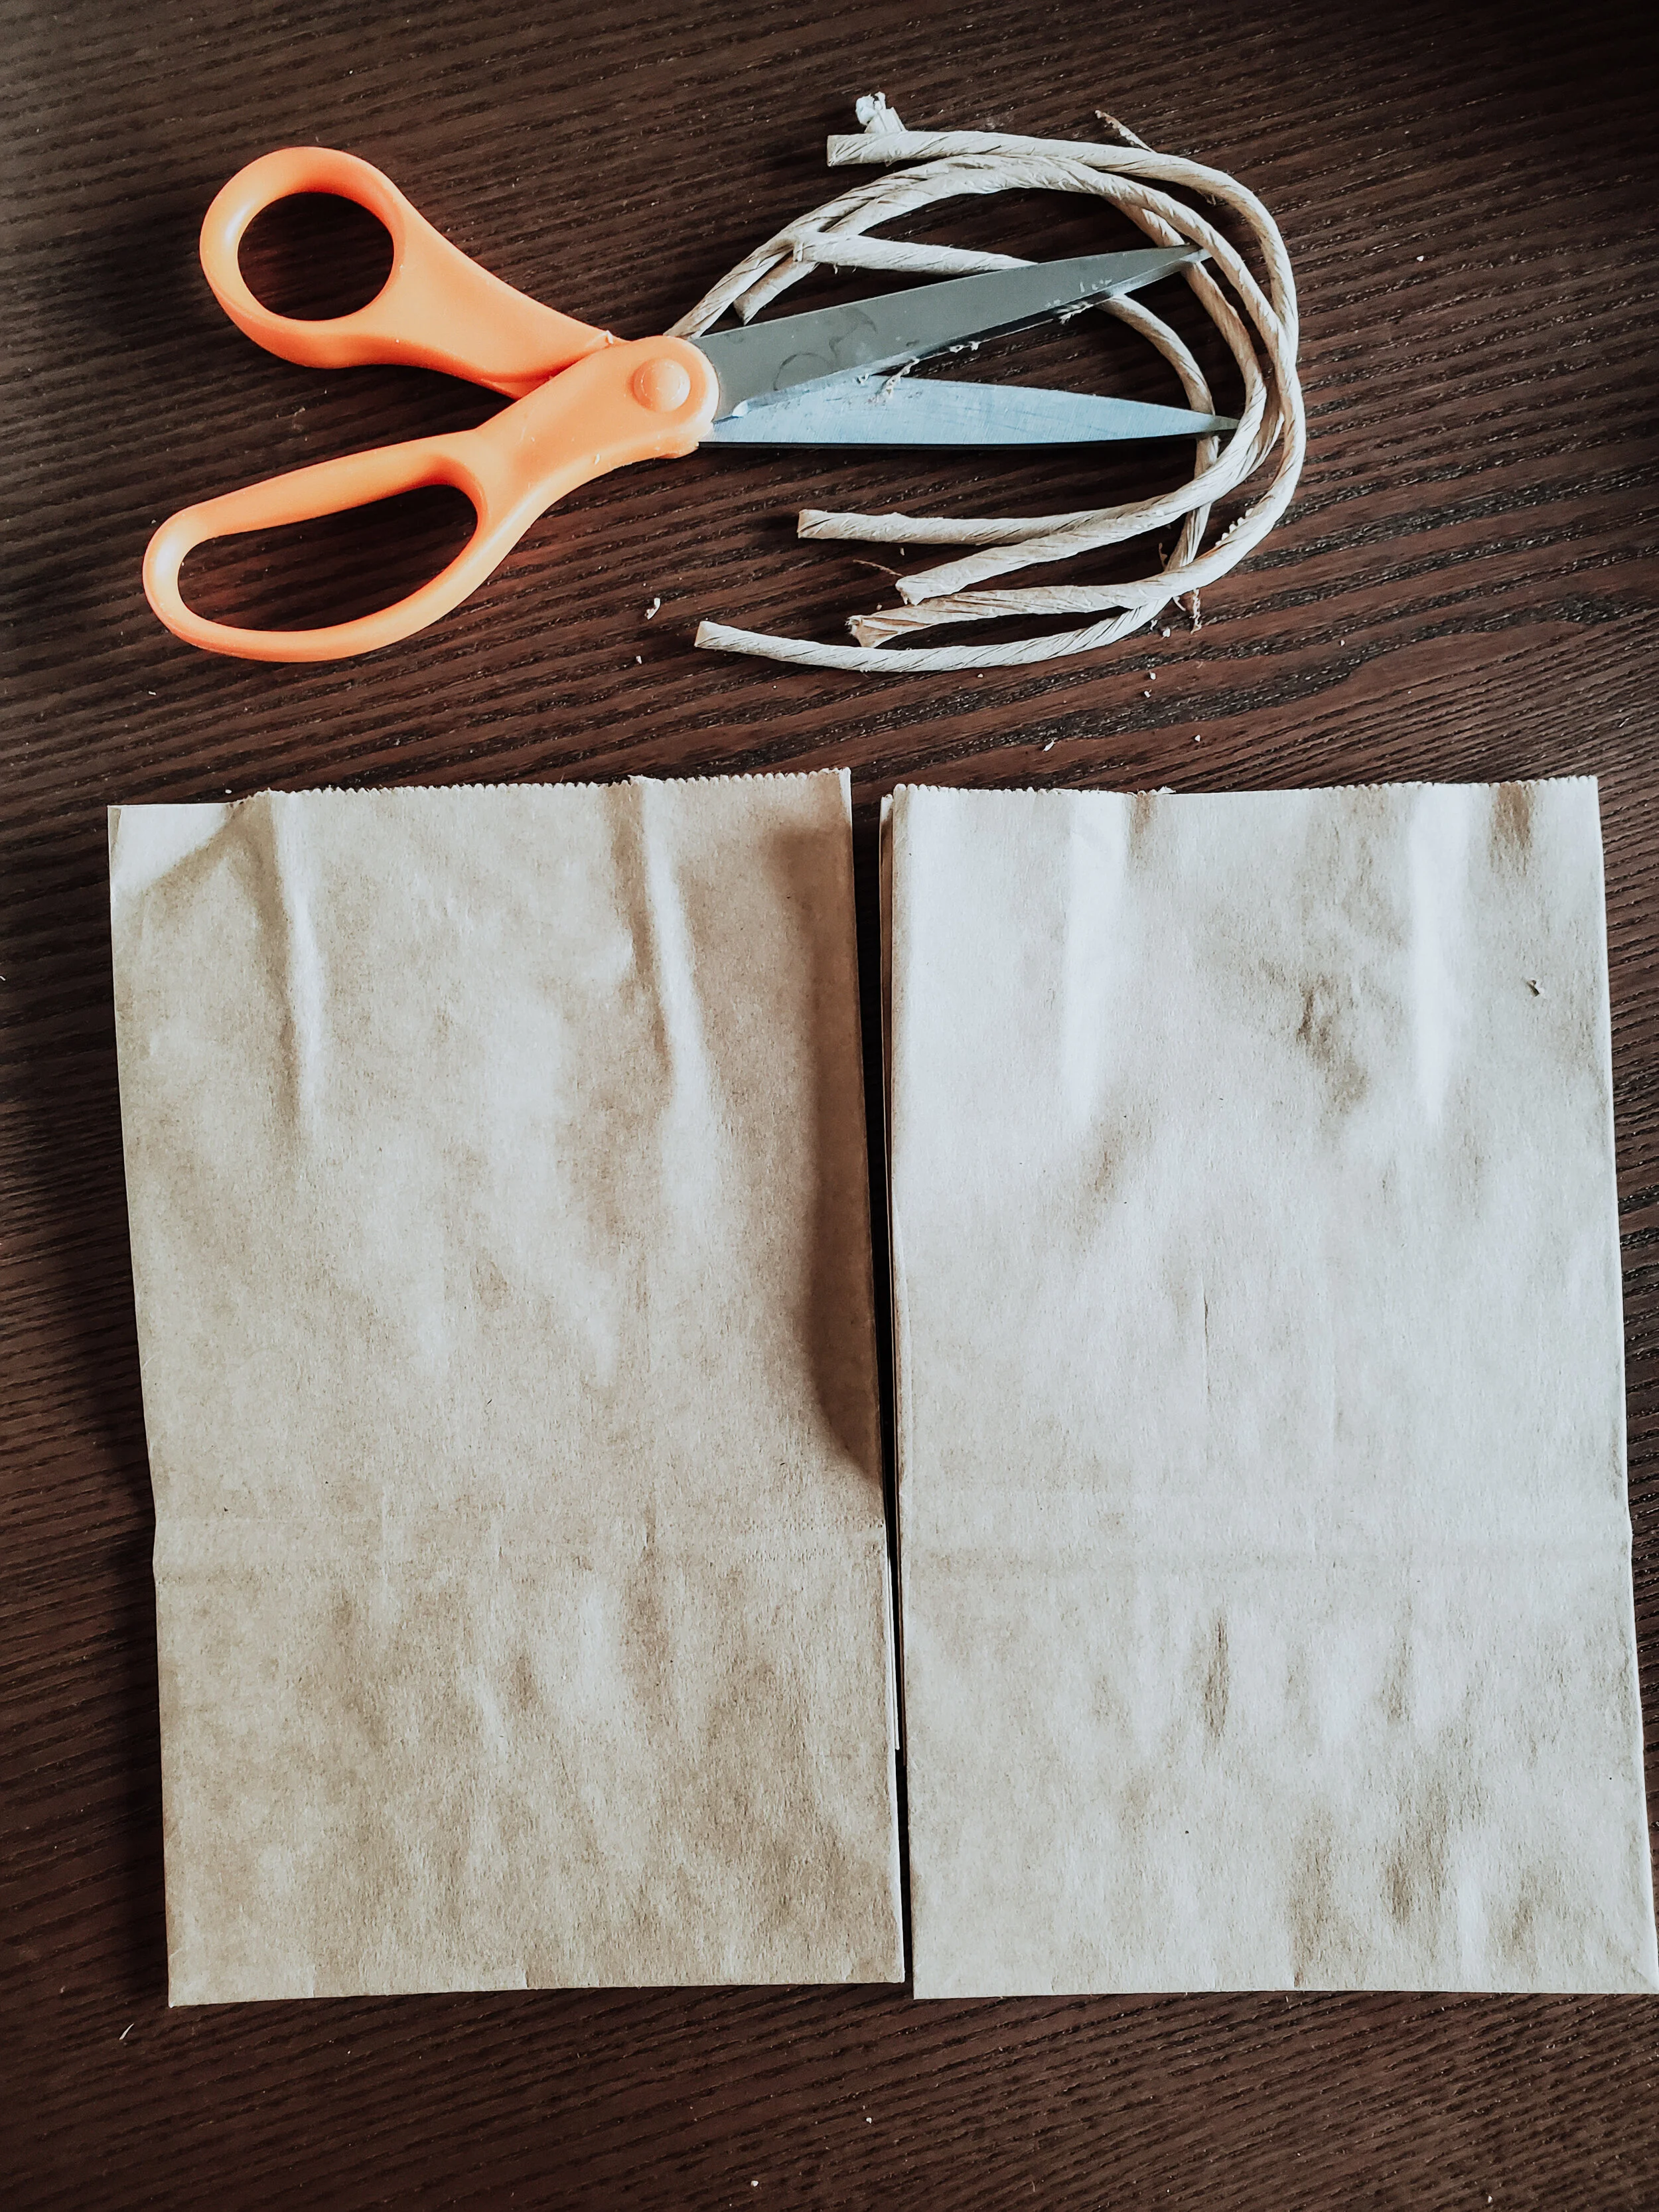
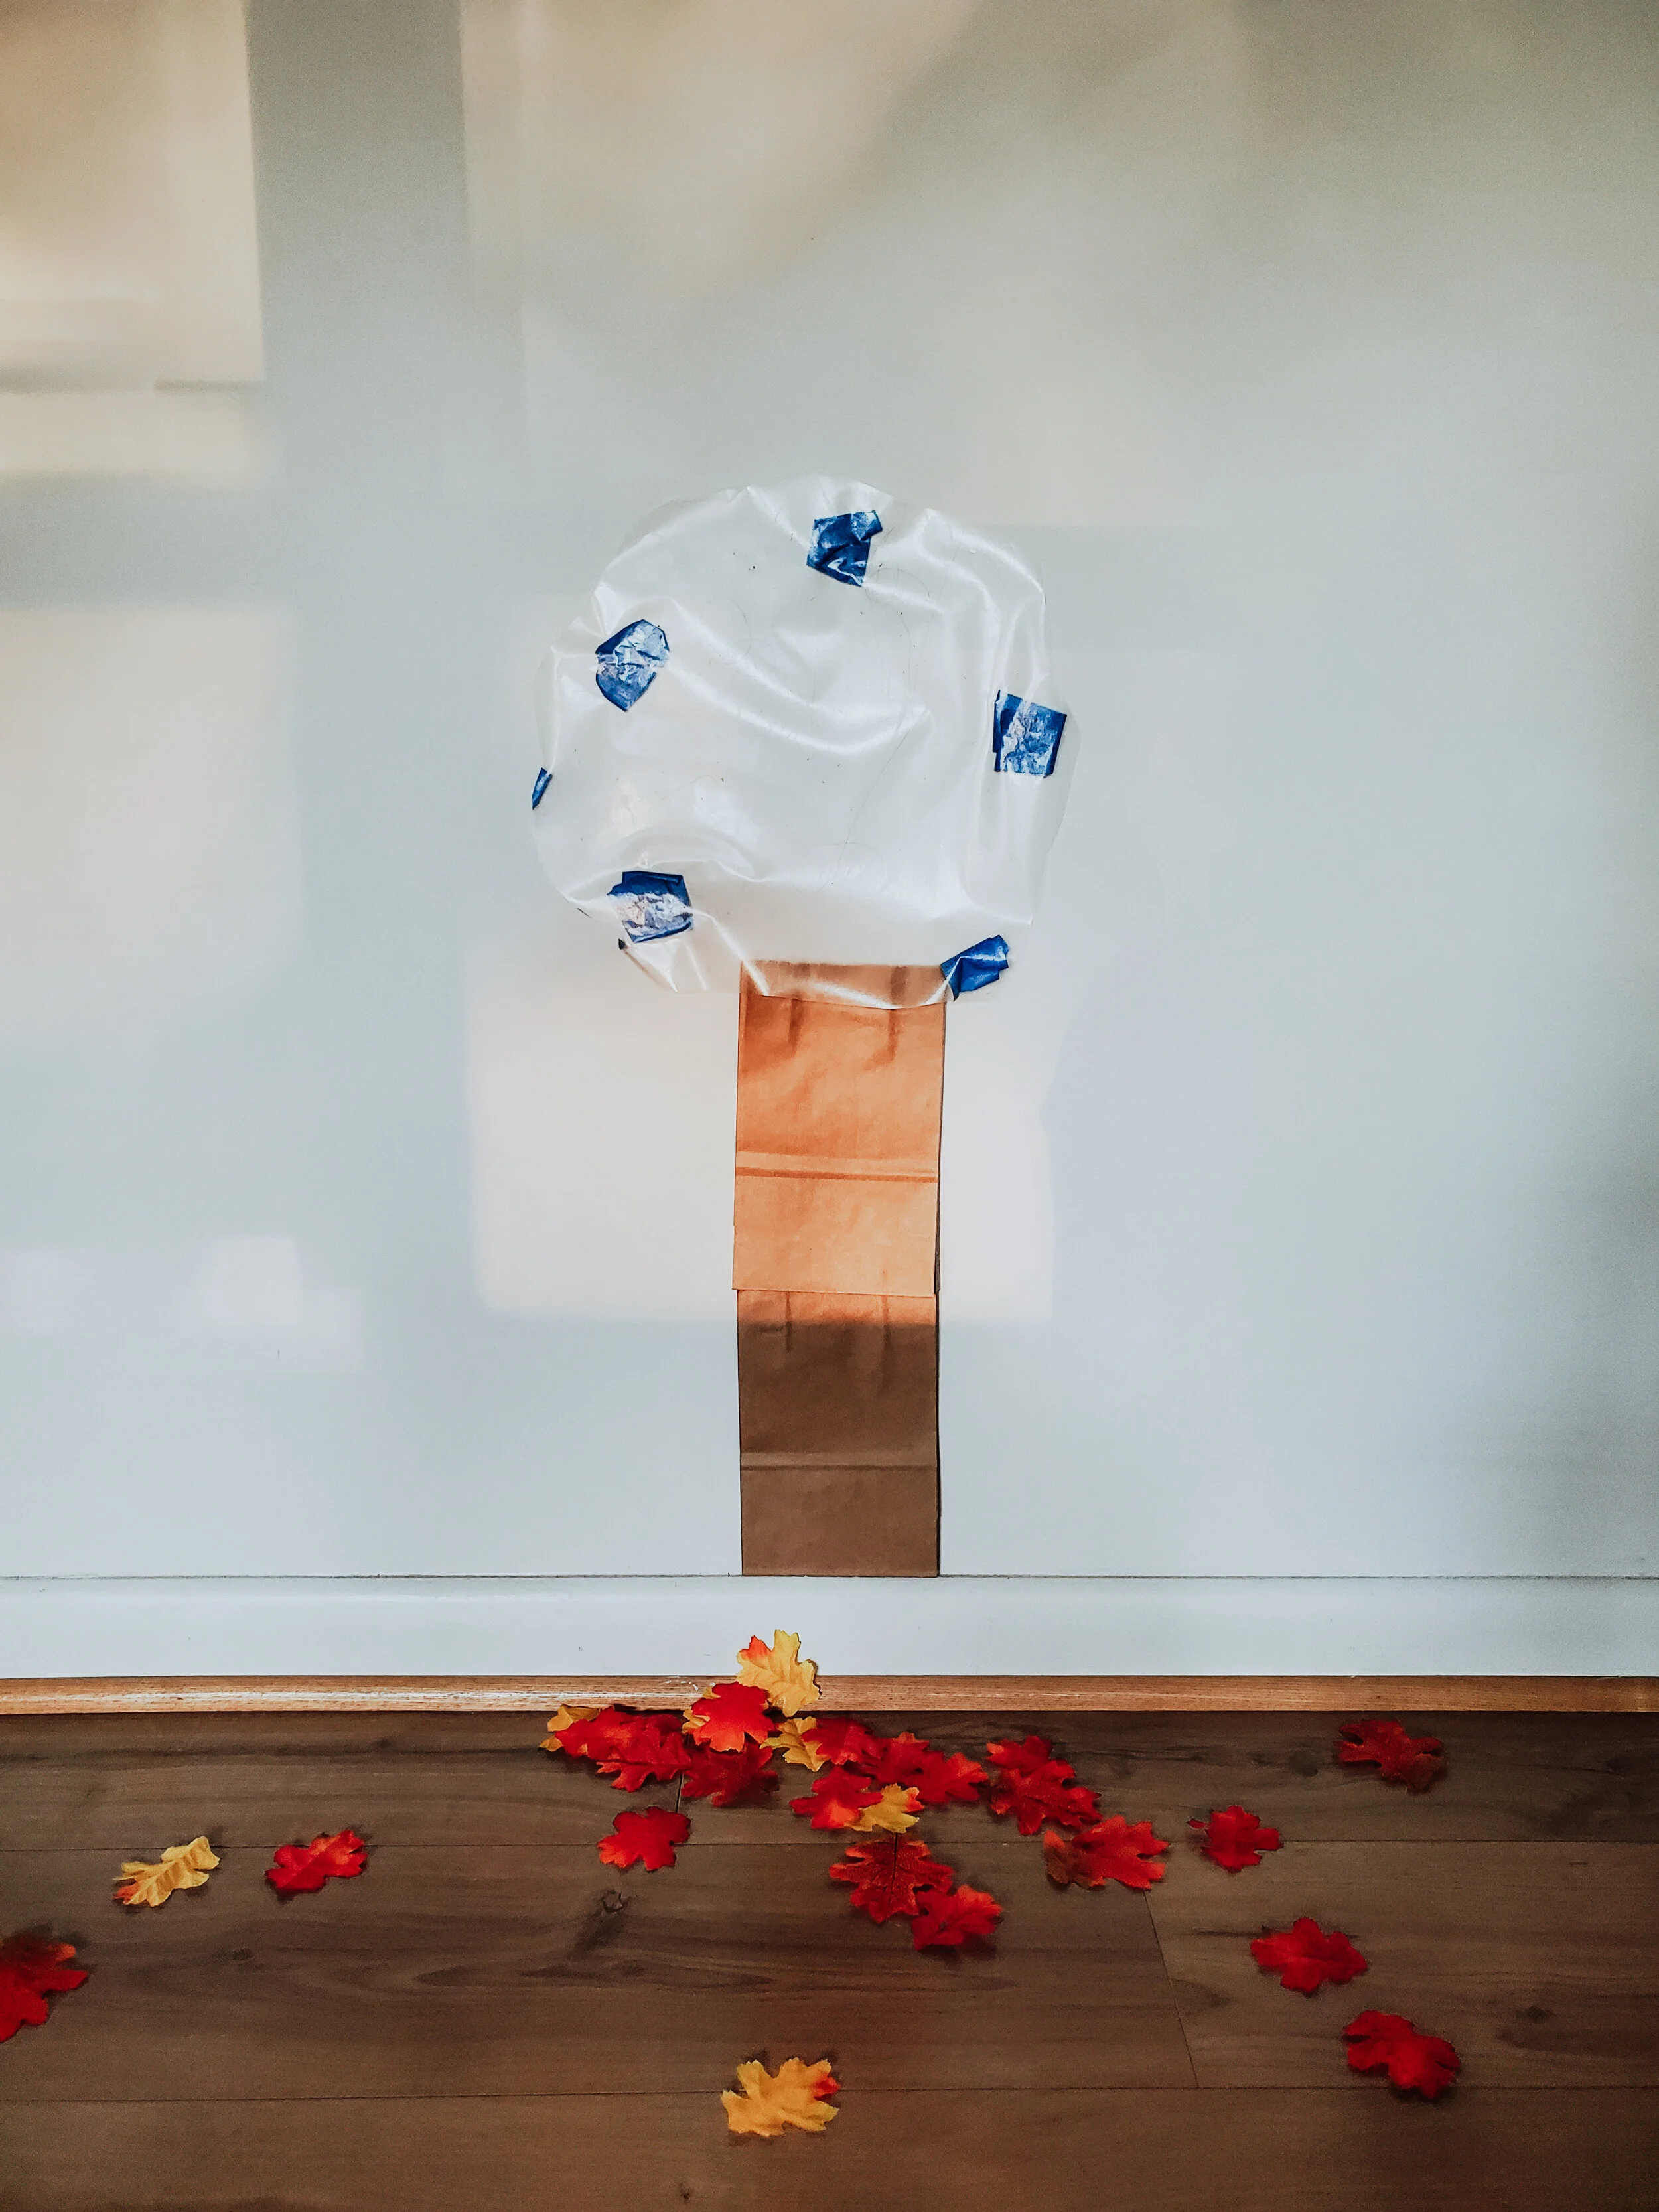
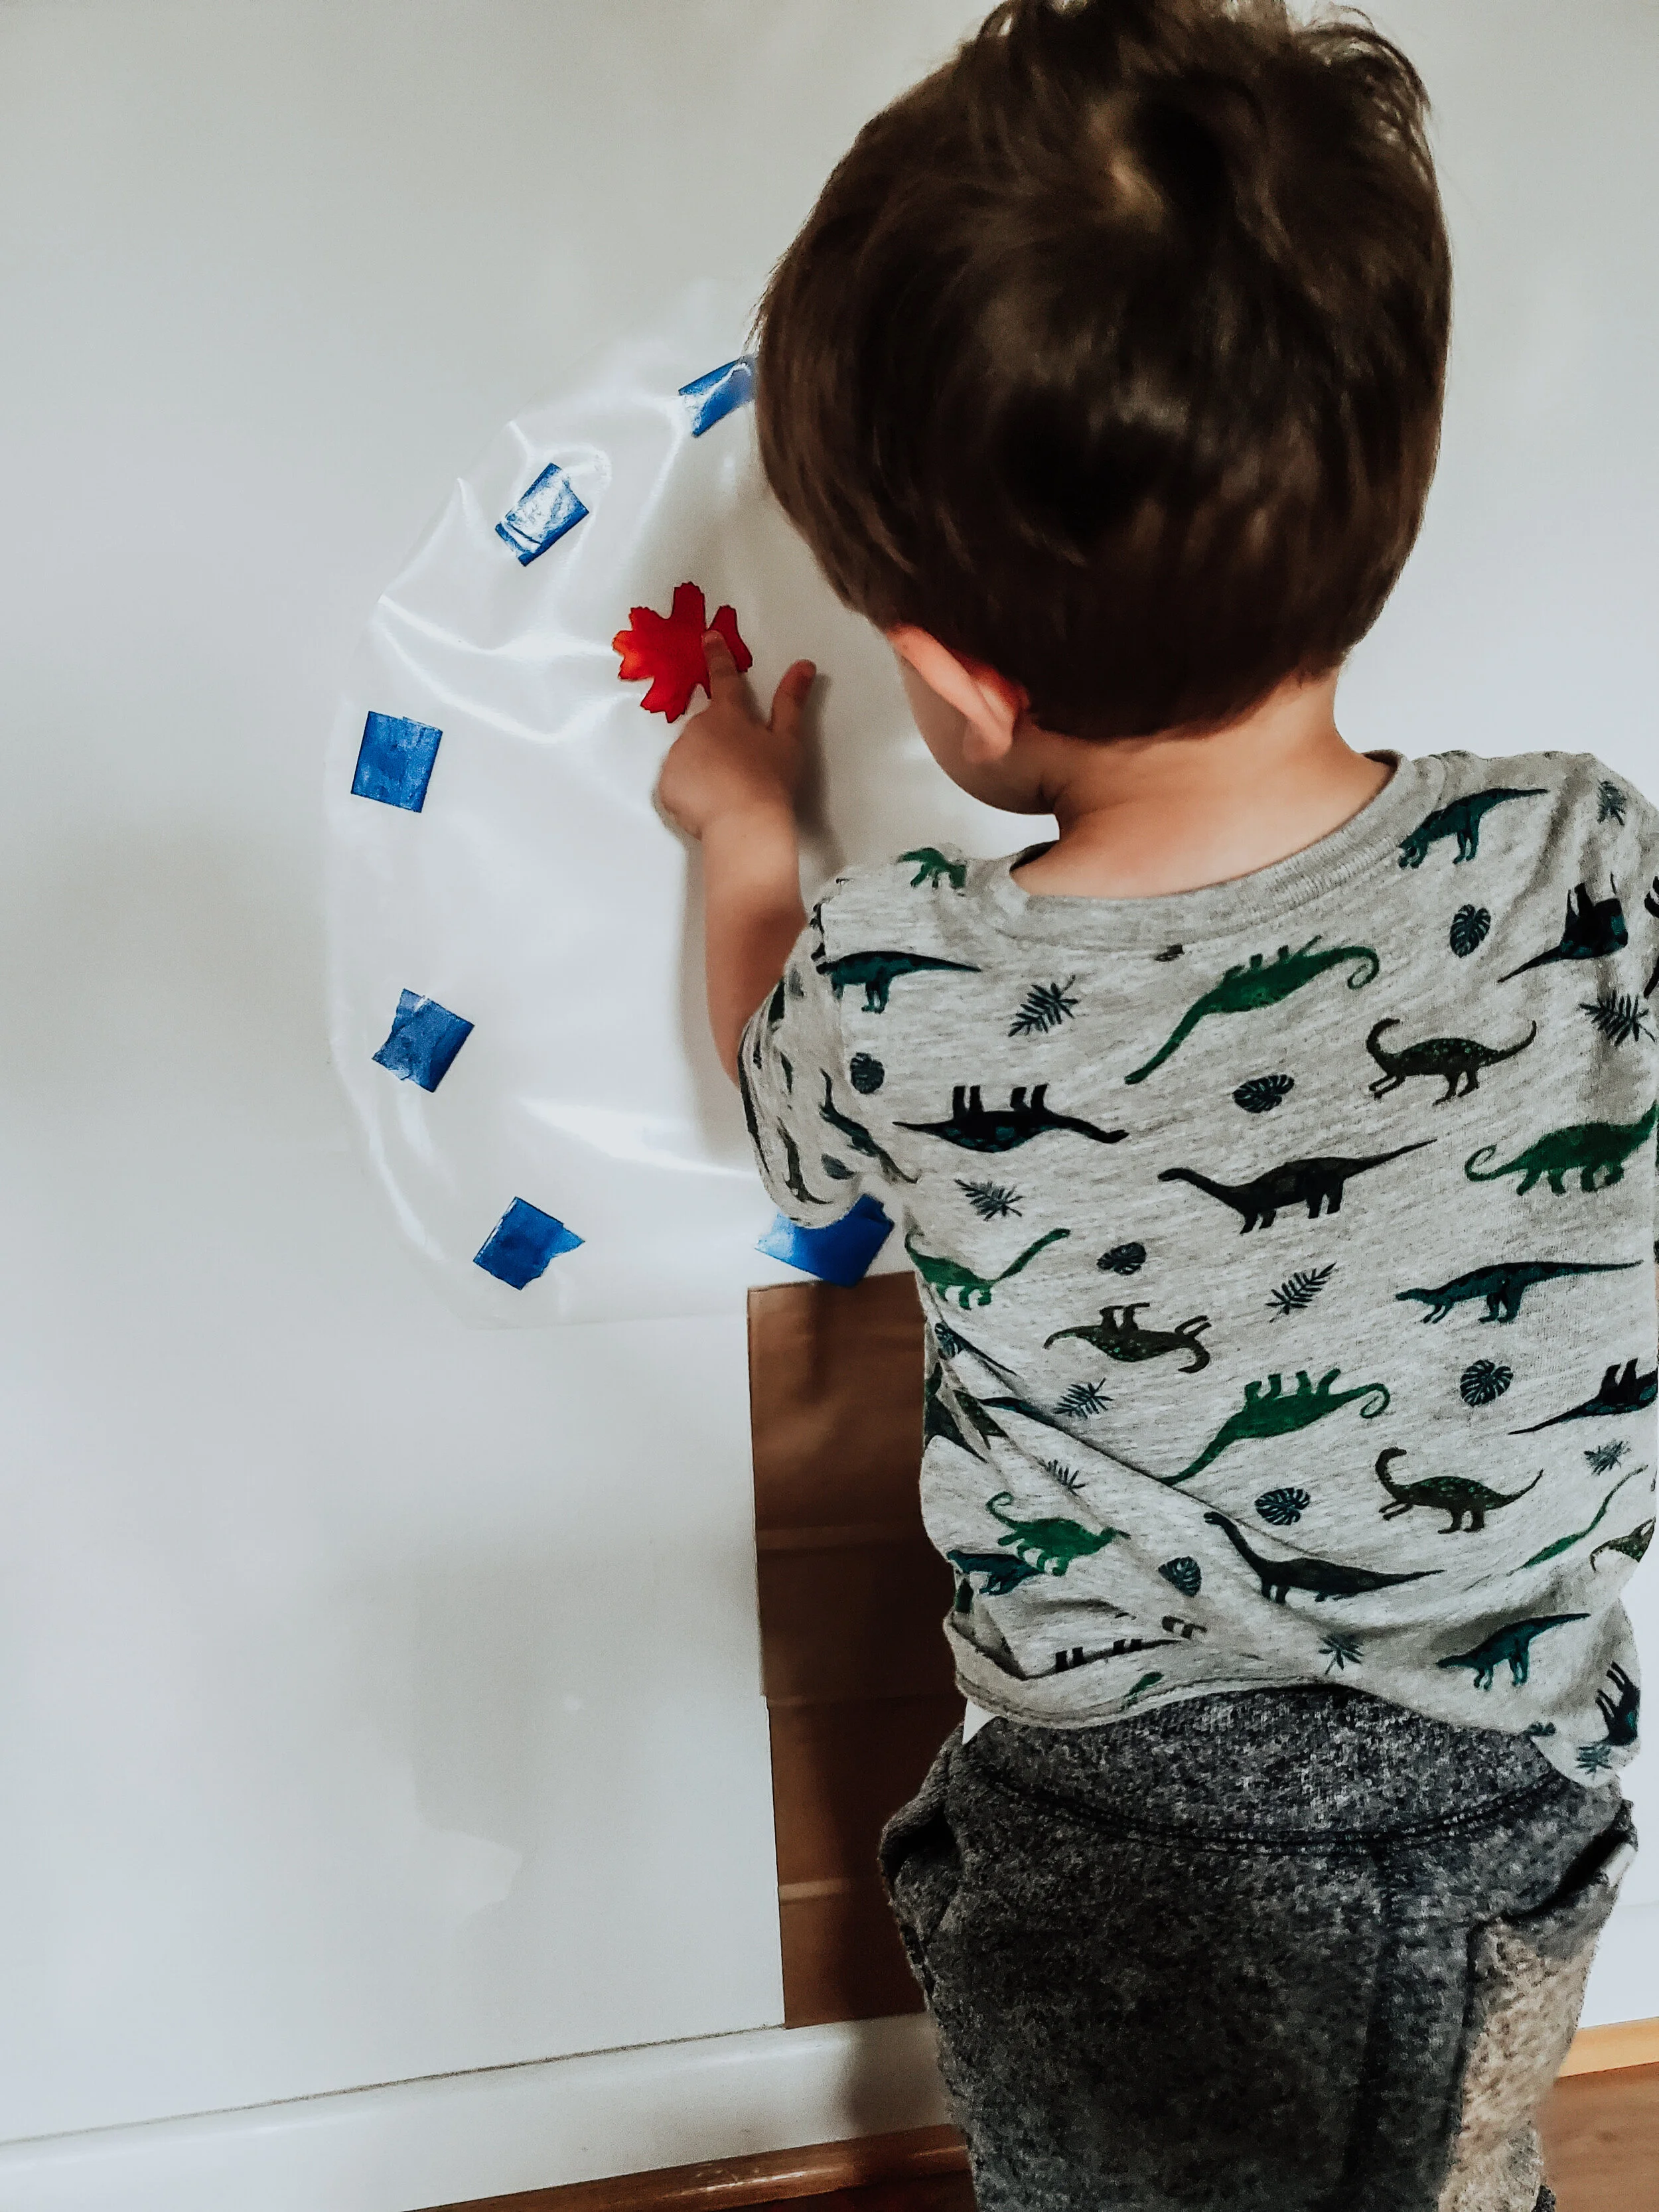
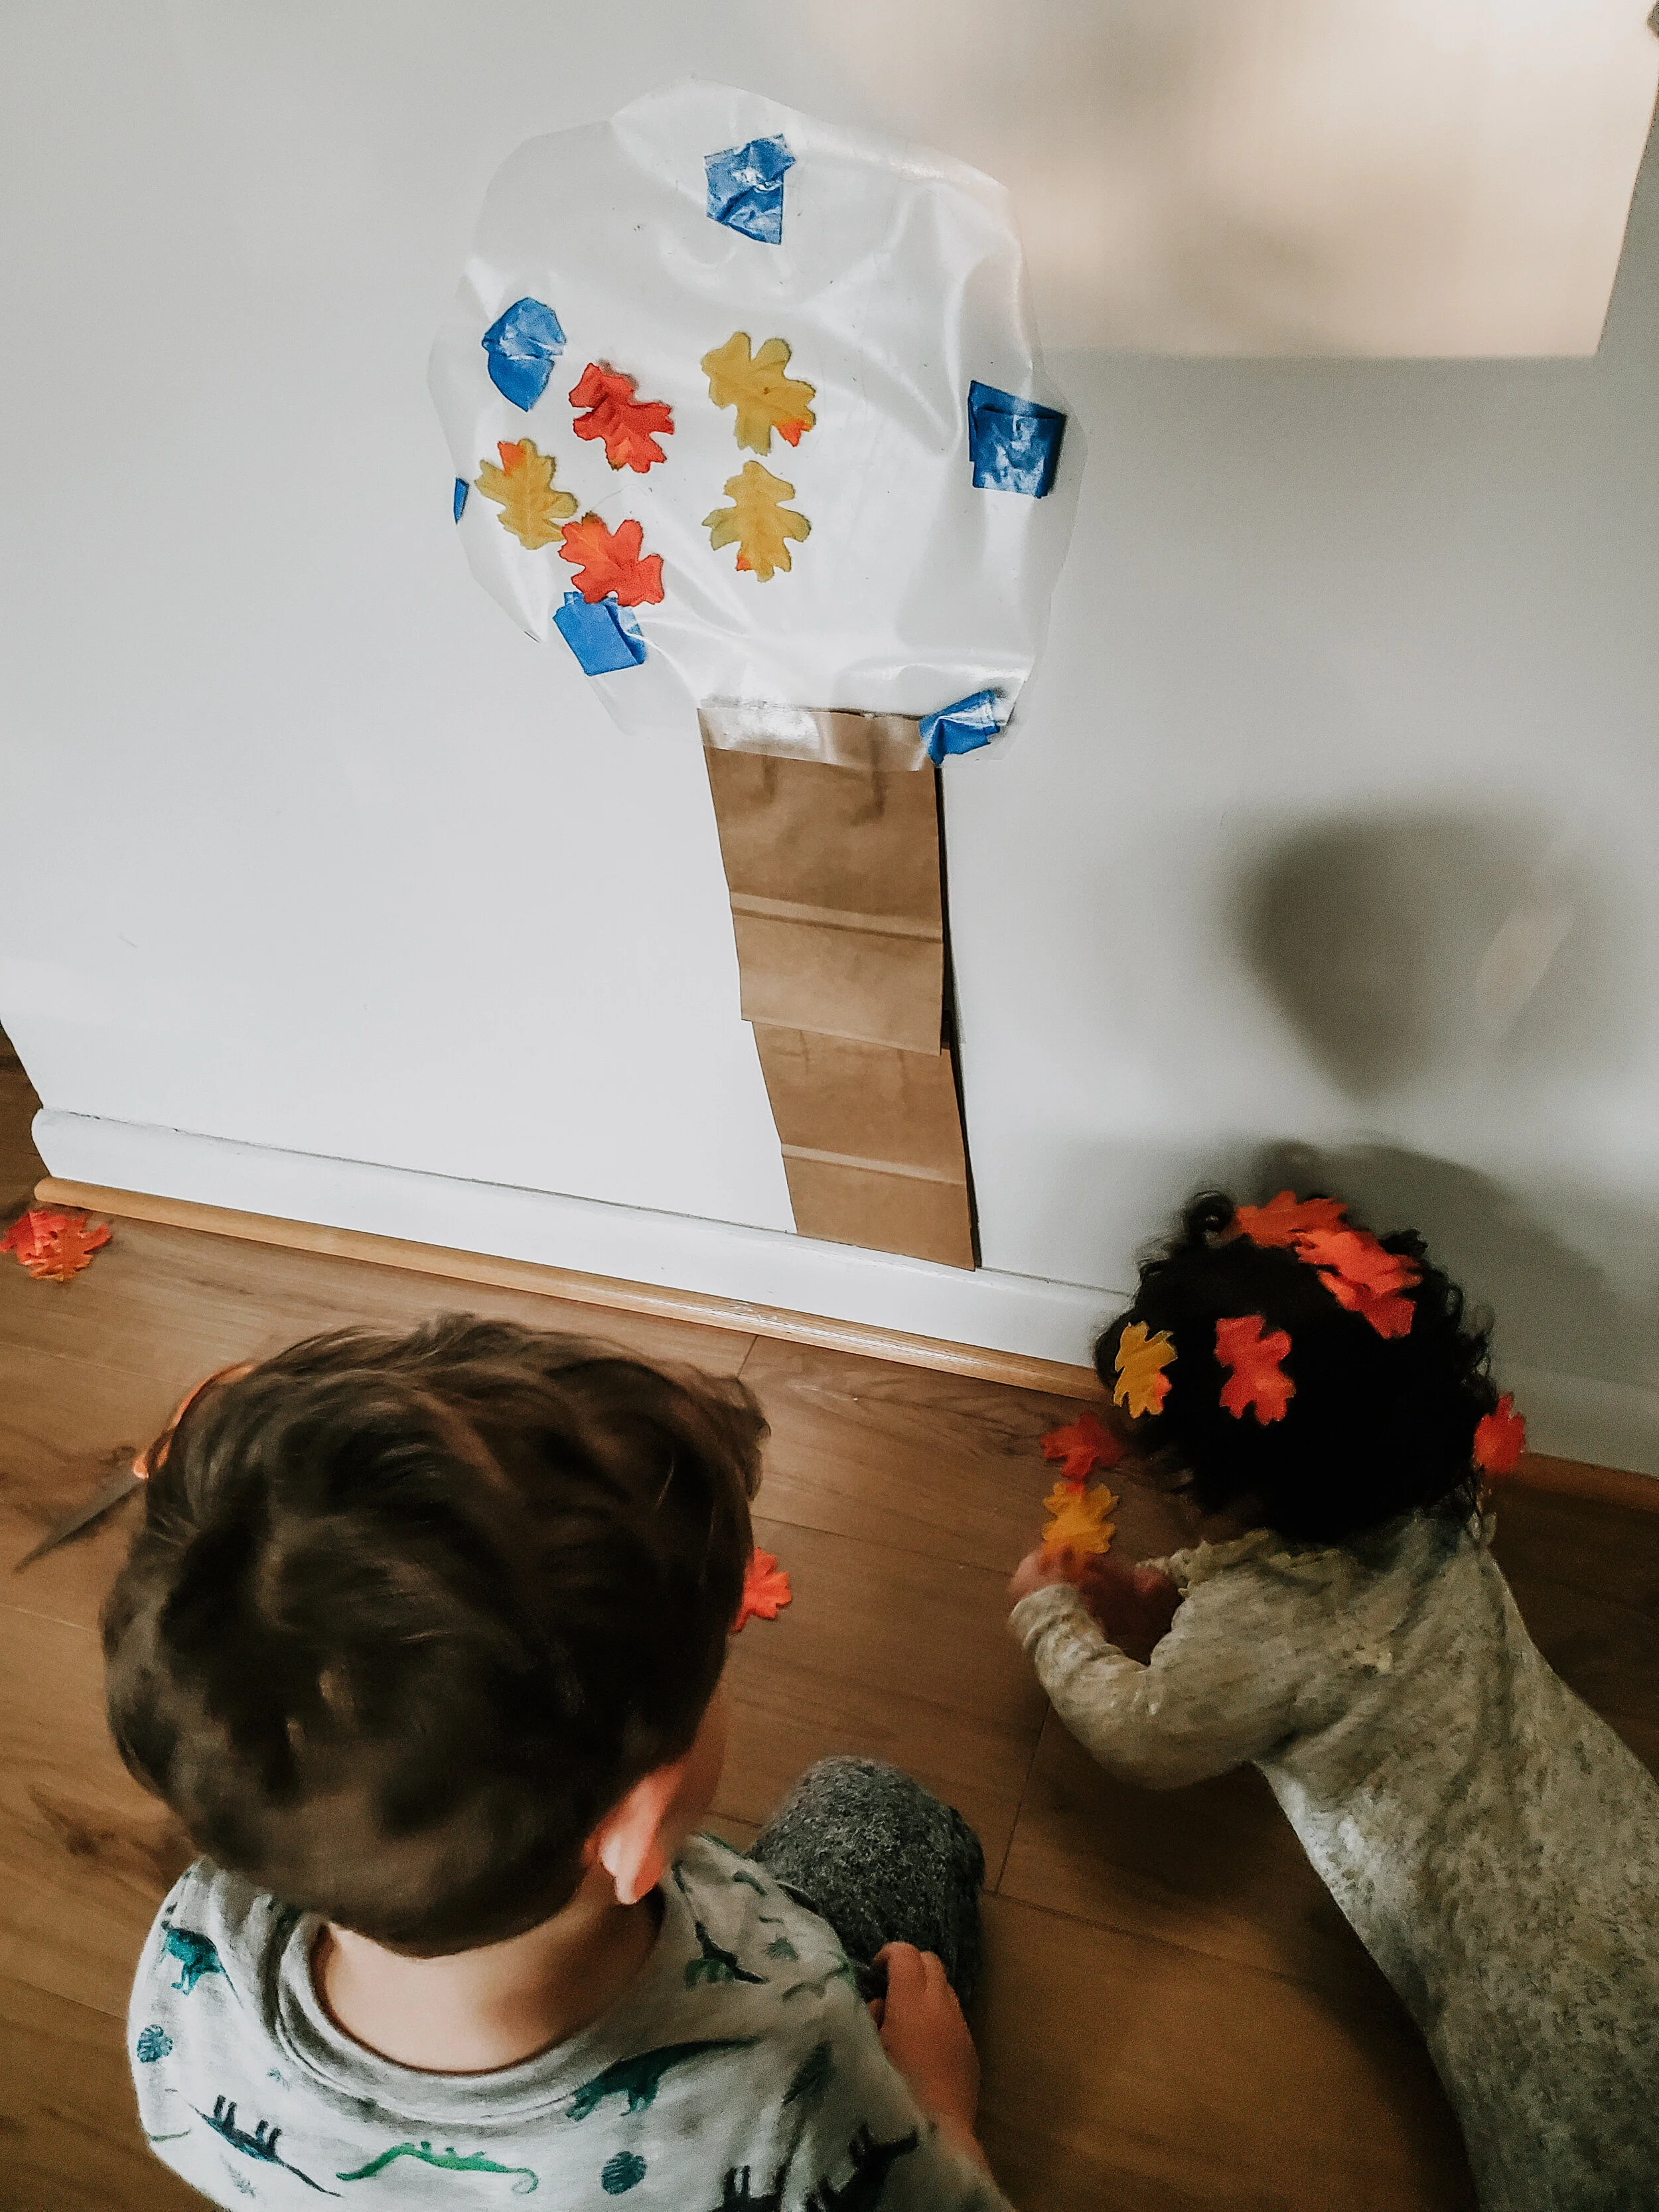
This craft did not turn out completely as expected haha, but my son had a ton of fun! We first cut the handles off the paper bags and taped them on the wall with painter’s tape. I then cut somewhat of a circle out of the contact paper and peeled it so I could put painters tape on the non-sticky side. Next, I put it on the wall to resemble the part of the tree where the leaves would go! I placed the leaves at the bottom of the tree, and my son went wild! He started putting the leaves on the contact paper. They would stick and then fall like that of a real tree! He would giggle and fling himself to pick it up and put it back again, but again it would fall! He then had a stellar time putting leaves in my 8 month old daughter's massive amount of hair. Hey, let kids be kids right? I learned that sometimes the goal of a great craft is the fun they have making, or not exactly making it, haha!
Thanks for checking our my five Fall Crafts for Toddlers! Which craft of ours was your favorite?! Please let me know in the comments below, and don't forget to tag me on Instagram @coolmomandcollected if you decide to create them as well! I'd love to see! I also appreciate you sharing my blog with your family and friends, as it helps me get the word out! Until Monday...have a crafty weekend, everyone!!
Cool, Calm, and Collectedly Yours,
