
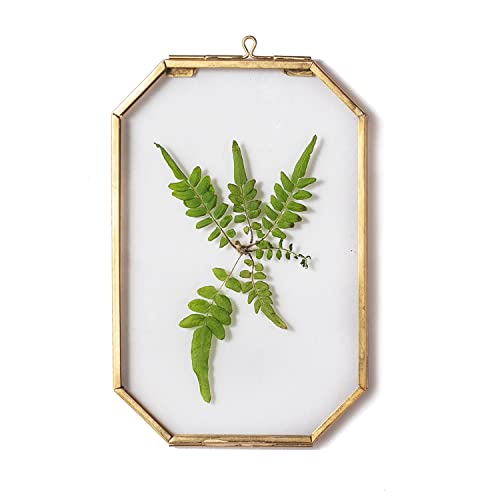
DIY Pressed Flower Frame
Hello friends, and welcome back! If you follow me on Instagram, then you know that a few RV friends, and I are in the midst of our RV Blogger week: Summer Edition! Each day we're sharing Summer DIYs, recipes, and crafts to spark your creativity!
Today, I'm sharing how to bring your summer memories indoors, and turn them into ART with a Pressed Flower Frame DIY! It's beautiful, meaningful, and super versatile to display around your home! When it comes to decor in an RV, every inch of wall space counts, but not every item passes the test! Keep reading to see how I DIY’d my own pressed flower frames, and turned my empty wall space into a haven of sweet summer-filled memories!
(This post contains affiliate links, which means if you order from these links you will be supporting my blog in a small way that means a lot, at no cost to you! Thank you!)


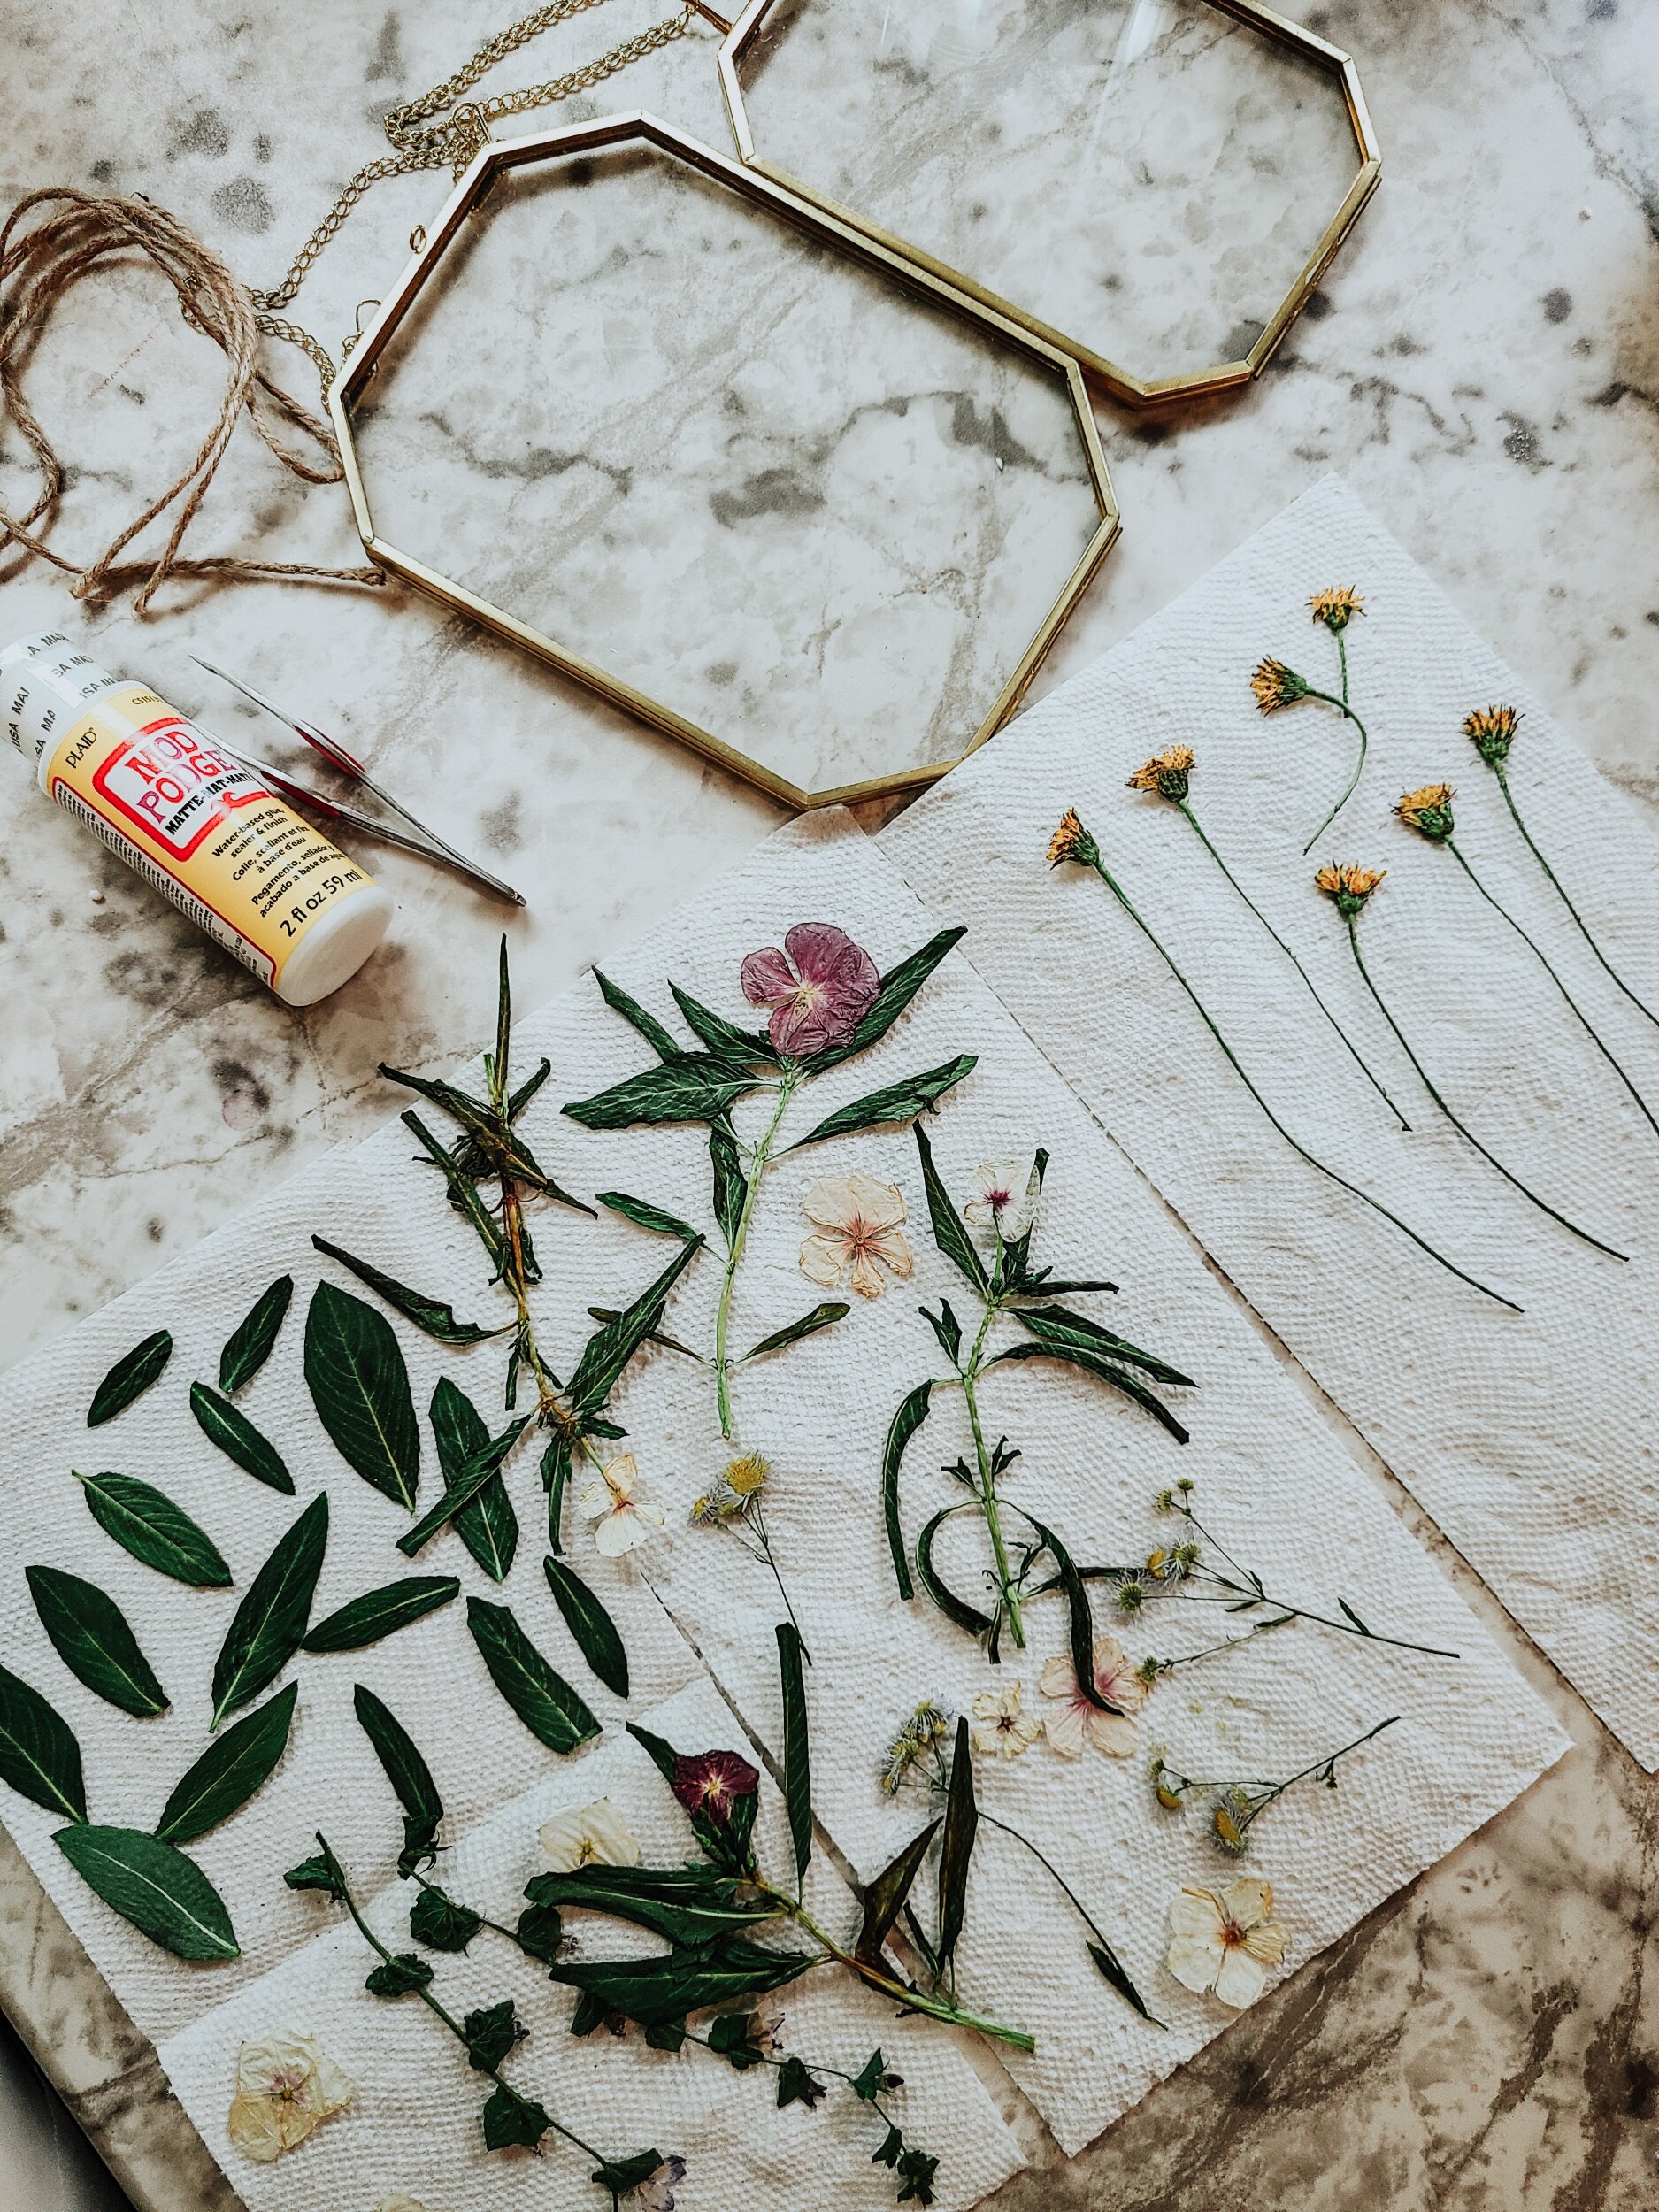
2. Flowers of your choice
3. Hardcover Book (for pressing the flowers) OR you could try the highly reviewed flower press below!

4. Paint brush
5. Mod Podge glue

6. Tweezers (Some recommend it, but I preferred without)
7. Scissor (for cutting the stems to fit the frame)
*If you choose to microwave your flowers, [for a more rapid dry time] you'll also need:
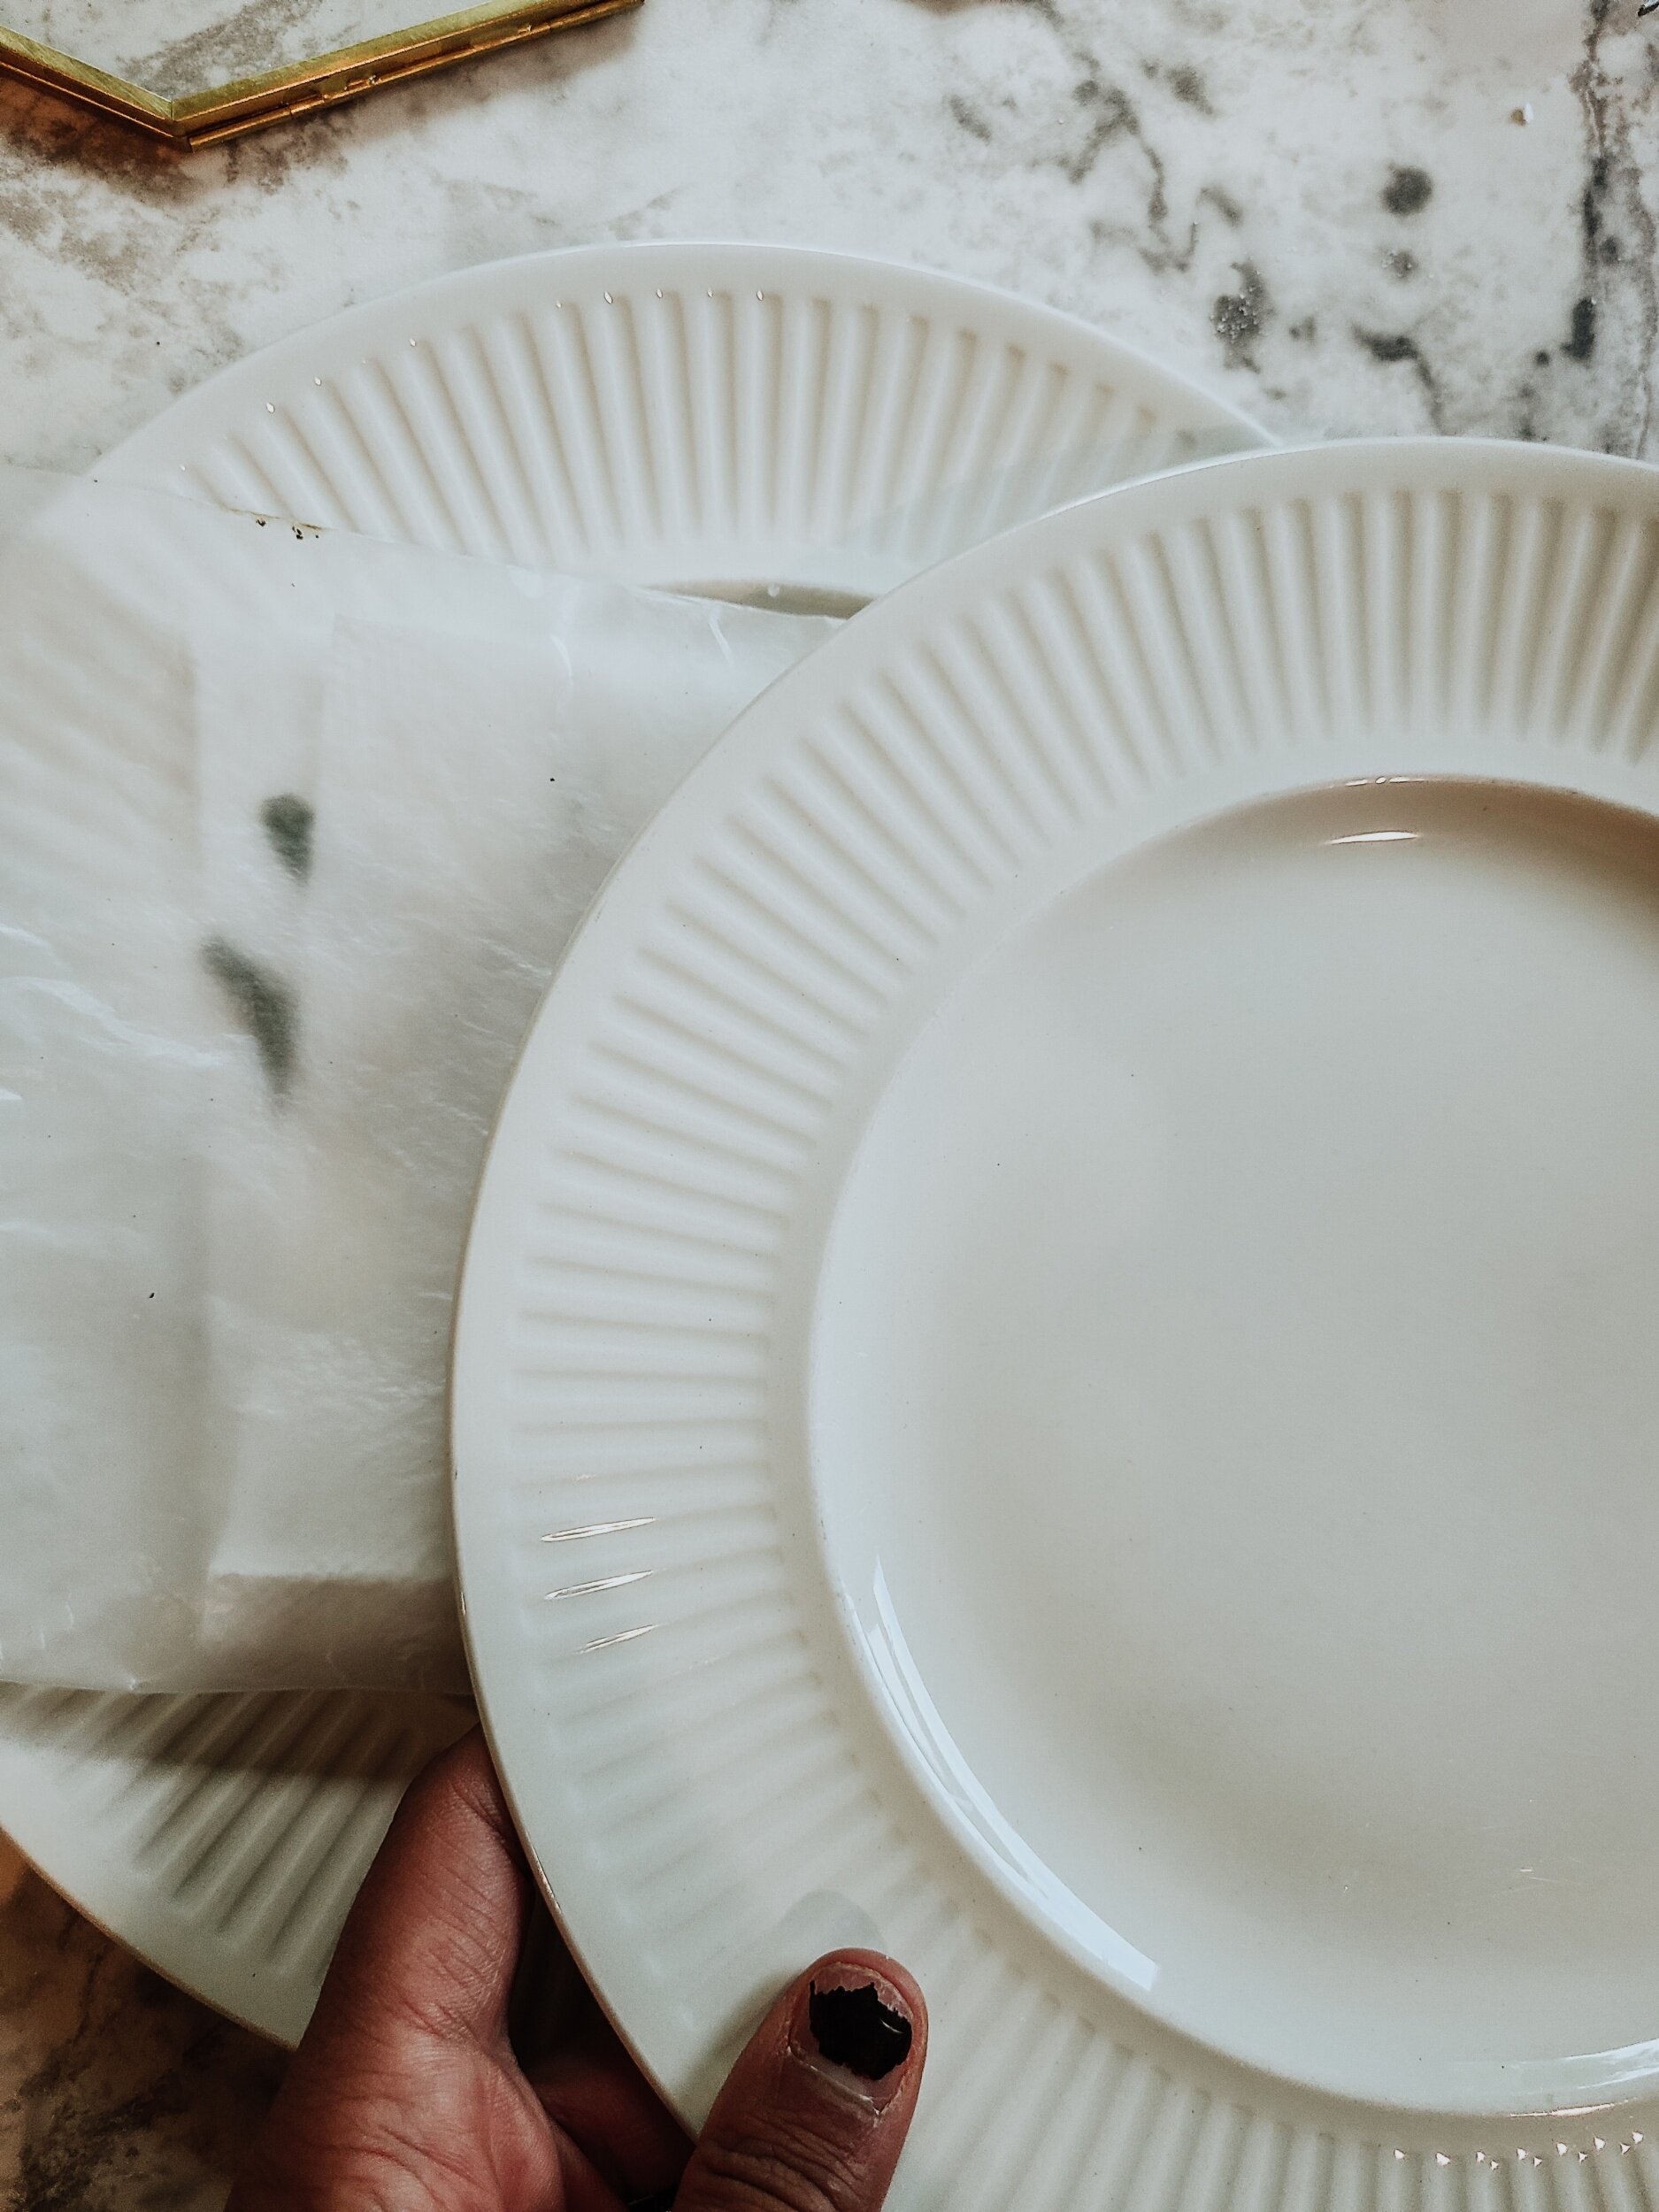
8. Two plates and a bowl
9. Wax paper

10. Paper towels
**Directions for drying flowers via the microwave are listed further below**

Directions:
Step 1:
Pick some beautiful flowers during the adventure of your choice/or have them picked special FOR you by someone you love!
Step 2:
Place the flowers gently in a large hardcover book, carefully spreading them out into the shape you'd like them to dry. Close your book so they are packed tight within the pages. (You can lay the flowers with/or without the stems, assembled, disassembled, solely the leaves, etc.)

Step 3:
Wait a week, or two until they are dried to a crisp! (If you don't have the time, you can even microwave the flowers using the directions below to speed up the process!)

Directions to microwave:
Cut a sheet of wax paper, and lay it over a microwave safe plate
Lay a paper towel over the wax paper
Assemble the flowers in the shape you'd like them to dry on half of the paper towel (the other half of the paper towel and wax paper will be folded over to cover the flowers in the next step)
Fold the other half of the paper towel and wax paper in half (so as to NOT crush the flowers)
Put a plate over the folded wax paper and paper towel (containing the flowers) to keep them pressed and secure during microwaving
Using 30 second intervals, (with full attention to avoid burning, or a fire hazard), check the flowers in between intervals for the desired dry, and crispy status!
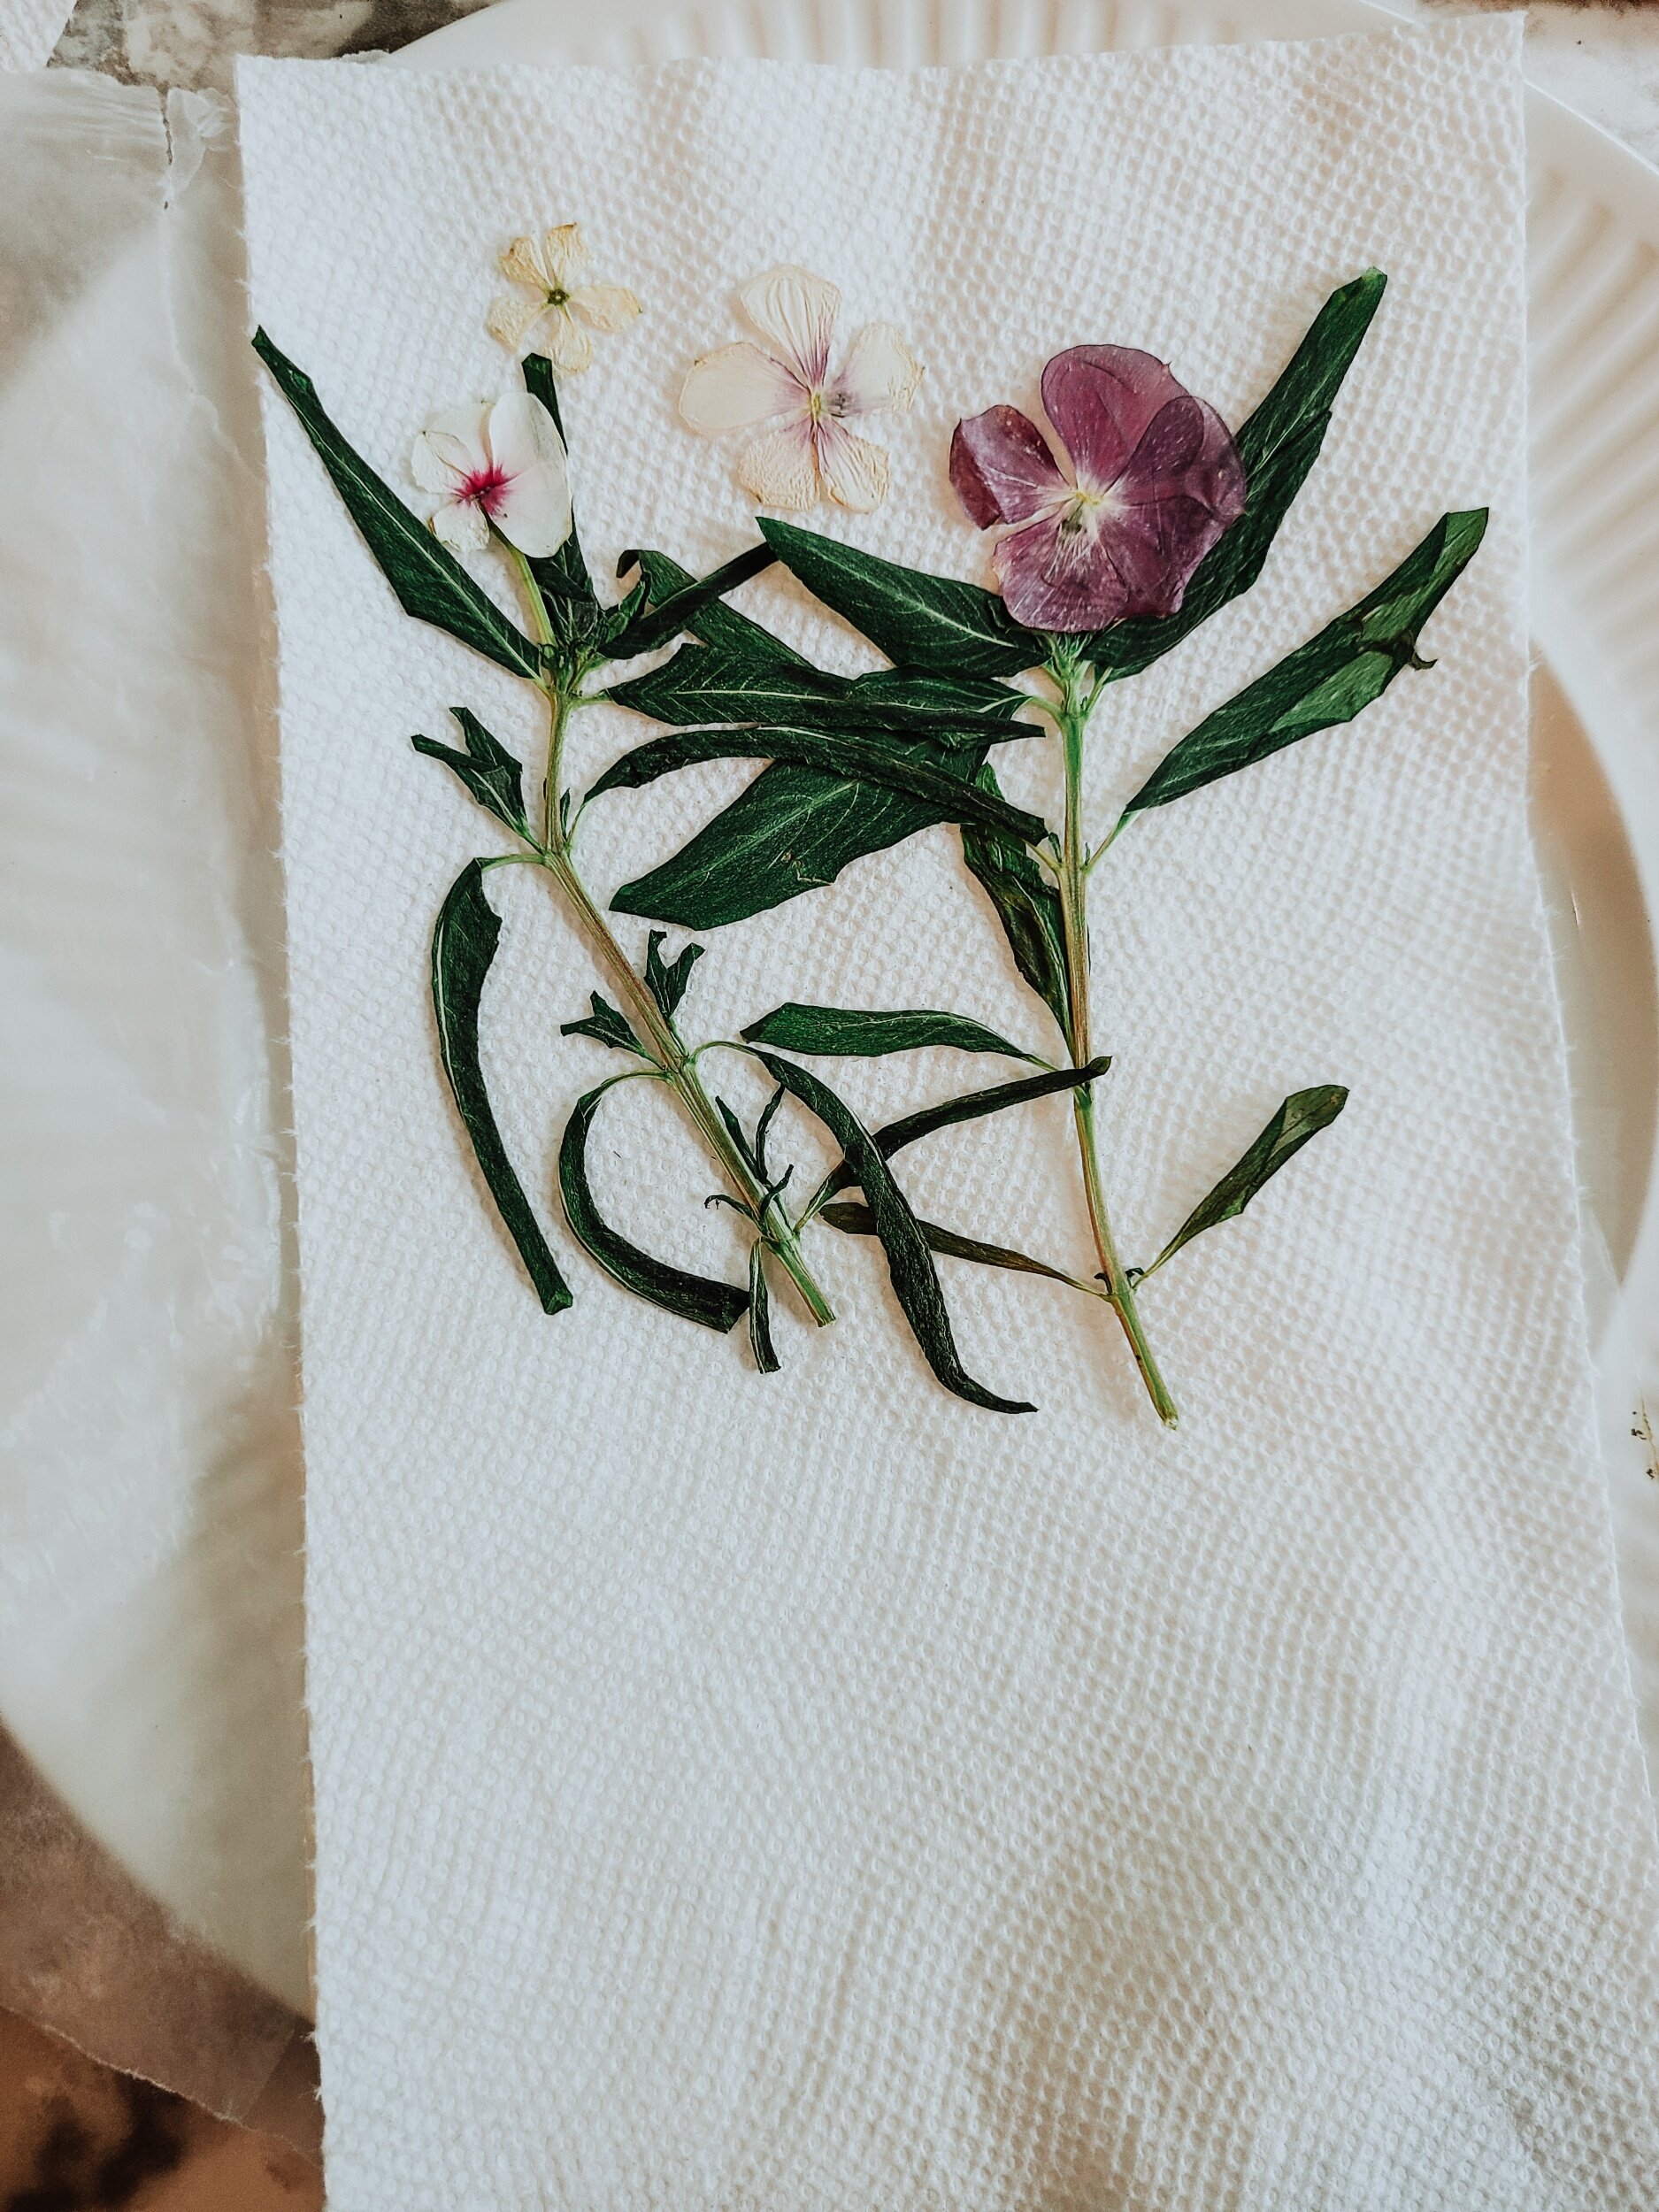
(First, I like to press the flowers I’ll be microwaving in a hardcover book, for at least a day, to give them the best chance of retaining their intended shape in the microwave!) NOTE: I could have done a better job with laying this particular flower’s leaves out so they didn’t shrivel!
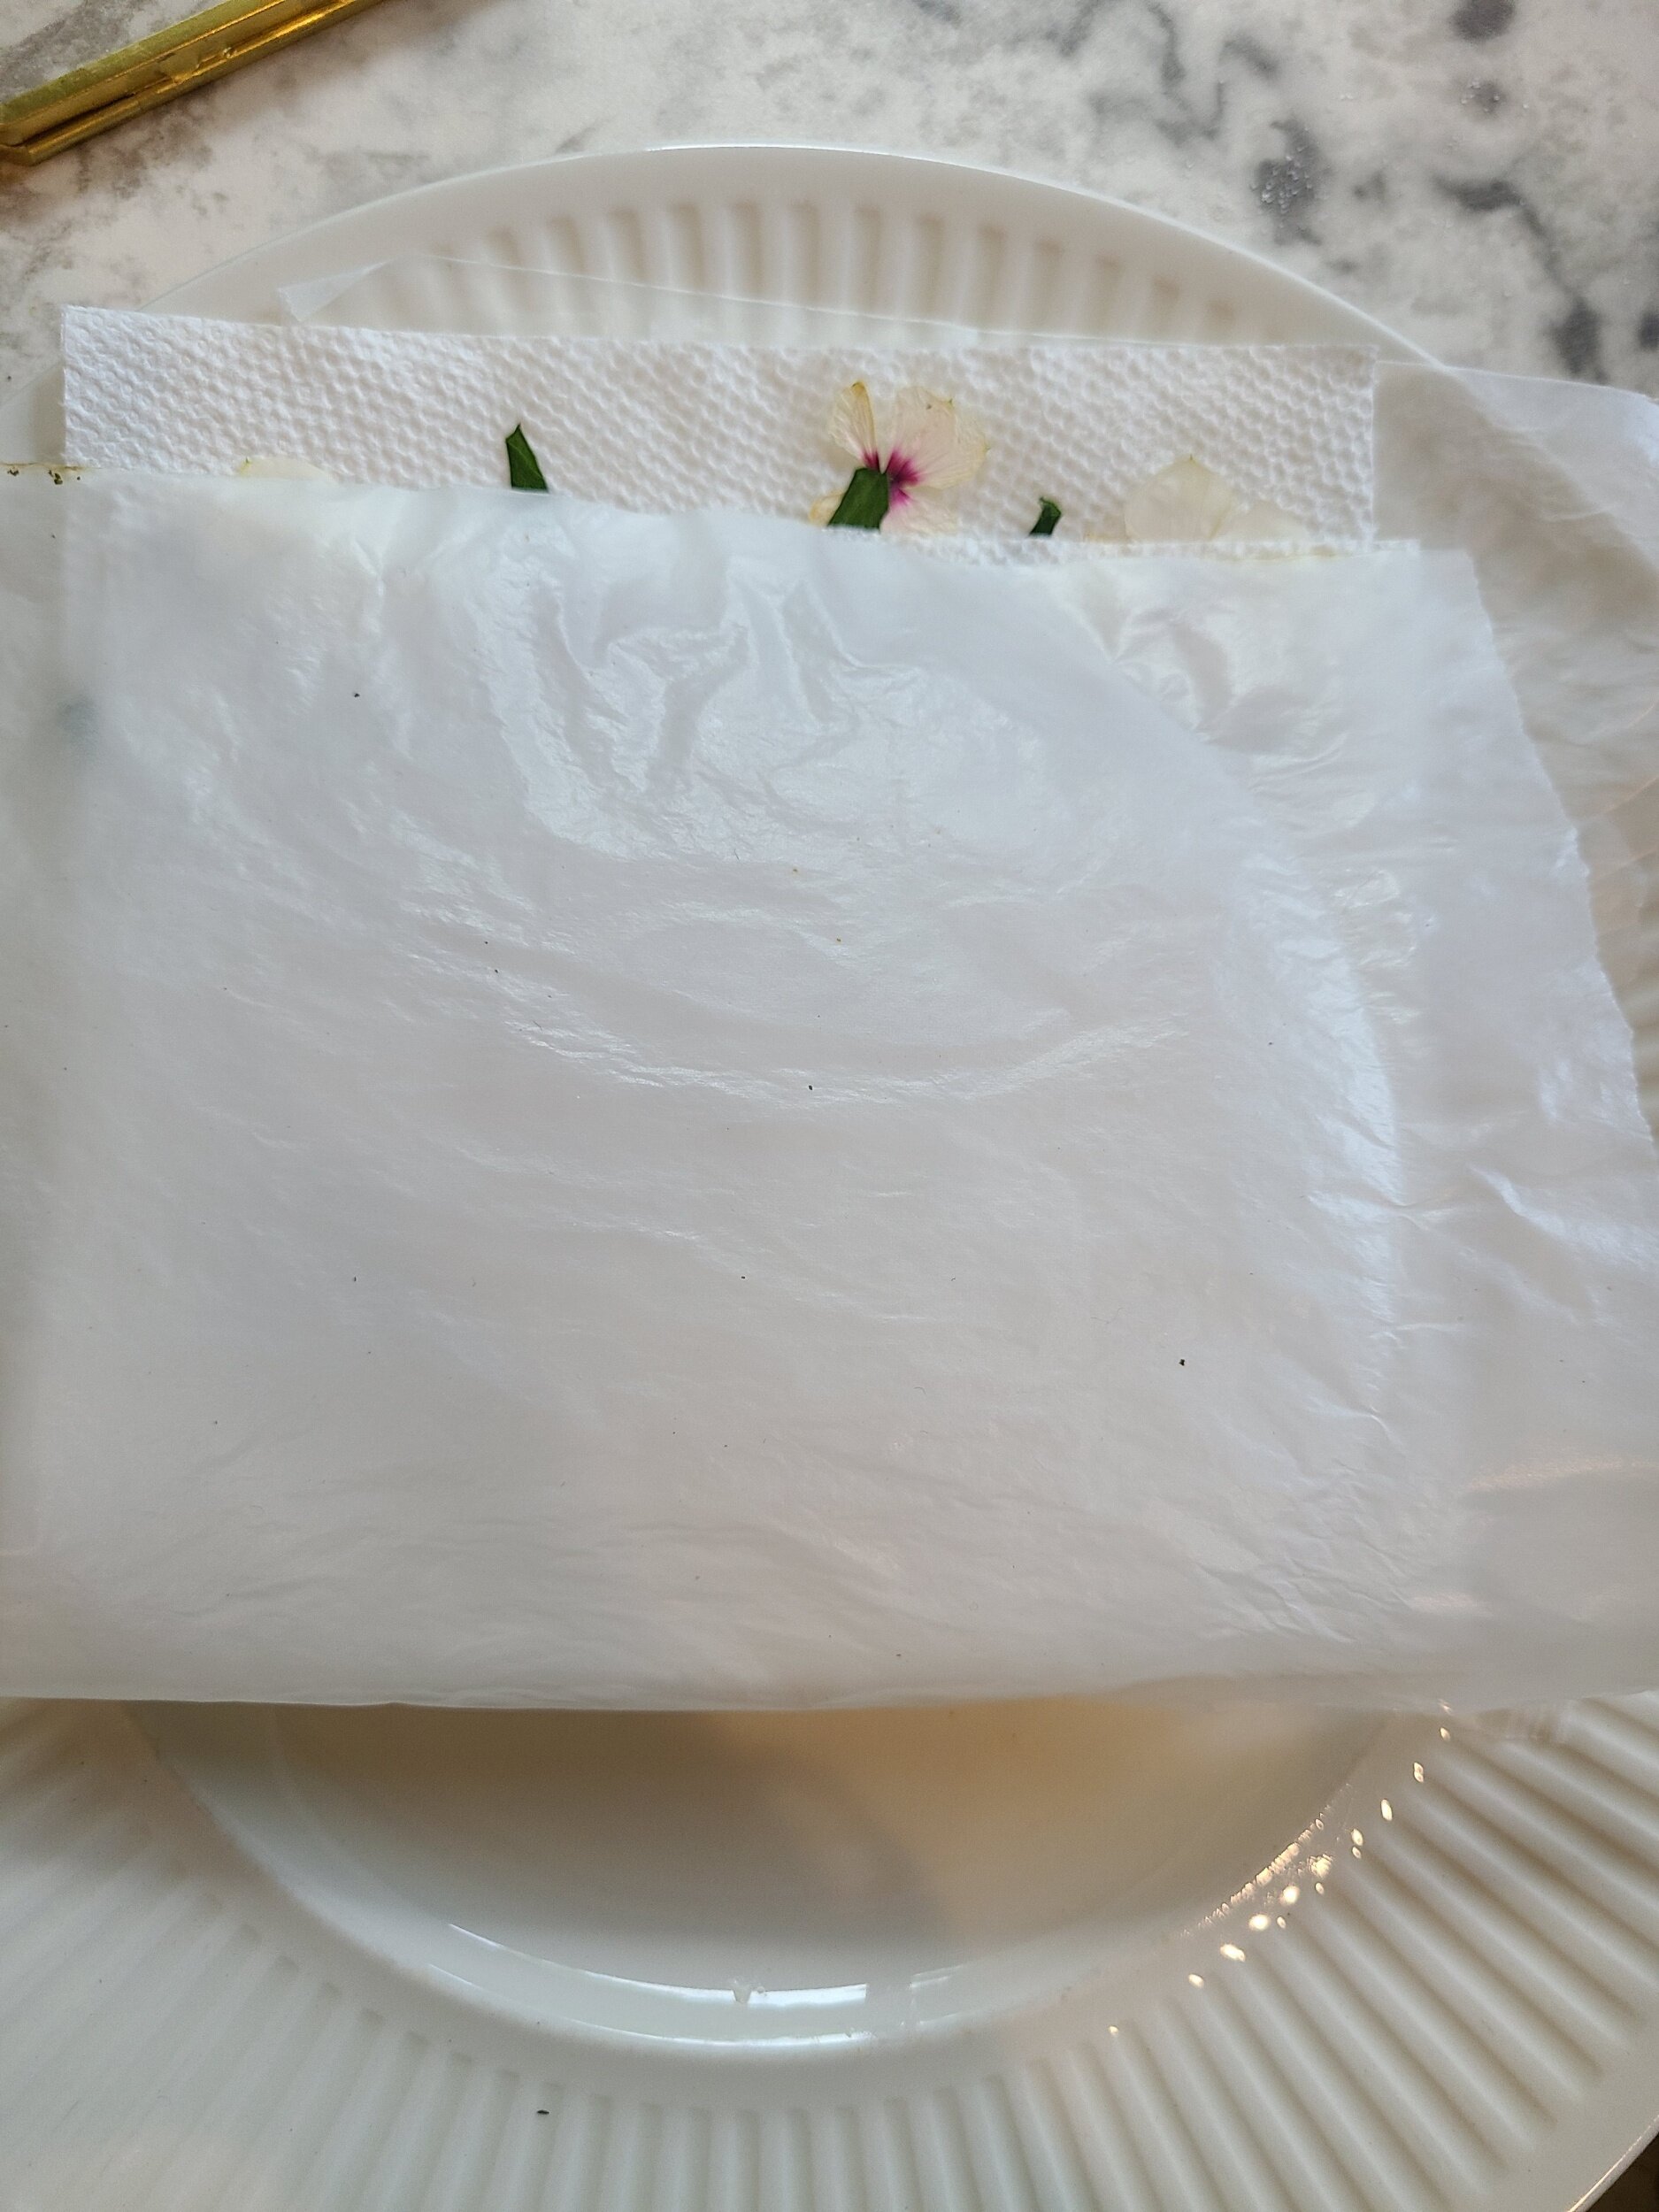
The paper towel helps retain the flower’s moisture as it’s being microwaved!
Place a plate over top to keep the flowers pressed in place during the microwave process.

Keep a heavy eye on the microwave process to make sure the flower doesn’t burn, or cause a fire hazard!
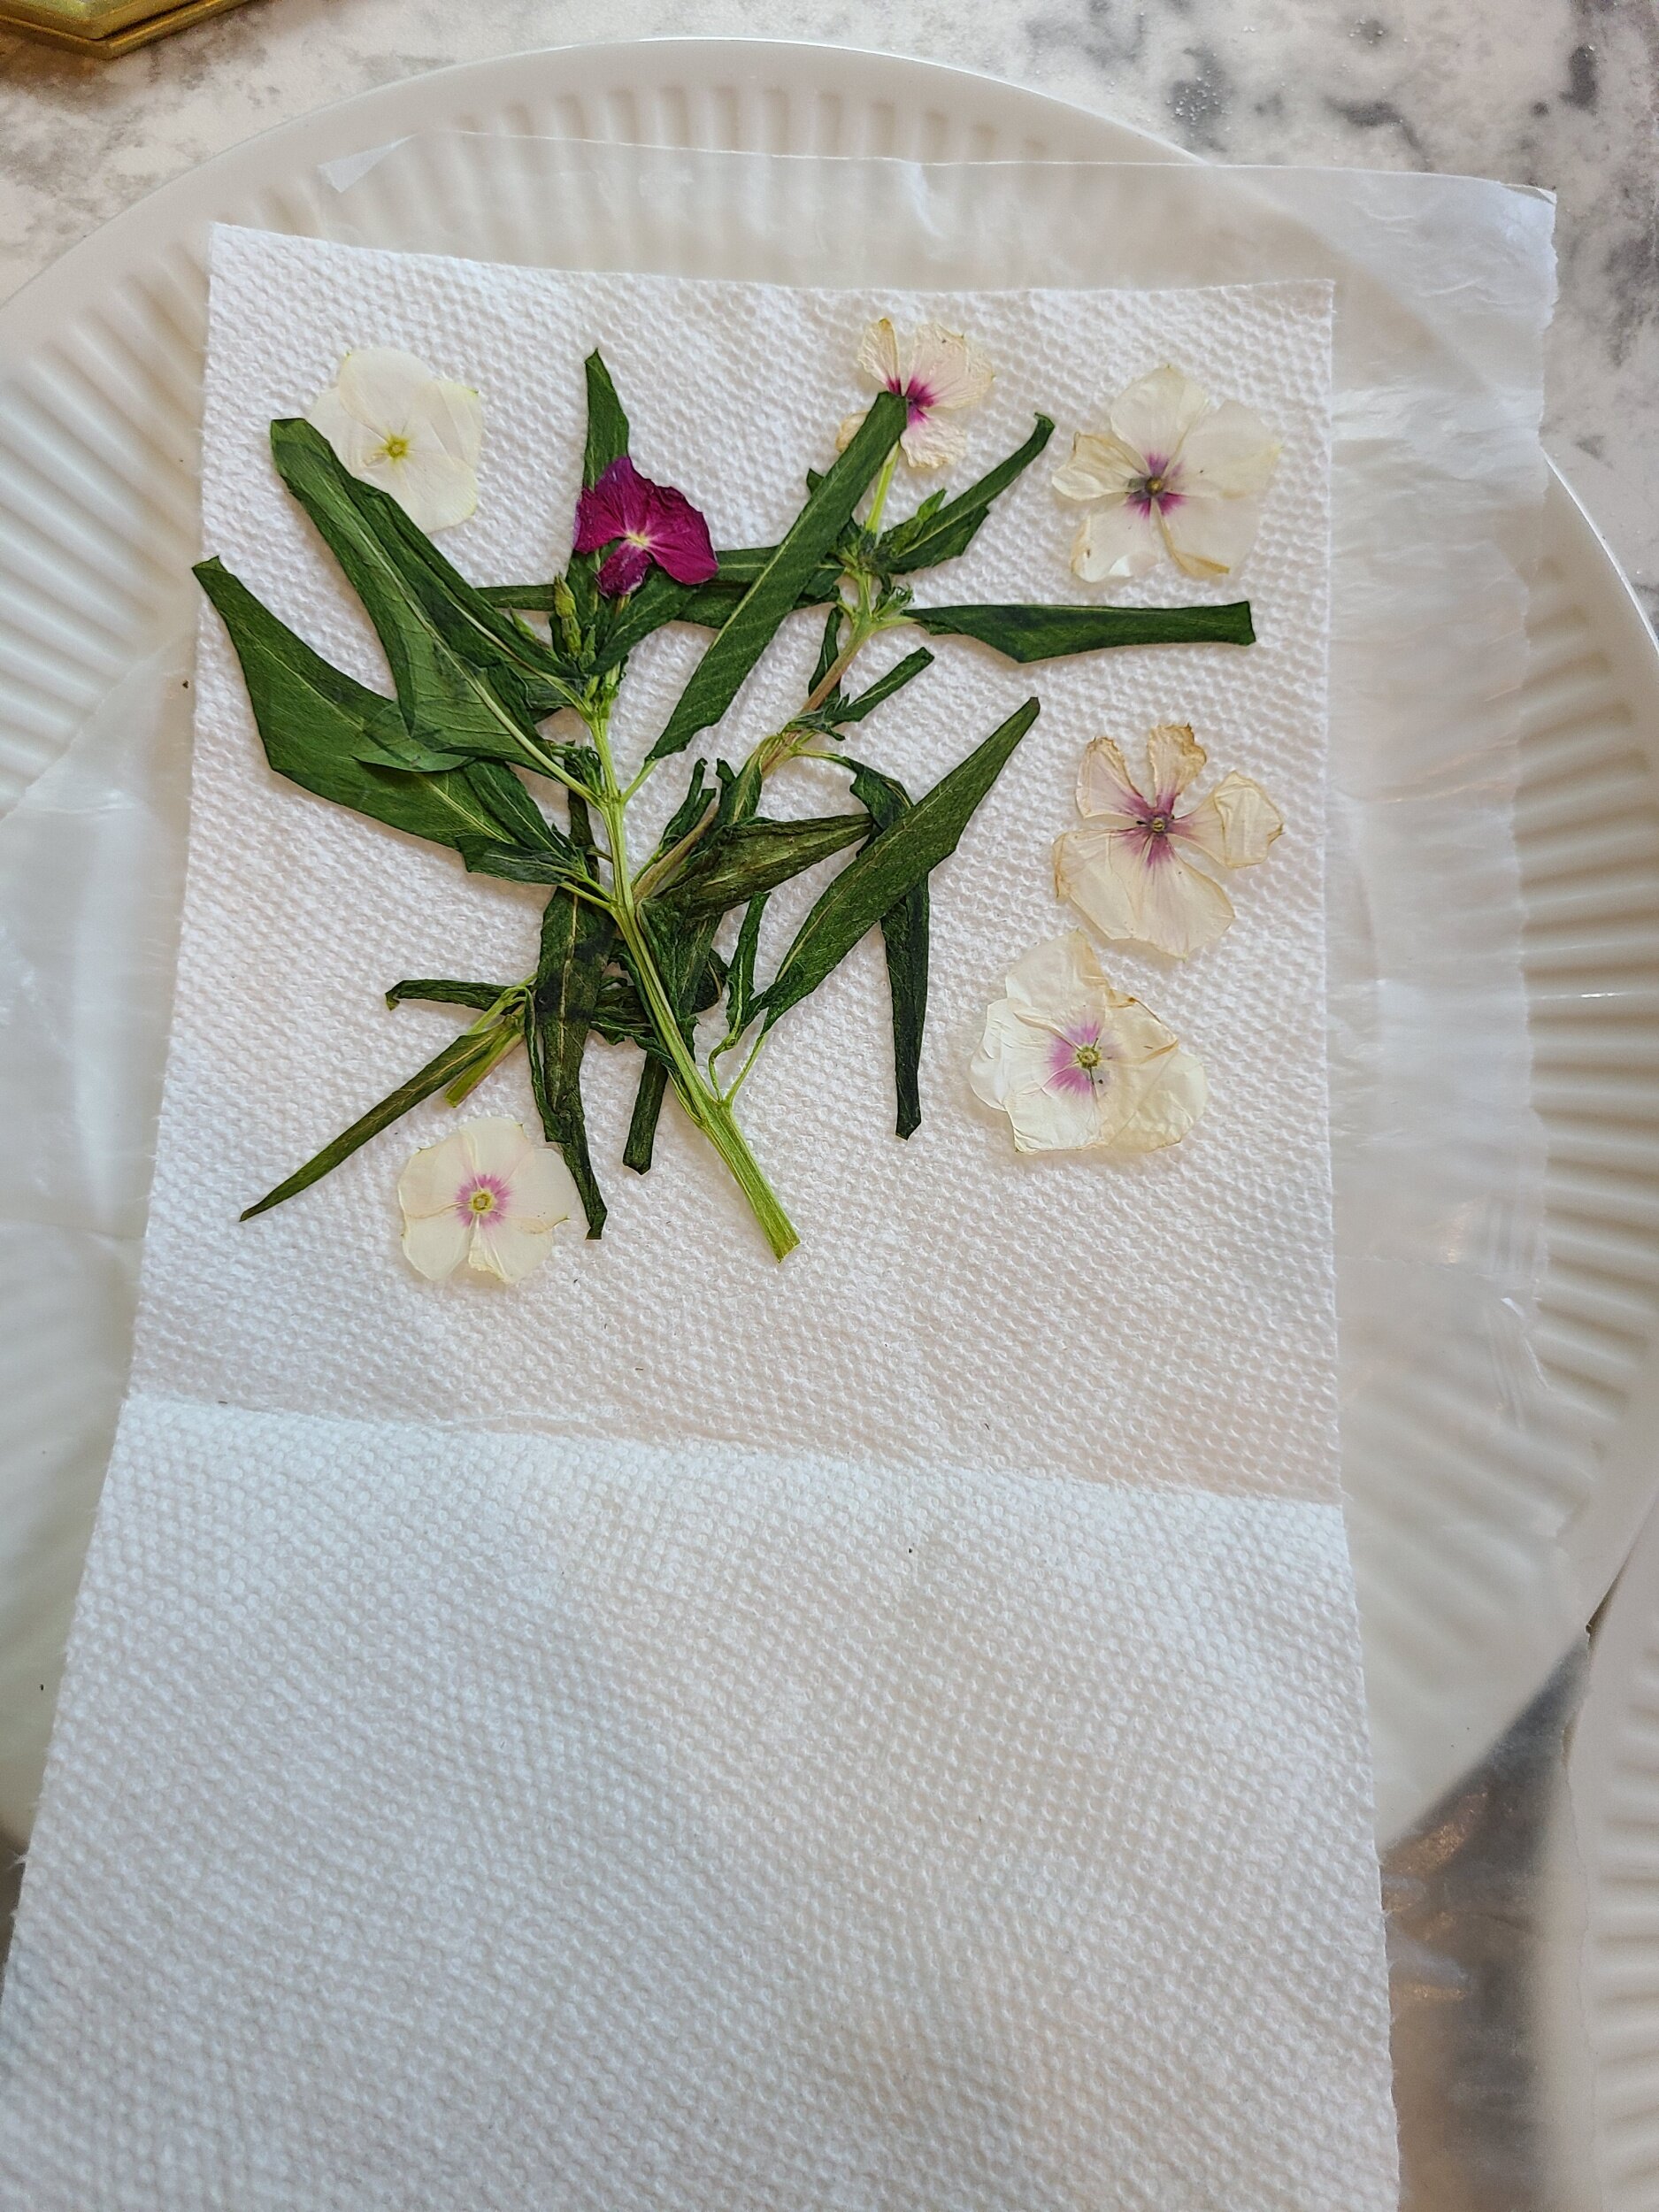
You’re left with beautiful, crispy, dried flowers ready for framing!
Step 4:
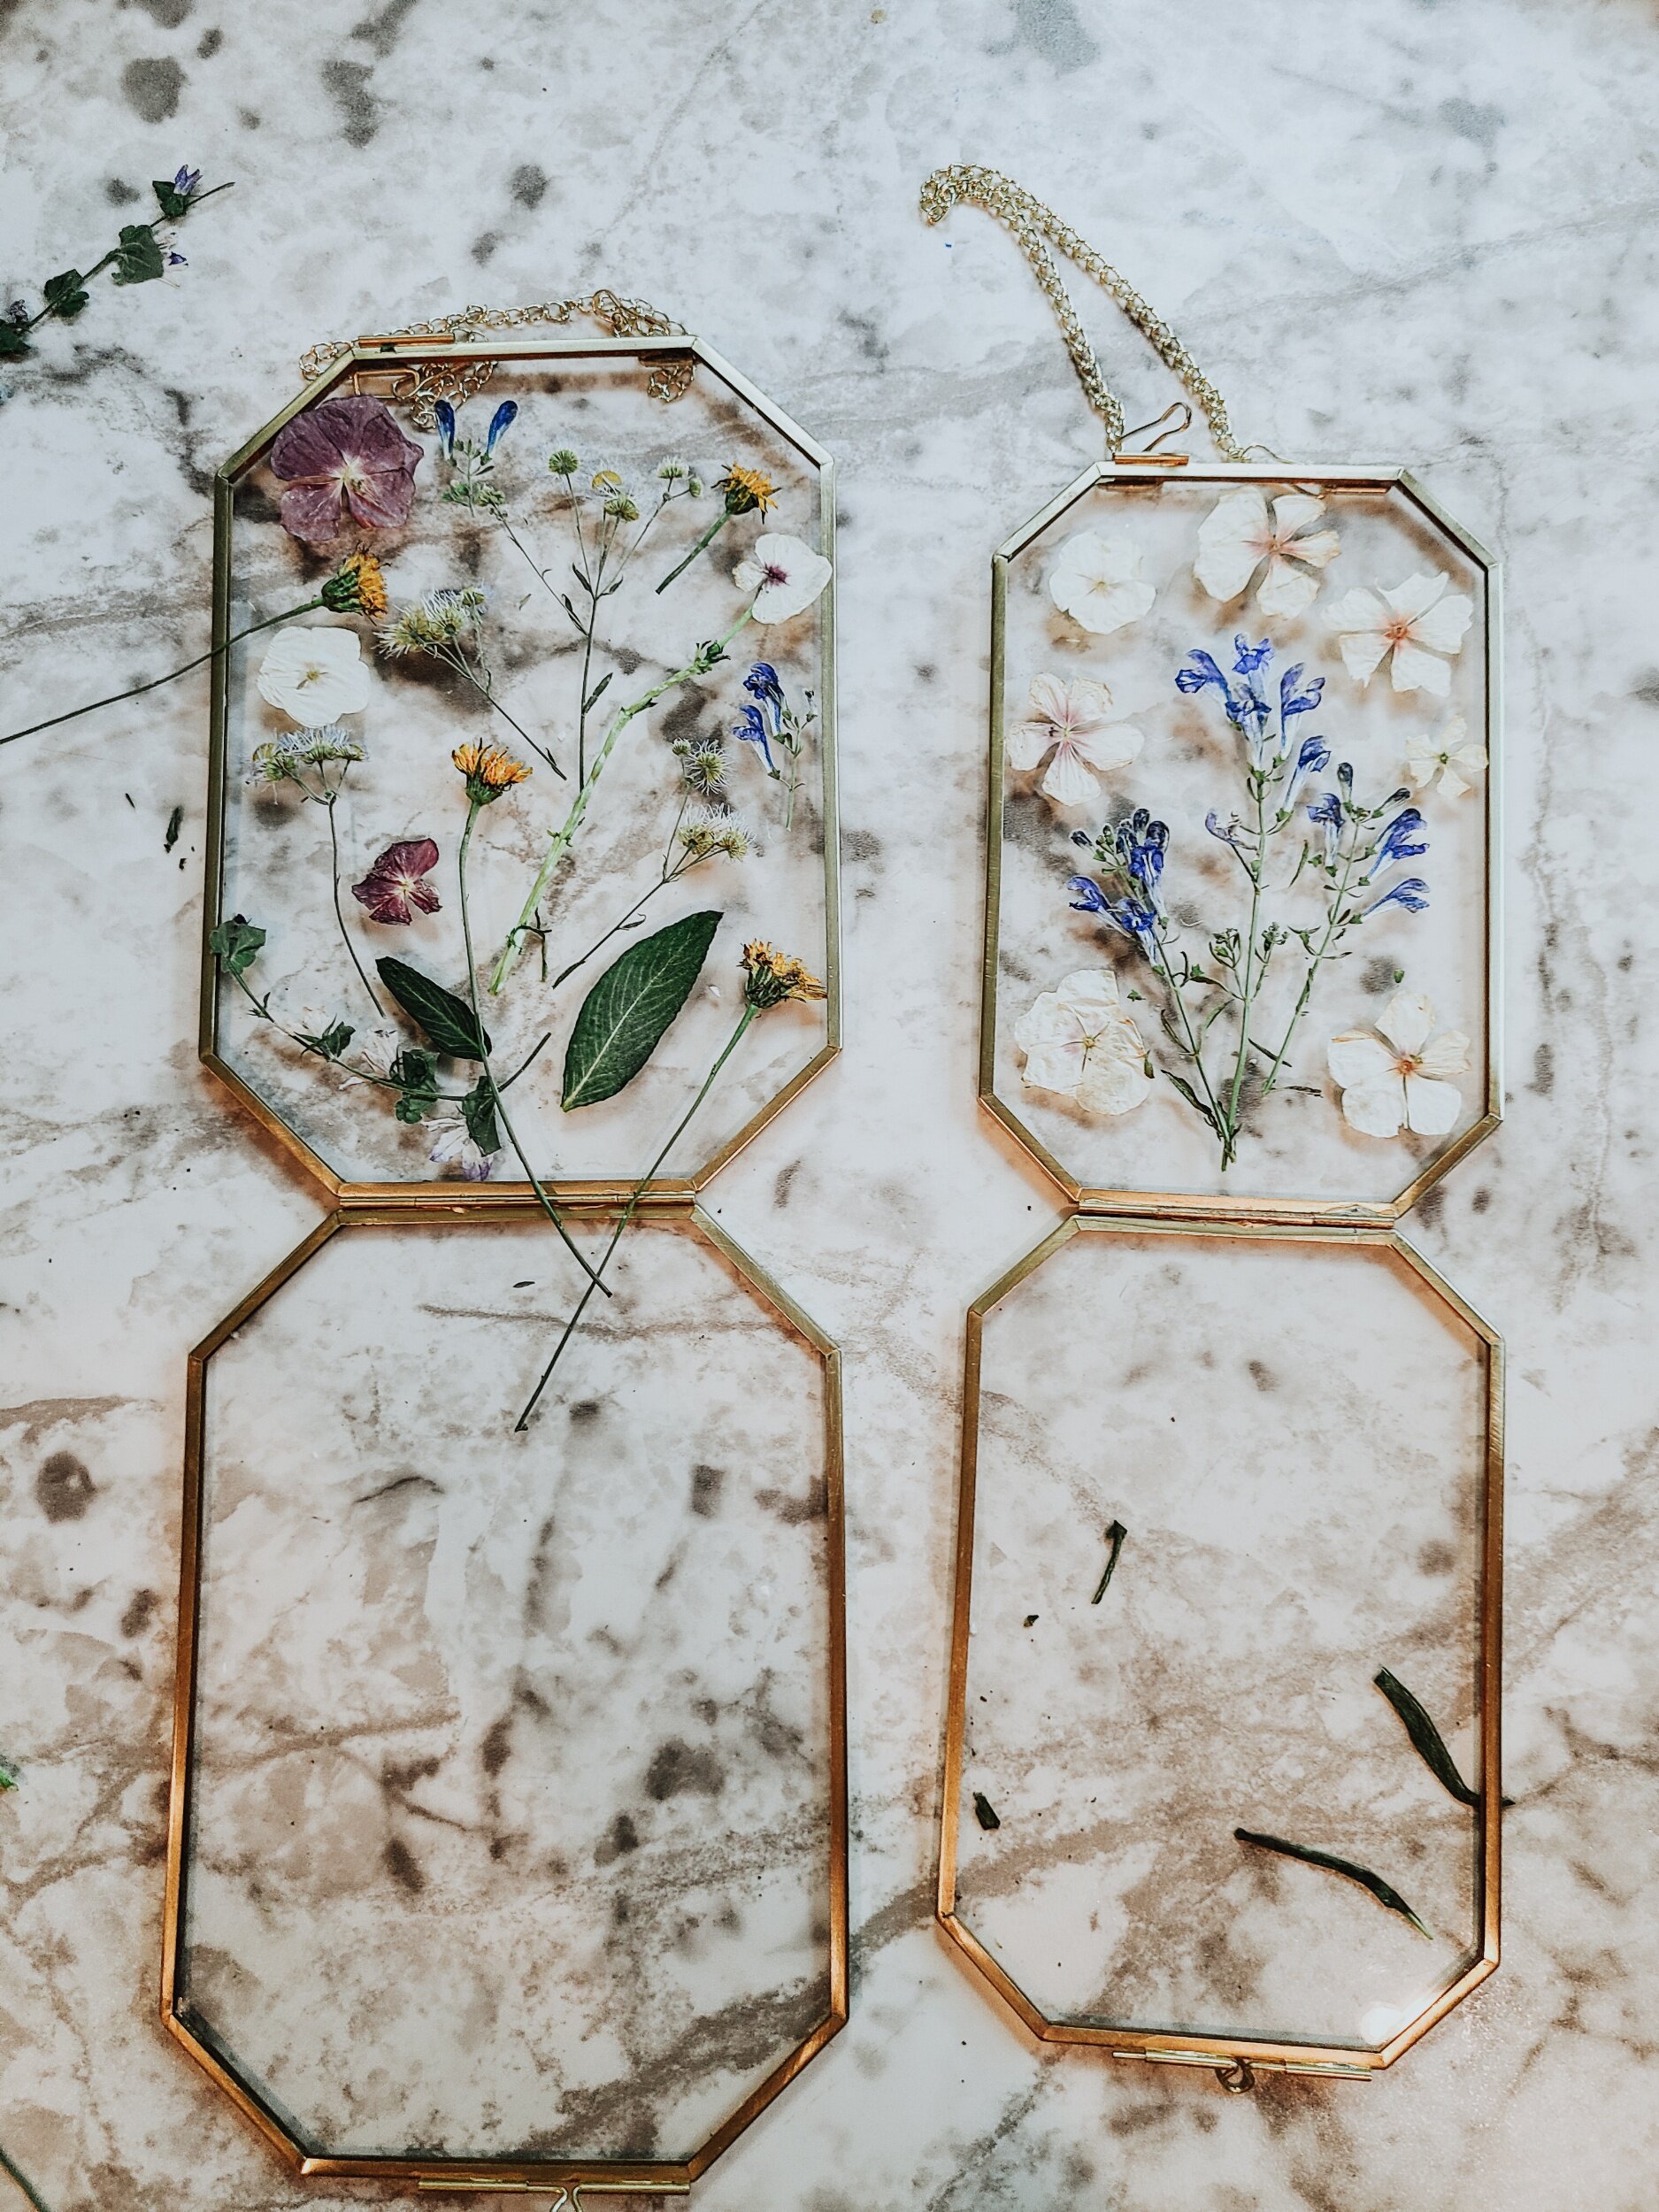
Lay the delicate flowers/leaves in the frame, in the pattern of your choice. Using a paint brush, paint a thin coat of the mod podge glue over the flowers which will hold them in place. (The mod podge will go on white, and dry CLEAR!! You may do two coats if you wish. Make sure you are gentle, and go with the flow of the flowers, as to not break them). Once the mod podge is fully clear, (I let mine dry over night), close, and lock the frame!
Firstly, I assembled the flowers in the design that I wanted, and cut the stems to fit within the frame.

Then, I gently painted two coats of mod podge over the flowers to keep them in place!

Step 5:
Hang the frame wherever desired, and enjoy displaying your summer adventures for all to see!!

Thanks so much for checking out my pressed flower frame DIY! There are SO many flowers waiting to be picked, and framed during this summer season! The possibilities are endless!! I hope this inspired you to make your own pressed flower frame?! Tag me on Instagram so I can see/celebrate your creativity as you warm up your living space! Do you see yourself doing this fun DIY?! Stay flowery!
Cool, Calm, and Collectedly Yours,

*Follow these other accounts to stay up to date on this weeks RV blogger roundup, and more: